Quick answer: Rubbing a plain candle over a ski glove does create a real, measurable water-repellent layer — paraffin is genuinely hydrophobic, so the effect isn’t imagined. But it only works well on solid leather or tightly woven synthetic shells, it does nothing for a glove’s actual waterproof membrane, and applying heat to melt it in evenly carries a real risk on insulated gloves that shoe-focused versions of this hack never have to deal with. It’s a legitimate emergency fix, not a replacement for proper glove care — if your gloves need more than a stopgap, the ski glove finder can point you toward something built to handle wet conditions without the workaround.
- Why This Hack Even Works At All
- Where It Actually Holds Up, and Where It Doesn't
- When This Fix Actually Gets Used
- How This Actually Compares to a Real Waterproofing Treatment
- The Risk Nobody Mentions for Ski Gloves Specifically
- Beeswax, Paraffin, and Commercial Wax: What's Actually Different
- Doing It Right If You're Going to Do It
- Common Mistakes That Undo the Whole Process
- When It's Worth Doing, and When It Isn't
- FAQ
Why This Hack Even Works At All
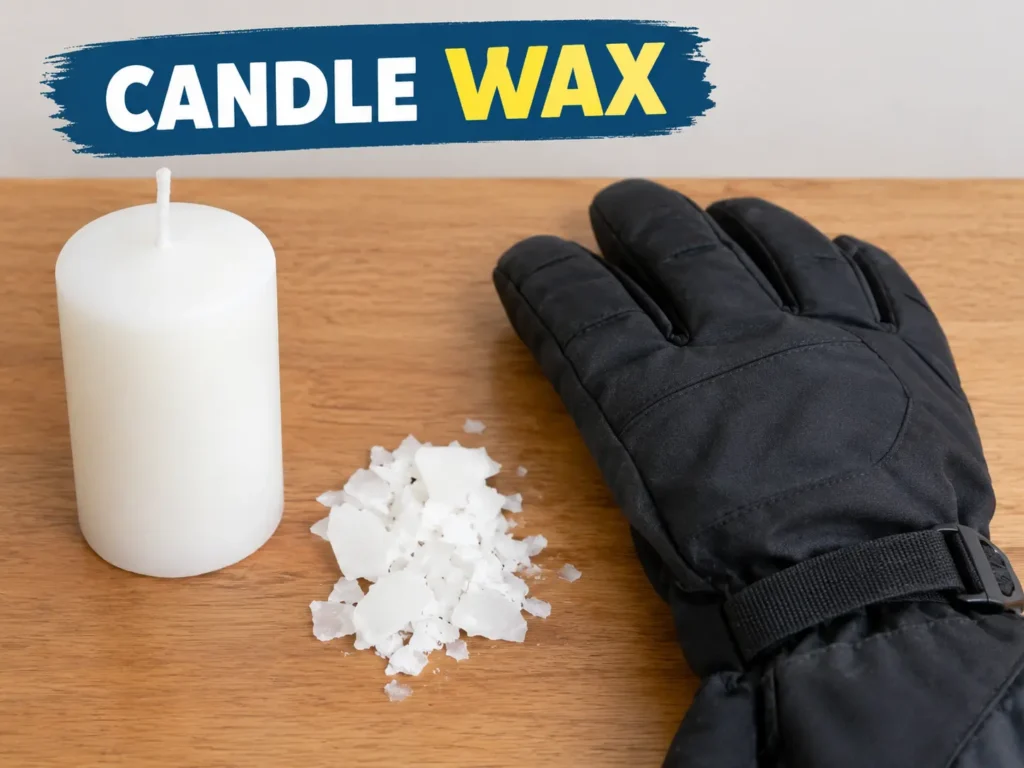
Candle wax isn’t a gimmick — it’s genuinely water-repellent at a molecular level. Paraffin, the wax most household candles are made from, is a petroleum-derived hydrocarbon mixture, and hydrocarbons are inherently hydrophobic because their molecular structure has no attraction to water molecules. A chemistry reference on paraffin wax describes it as an organic compound characterized specifically by a low melting point and water-resistant properties, which is exactly why it melts easily onto fabric and then sits there repelling moisture once it cools.
That’s the whole mechanism. Melted wax fills the tiny gaps between fibers in a woven fabric or soaks into the surface of leather, and once it cools and hardens, water can’t penetrate that filled layer as easily as it could the bare material. It’s a physical barrier, not a chemical treatment — there’s no active repelling force involved, just a wax layer blocking the path water would otherwise take.
This is also exactly why the effect is temporary and uneven compared to a manufactured treatment. Wax sits on top of and within the surface fibers rather than bonding to each individual fiber the way an engineered coating does, so it wears away with flexing, abrasion, and repeated wetting far faster than a purpose-built product.
Where It Actually Holds Up, and Where It Doesn’t
Leather is where this hack performs best, and it’s not close. Leather has an open, absorbent fiber structure that wax can genuinely penetrate and fill, similar to how leather-specific waterproofing waxes like Sno-Seal work — they’re doing the same basic thing with a more refined wax blend. A leather palm rubbed with a candle and warmed until the wax melts in will noticeably resist light moisture for a session or two.
Tightly woven synthetic shells do reasonably well too, since a dense weave gives wax somewhere to sit and fill. Loosely woven or stretchy synthetic fabric performs much worse — the wax sits on the surface rather than filling gaps that barely exist, and it flakes and cracks the first time the glove flexes hard.
Here’s the part that matters most and gets skipped in every generic version of this hack: modern ski gloves aren’t just fabric. Most have a separate waterproof membrane laminated underneath the outer shell, and no amount of wax on the exterior surface does anything for that membrane. If your gloves are actually leaking through a punctured or failed membrane, wax on the outside won’t fix that — you’re treating a surface symptom on a completely different layer than where the actual failure is.
| Glove Type | How Well Candle Wax Works |
| Solid leather (no membrane) | Genuinely effective, similar mechanism to real leather wax |
| Tightly woven synthetic shell | Moderately effective, wears off faster than leather |
| Loosely woven or stretch synthetic | Poor — wax sits on top and flakes off quickly |
| Membrane-lined glove, membrane intact | Wax only helps the shell surface; membrane already handles the real waterproofing |
| Membrane-lined glove, membrane damaged | Ineffective — the leak is on a layer wax never reaches |
When This Fix Actually Gets Used
The scenario where this hack earns its keep is specific: you’re partway through a multi-day trip, your leather palms have started soaking through faster than they did on day one, and the nearest gear shop with actual waterproofing spray is an hour away or closed. That’s a real, common situation, and a candle from a hotel room or a gas station is a genuinely useful stopgap in it.
Spring slush conditions are where the limitations show up fastest. Wet, heavy, saturated snow puts far more sustained moisture contact on a glove than dry powder does, and a thin wax layer that held up fine on a cold January day can wet through within an hour once temperatures climb and snow turns to slush.
Coastal mountain climates with consistently damp, maritime snow are a tougher test still, since gloves there rarely get a full day to dry out between sessions. A wax treatment applied to a glove that’s already slightly damp from the day before performs noticeably worse than the same treatment on a fully dried glove, which is part of why this method works better as an occasional emergency fix than a standing routine in consistently wet climates.
A single cold, dry powder day is honestly where this hack is least necessary — dry snow barely tests any glove’s water resistance, waxed or not, which is worth knowing before assuming a good result on a dry day means the treatment will hold up when conditions actually get wet.

How This Actually Compares to a Real Waterproofing Treatment
It’s worth understanding what a manufactured water-repellent finish is actually doing differently, because it explains why wax can’t fully substitute for one. According to REI’s technical guidance on water-repellent coatings, a proper DWR finish increases the surface tension between water and the fabric at the level of individual fibers, creating a microscopically textured surface that holds water in a rounded bead rather than letting it spread and soak in.
Wax achieves a related outcome through a completely different route — it’s physically blocking gaps in the material rather than altering how individual fibers interact with water at a molecular level. That’s a real difference in durability and evenness. A proper DWR coating treats every fiber uniformly; a hand-applied wax layer is only ever as even as your own application, which is why coverage on a candle-waxed glove is almost always patchier than a sprayed or factory-applied finish.
None of this means wax is worthless. It means it’s a physical patch rather than a fiber-level treatment, and physical patches wear unevenly and need more frequent attention than the real thing. Understanding which one you’re actually applying helps set the right expectations before you’re relying on it halfway up a chairlift.
If you want to check whether your current gloves even have a factory DWR finish worth maintaining before reaching for a candle, that’s worth confirming on the glove’s own care tag first — some budget gloves ship without one at all, which is a different problem than a worn-off finish, and no amount of wax substitutes for a glove that was under-built for wet conditions in the first place. That’s a fit-and-spec question more than a maintenance one, and it’s worth checking against options like the budget ski glove roundup if you’re finding this is a recurring issue with the same pair.
The Risk Nobody Mentions for Ski Gloves Specifically
Every generic version of this hack — the shoe articles, the boot forums, the canvas-sneaker guides — skips something that matters specifically for insulated ski gloves: what happens to the inside of the glove while you’re melting wax onto the outside.
Paraffin melts at a genuinely low temperature, typically in the range of 126 to 134°F. That’s nowhere near hot enough to damage the outer shell fabric itself — nylon’s melting range runs from roughly 347 to 509°F depending on the specific type, so the fabric survives the process fine. The real risk is different: sustained hairdryer heat against a thin glove shell can transfer enough warmth through to the insulation layer directly underneath, and synthetic insulation that gets repeatedly warmed and compressed during application can mat down and lose some of its loft over time.
There’s also a simpler, more common failure: applying wax too heavily and pressing it in with continued heat can drive melted wax through the shell fabric and into the insulation itself, rather than leaving it sitting in the outer weave where it belongs. Wax-saturated insulation doesn’t insulate as well, and it doesn’t come back out with washing.
This is the actual reason to treat this as a light, controlled process rather than a heavy, thorough one — not because the fabric itself is fragile, but because what’s underneath it isn’t built to be warmed and compressed repeatedly the way a solid leather boot or a plain canvas sneaker is.
Beeswax, Paraffin, and Commercial Wax: What’s Actually Different
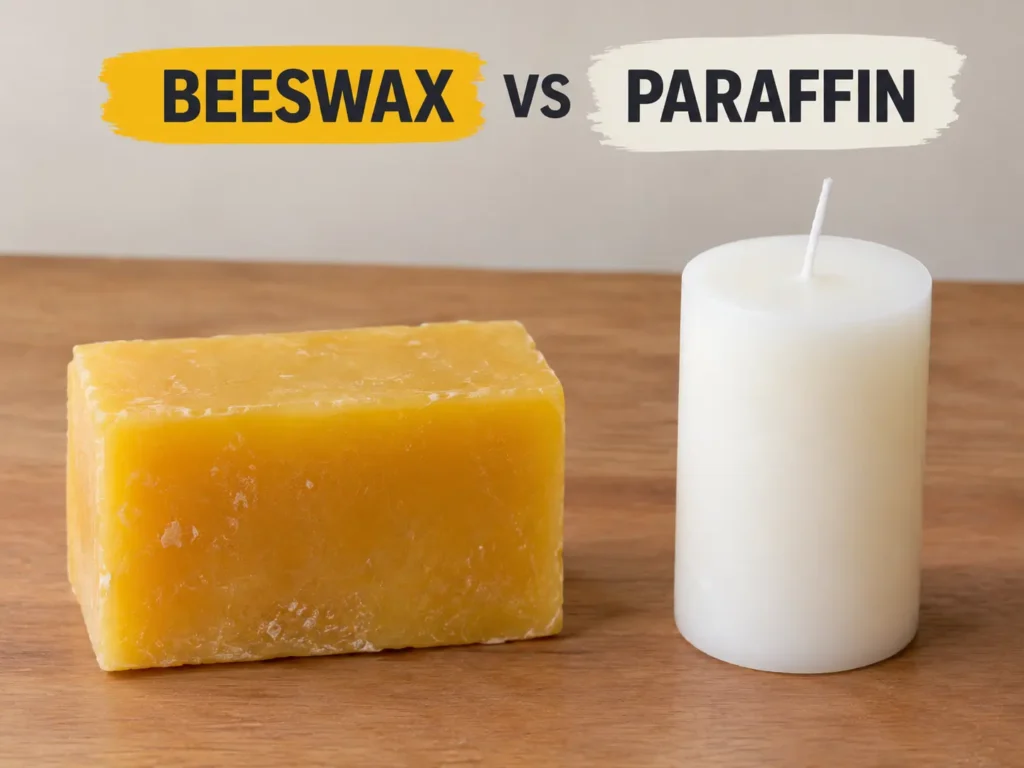
Not all wax is the same wax, and the differences matter more than most quick guides admit. Paraffin — standard candle wax — is the most common material for this hack simply because it’s the most available, but it’s also the most brittle of the common options once it cools, which is part of why it flakes off faster than a purpose-built product.
Beeswax behaves noticeably better on leather specifically. It has a slightly higher melting point than paraffin, which means it needs a bit more sustained heat to work in properly, but it forms a more flexible, less brittle layer once cooled — closer in behavior to the beeswax-based commercial leather waxes than paraffin candles are.
Commercial leather waterproofing waxes are rarely pure beeswax or pure paraffin. Most blend wax with oils and sometimes mild solvents specifically to keep the finished layer flexible rather than brittle, which is the main practical advantage they hold over a straight candle — not a fundamentally different water-blocking mechanism, just a more durable version of the same physical principle.
This is worth knowing because it sets realistic expectations rather than treating candle wax as a full substitute. A candle gets you the same basic water-blocking effect using something already sitting in a junk drawer, at the cost of a less flexible, faster-wearing finish than a product actually engineered for the job.
Doing It Right If You’re Going to Do It
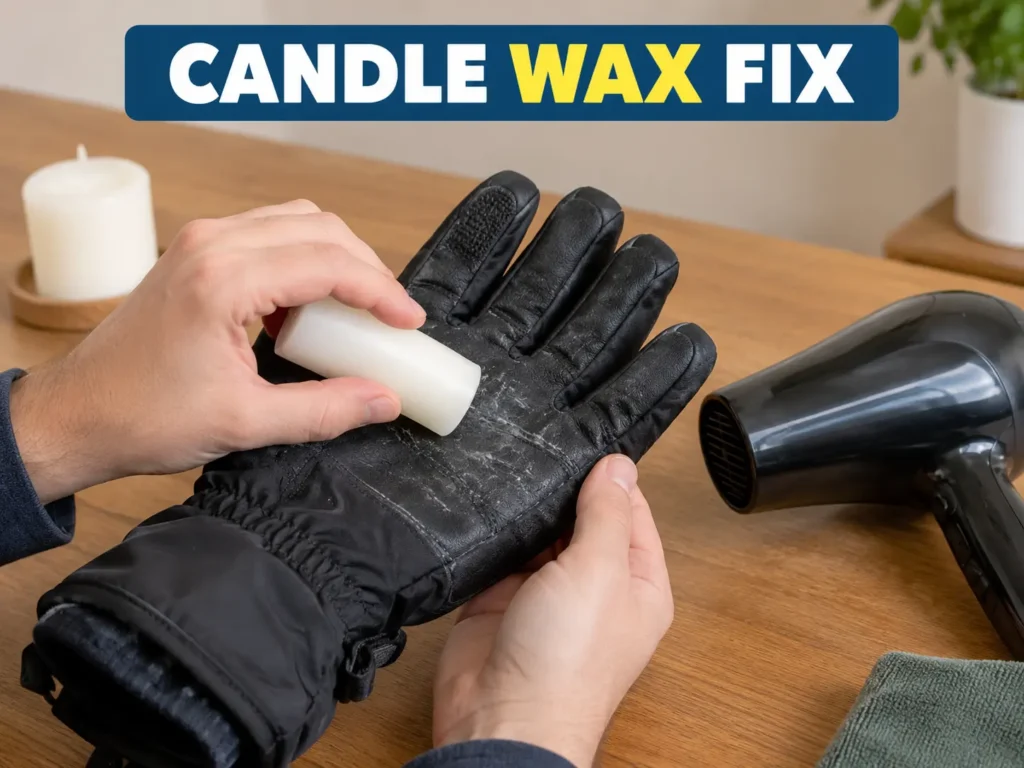
Start with a completely clean, fully dry glove — any dirt or trapped moisture sits between the wax and the fabric and weakens how well it bonds. Use a plain, unscented candle rather than a scented or colored one, since additives in decorative candles can leave residue or stain lighter-colored gloves.
Rub the wax directly onto the exterior surface in a thin, even layer, focusing on seams and high-contact areas like the palm and fingertips where moisture gets in first. Resist the urge to build up a thick layer — a thin coat that gets worked in properly outperforms a thick one that just sits on the surface and cracks.
Use a hairdryer on its lowest heat setting, held several inches away and kept moving constantly, to melt the wax into the fibers rather than just leave it sitting on top. Short, moving passes are the goal — holding heat in one spot for more than a few seconds is where the insulation risk from the previous section actually starts to matter.
Let the glove cool completely and check for even coverage, then buff off any excess wax with a dry cloth. A glove that’s sticky or tacky to the touch has too much surface wax remaining and needs more buffing before you trust it in wet conditions.
| Step | What To Do | Why It Matters |
| 1. Clean and dry | Remove dirt and moisture first | Contaminants block wax from bonding properly |
| 2. Choose the wax | Plain, unscented candle only | Additives can stain or leave residue |
| 3. Apply thin | Light, even coating, focus on seams | Thick layers crack and flake faster |
| 4. Heat carefully | Low heat, constant motion, brief passes | Prevents insulation matting underneath |
| 5. Cool and buff | Remove excess once fully cooled | Sticky residue means too much surface wax |
Common Mistakes That Undo the Whole Process
Applying wax to a glove that’s still damp is the most common mistake, since trapped moisture prevents the wax from bonding to the fiber surface at all — it just sits on top of a wet layer and slides off within the first few minutes on snow.
Using too much heat for too long in one spot is a close second, and it’s the mistake most likely to cause real damage rather than just a weak result. A hairdryer held stationary against one section for too long is doing exactly the compression-and-matting damage described earlier, even though the glove looks fine from the outside afterward.
Skipping the buffing step leaves a tacky surface that actually attracts dirt and grit rather than repelling water effectively, since loose surface wax hasn’t fully bonded and just collects debris instead.
Treating this as a permanent fix rather than a temporary one leads to disappointment more than any application mistake does. Expecting a candle-waxed glove to perform like a properly maintained DWR shell for an entire season sets up a comparison this method was never going to win.
When It’s Worth Doing, and When It Isn’t
| Situation | Worth Trying | Better Option |
| Leather gloves losing water resistance, no proper wax on hand | Yes, genuinely useful stopgap | Leather-specific wax when available |
| Emergency mid-trip fix with no other supplies | Yes | N/A — this is the exact use case it’s good for |
| Membrane-lined gloves that are actually leaking | No | Check for membrane damage, not surface treatment |
| Loosely woven or stretch synthetic shell | Marginal at best | A proper spray-on DWR product |
| Long-term seasonal maintenance plan | No | A dedicated waterproofing routine, checked each season |
If you’re finding yourself reaching for this fix repeatedly rather than once in an emergency, that’s a signal worth paying attention to on its own. Gloves that need constant intervention to stay dry are often further along in their wear cycle than a quick surface treatment can meaningfully address, and proper off-season storage habits do more for long-term water resistance than any single treatment applied mid-season.
FAQ
Will candle wax discolor my gloves?
Light-colored synthetic gloves are the most likely to show discoloration, especially from colored or scented candles that contain dyes. A plain white or unscented candle tested on a small interior seam first is the safest way to check before treating a visible area.
How long does a candle wax treatment actually last?
Realistically, a single day of moderate use to a few days at most, depending on how much flexing and abrasion the treated area sees. It wears off noticeably faster than a proper DWR product, which is expected given the difference in how the two treatments actually bond to the material.
Can I use beeswax instead of a regular candle?
Beeswax works through the same basic hydrophobic mechanism and is what many purpose-made leather waterproofing waxes are actually built around, so it’s a reasonable substitute if you have it. It typically applies a bit more smoothly than paraffin and has a slightly higher melting point, which means a bit more heat is needed to work it in.
Is this method safe for gloves with a Gore-Tex membrane?
The wax itself doesn’t touch or damage the membrane layer, since it only sits on the outer shell surface. The actual risk isn’t chemical compatibility — it’s the heat exposure to the insulation between the shell and membrane during application, which is why controlled, brief heat application matters more than the wax itself.