Quick answer: A ripped seam is one of the most fixable failures a ski glove can have, as long as you treat it as a structural repair rather than a quick patch-up job. The right approach comes down to which layer actually failed — most seam blowouts only involve the outer shell, which means a hand-stitched repair with the correct thread and needle can genuinely outlast the original factory stitching. Get this wrong, though, and you risk compressing the insulation or puncturing the waterproof membrane underneath, turning a five-minute fix into a ruined glove. If you’re not sure your current pair is even worth repairing versus replacing, ski glove finder can help you figure out what a realistic replacement would cost before you commit time to a repair.
- Why Seams Fail in the First Place
- Where Seams Actually Fail, and Why It Matters
- Thread Matters More Than Technique
- The Right Needle for the Job
- The Ladder Stitch, and Why It Beats a Basic Whip Stitch
- When Seam Failure Actually Becomes a Problem
- Repair or Retire: A Real Decision, Not a Default
- Common Mistakes That Undo a Seam Repair
- Reducing Future Seam Stress
- When It's Genuinely Time to Stop Repairing
- FAQ
Why Seams Fail in the First Place
A seam is never as strong as the material on either side of it, and that’s not a manufacturing flaw — it’s an unavoidable property of how stitching works. Every needle pass through leather or fabric leaves a small perforation, and those perforations are physically weaker points than the surrounding material.
Research on stitched leather confirms this directly. A peer-reviewed study on leather seam construction found that stitch holes function as genuine stress concentration points, and that as those concentration points increase, cracks propagate deeper and wider through the surrounding material rather than staying contained to the stitch line. In plain terms: every hole a needle makes is a small pre-existing weak point, and a seam under repeated flex and tension eventually fails at one of those points rather than through the solid material around it.
This is exactly why ski gloves fail at seams specifically rather than tearing randomly through the middle of the palm or the back of the hand. The thumb crotch, the palm-to-cuff junction, and the fingertip seams all combine two things that accelerate this process: they’re stitched (so they already have stress concentration points) and they flex constantly every time you make a fist or grip a pole.
Where Seams Actually Fail, and Why It Matters
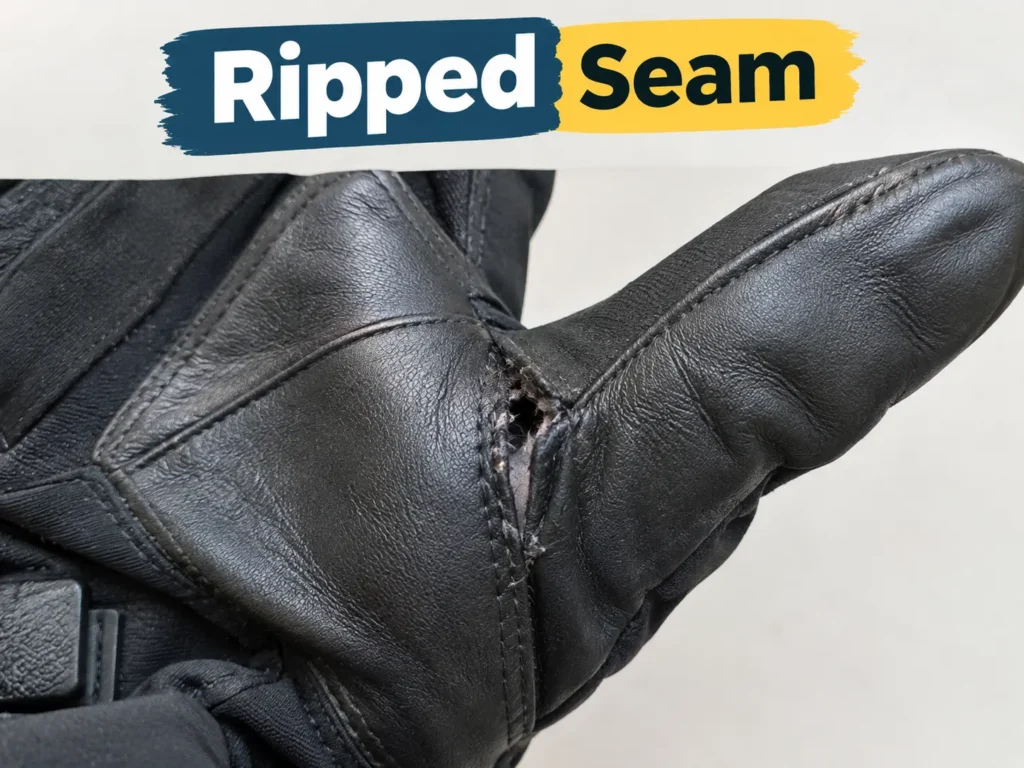
The thumb crotch — the seam where the thumb section meets the rest of the palm — takes more repeated stress than almost any other point on the glove. Every time you grip something, that seam flexes at an angle, and it’s usually the first place a glove shows its age.
Palm-to-cuff seams fail differently. Rather than flexing constantly, they take sudden, sharp stress when you pull the glove on or brace a fall, which tends to produce a clean, sudden pop rather than the gradual fraying seen at the thumb crotch.
Fingertip seams are the trickiest to repair well, simply because there’s so little material to work with. A seam failure here often means the surrounding fabric has also thinned from repeated flexing, which changes the repair approach from a straightforward stitch to something closer to a reinforced patch.
Knowing which of these three you’re dealing with matters because it tells you what’s actually failed underneath the visible tear. A thumb crotch failure is usually just thread fatigue. A cuff separation is more likely to involve some fabric stress alongside the thread failure. Fingertip failures are the most likely to need reinforcement rather than a stitch alone.
Thread Matters More Than Technique
The single most common reason a DIY seam repair fails within days isn’t bad stitching — it’s the wrong thread. Standard cotton sewing thread, the kind found in almost every hotel sewing kit and craft-store multipack, has no place on a ski glove.
According to a detailed comparison of sewing thread materials from a specialist supplier in outdoor and marine sewing applications, nylon thread offers a high strength-to-size ratio along with genuine flexibility and stretch, while cotton lacks the weather resistance needed for repeated exposure to moisture and cold. Cotton also has essentially no give under tension, which means it snaps rather than stretching with the fabric around it — precisely the wrong property for a glove seam that flexes with every grip.
Bonded nylon specifically outperforms plain nylon because the bonding process coats the fiber to resist fraying and abrasion, which matters enormously for a repair sitting against a pole handle or a chairlift bar all day. This is also why a repair sewn with dental floss in an emergency genuinely can outperform one sewn with weak cotton thread — waxed floss has more in common with bonded nylon’s moisture resistance than cotton ever will.
| Thread Type | Works for Glove Seams? | Why |
| Cotton | No | Weak under tension, absorbs moisture, no stretch recovery |
| Plain nylon (unbonded) | Marginal | Decent strength but frays faster without a protective coating |
| Bonded nylon | Yes | High tensile strength, resists fraying and moisture, retains flexibility |
| Waxed dental floss | Emergency use only | Surprisingly strong and water-resistant, but not built for repeated abrasion |
The Right Needle for the Job
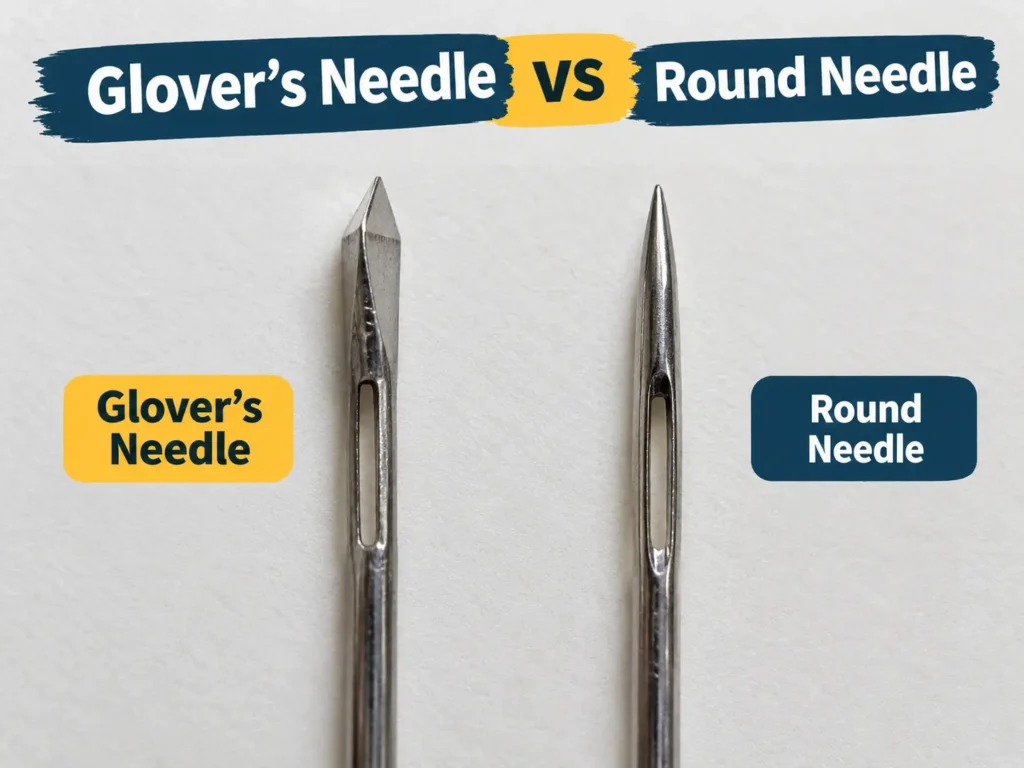
A standard round sewing needle and leather are a bad combination, and it’s worth understanding exactly why before attempting any repair. Round needles push fibers apart rather than cutting through them cleanly, which means they need far more force to pass through leather and are more likely to snap or deflect mid-stitch.
A glover’s needle solves this with a genuinely different design. According to the International Leather Club’s guide to leather sewing needles, glover’s needles have a triangular point specifically because glove makers needed a needle that could pierce hide and buckskin cleanly rather than tearing through it, and that same triangular design is still the standard recommendation for stitching gloves, moccasins, and similar soft leather goods today.
This matters practically because a deflecting needle doesn’t just make the repair harder — it creates an uncontrolled tear path rather than a clean perforation, which undermines the entire stress-concentration point made earlier. A clean triangular puncture stays a small, controlled weak point. A torn, deflected path becomes a much larger one.
If your current gloves are reaching the point where you’re patching multiple seams across a season rather than fixing one clean failure, that’s worth treating as a signal about the glove’s remaining lifespan rather than just a repair task. Comparing what a season of repeated repairs actually costs in time against a reasonably priced replacement is worth doing honestly before sinking more hours into a glove that’s fundamentally wearing out.
The Ladder Stitch, and Why It Beats a Basic Whip Stitch
A whip stitch — looping thread over the raw edge of a seam — is the instinctive first move for most people, and it’s genuinely the wrong choice for a ski glove specifically. The thread sits on top of the material rather than inside it, which means it’s directly exposed to abrasion from pole handles, chairlift bars, and ski edges every time you use the glove.
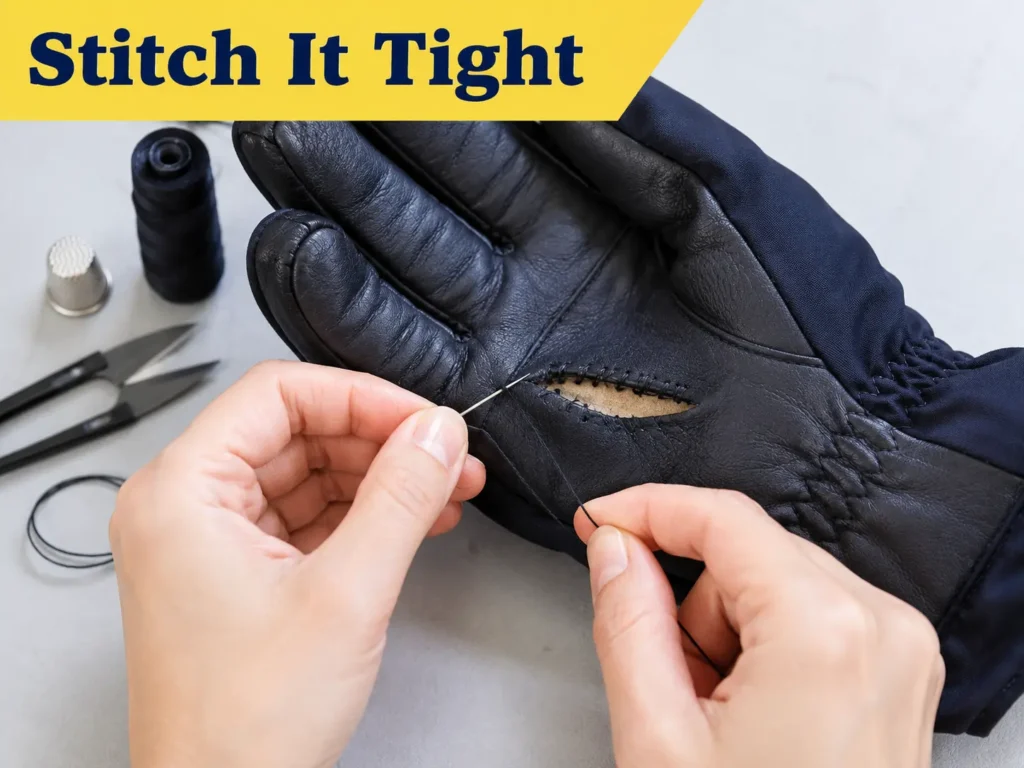
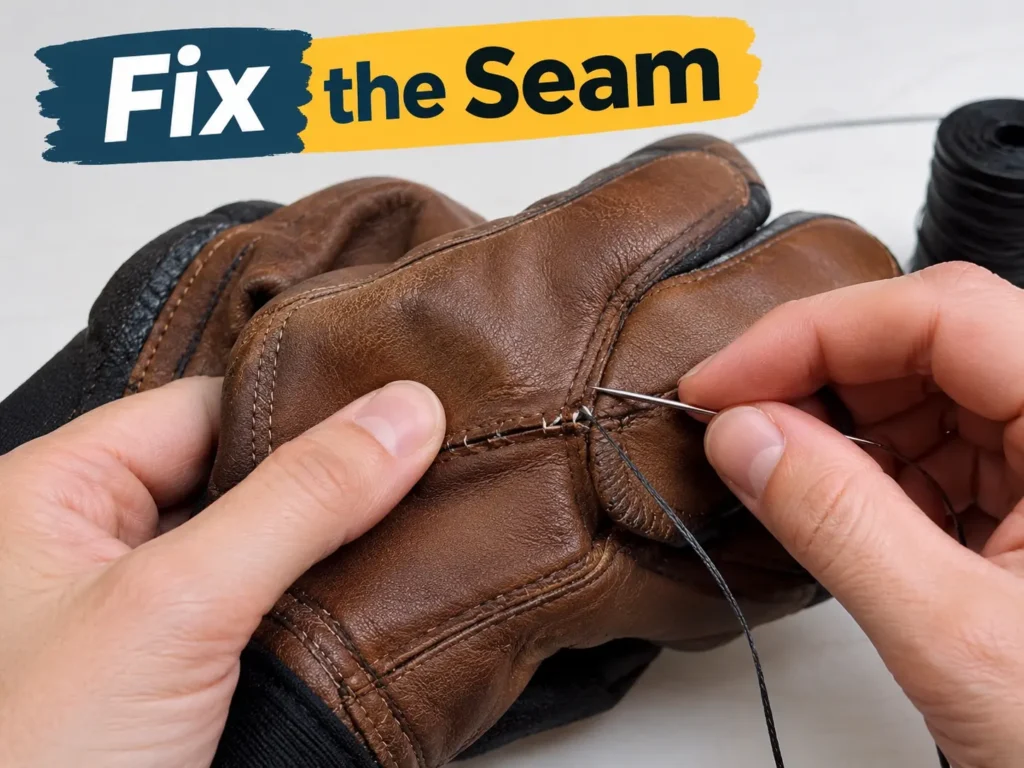
A ladder stitch, sometimes called a blind stitch, works from inside the fold of the material on each side of the tear, crossing back and forth without the thread ever sitting exposed on the surface. Once pulled tight, the two edges draw together and the thread effectively disappears inside the seam rather than riding on top of it.
The tradeoff is real: a ladder stitch takes noticeably longer to execute than a whip stitch, and it only works cleanly on a tear where the material folds naturally rather than a jagged, irregular rip. For a clean seam separation, it’s worth the extra time. For a ragged tear with missing material, a whip stitch reinforced with a patch underneath is often the more realistic option.
Tension matters as much as stitch choice. A seam pulled too tight loses the small amount of give a hand naturally needs when gripping a pole or making a fist, and a seam with zero give tends to fail again right next to the new stitching rather than holding. A seam left too loose lets moisture track in along the thread. The right tension closes the gap fully while still allowing a small amount of flex.
When Seam Failure Actually Becomes a Problem
A small seam separation on a mild groomer day is an annoyance more than an emergency. The same failure on a multi-day backcountry trip or in genuinely cold conditions is a different situation entirely, since a compromised seam lets cold air track directly to your skin with every gust.
Mid-trip failures are the scenario where the emergency kit described earlier actually earns its keep. Waxed dental floss and a travel needle weigh almost nothing, and a five-minute field repair using them can be the difference between finishing a trip comfortably and cutting it short over a torn thumb crotch.
Cold temperatures make repair work harder in a specific, practical way that’s worth planning around. Leather stiffens as it gets cold, which makes it more resistant to the needle and increases the chance of the needle deflecting or the leather cracking under the added force. Doing any non-emergency repair indoors, at room temperature, produces a noticeably cleaner result than trying to fix a seam glove-in-hand at the base of the mountain.
Repeated freeze-thaw cycles across a season also affect already-repaired seams differently than they affect the original factory stitching. A repair sealed with a flexible sealant handles this fine, but a repair left unsealed can let moisture into the stitch holes, which then expands slightly as it freezes and gradually works the repair looser over the following weeks.

Repair or Retire: A Real Decision, Not a Default
Not every ripped seam is worth fixing, and pretending otherwise wastes time on gloves that were never going to hold a repair well. A clean thread failure with intact material on both sides is close to a guaranteed successful repair. Leather that’s gone stiff and shows fine cracking near the tear is a different story entirely — new stitches tear through brittle, dried-out leather almost as easily as the original failure happened.
| Situation | Repair Outlook |
| Clean thread break, material intact | High success rate |
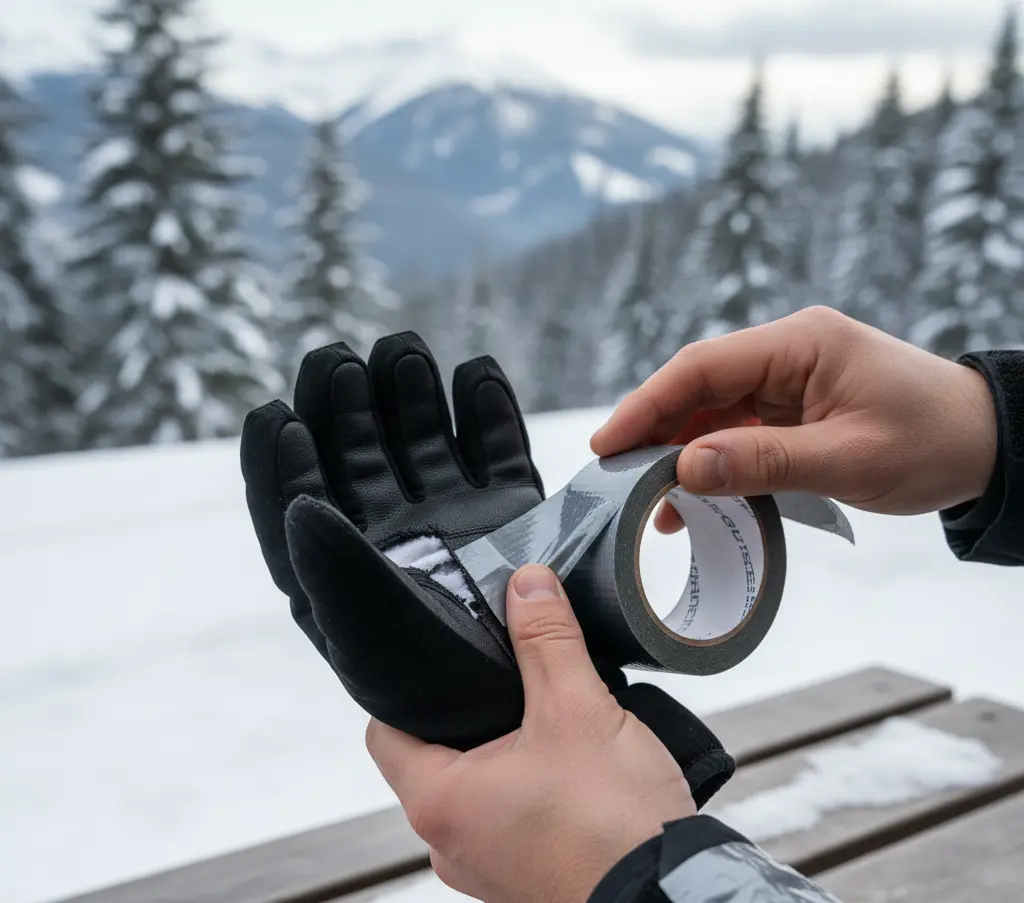
| Fraying nylon edges, otherwise sound fabric | Good, with singed edges and possible tape reinforcement |
| Leather showing fine cracks near the tear | Poor — new stitches tear through brittle leather |
| Visible insulation showing through worn fabric | Needs a patch, not just a stitch |
| Repeated seam failures across one season | Worth comparing repair time against replacement cost |
Common Mistakes That Undo a Seam Repair
Sewing through all the layers at once is the single most damaging mistake, and it’s an easy one to make when you’re focused on just closing the visible gap. Catching the insulation or the waterproof membrane in the same stitch that repairs the shell compresses the loft that keeps your hand warm and can puncture the one layer that’s supposed to keep water out entirely.
Using thread that’s too thick for the existing holes is a subtler mistake with the same outcome as using the wrong thread type. Forcing an oversized thread through an existing stitch hole widens that hole further, which increases the exact stress concentration effect described earlier rather than reducing it.
Skipping any kind of sealant on the finished repair leaves dozens of tiny new perforations with nothing stopping water from wicking straight through them into the insulation. A thin bead of a flexible seam sealant, or beeswax worked into a leather seam with gentle heat, closes that gap without adding bulk.
Rushing the anchor knot is a mistake that shows up days later rather than immediately. A knot left sitting on the outside of the glove rubs against pole straps and lift bars constantly, and it’s usually only a matter of time before it works itself loose.
Reducing Future Seam Stress
The best seam repair is one you don’t have to make twice, and a little routine care meaningfully reduces how often seams fail in the first place. Leather that’s kept conditioned stays flexible enough to move with the stitching instead of resisting it, which directly reduces the stress concentration effect at every existing seam.
Paying attention to how you remove wet gloves matters more than most people realize. Yanking a damp glove off by the fingertips puts sudden, concentrated force directly through the fingertip and thumb-crotch seams — exactly the areas already carrying the most repeated stress during normal use. Pulling from the cuff instead distributes that force more evenly.
Storing gloves fully dry and unfolded, rather than crumpled into a jacket pocket for the drive home, also reduces the freeze-thaw cycling described earlier. A glove packed away damp goes through repeated moisture expansion at every existing stitch hole, which is a slow, cumulative version of the exact failure this whole repair process addresses.
When It’s Genuinely Time to Stop Repairing
A repair extends a glove’s working life — it doesn’t reset it. If you’re finding a new seam failure every few outings rather than one isolated incident, that’s the material telling you it’s reached the end of its useful stitching life, not a sign you need a better repair technique.
This is also where it’s worth checking the broader condition of the glove rather than just the seam in front of you. If patches, holes, and worn palm material are showing up alongside the seam failures, you’re dealing with general wear across the whole glove rather than one localized seam problem, and that calls for a different repair strategy than stitching alone.
FAQ
Can I use a sewing machine instead of hand-stitching?
Most home sewing machines struggle with the combination of leather thickness and the tight, curved access points on a finished glove. Hand-stitching with a glover’s needle is slower but gives far more control in tight spaces like the thumb crotch, which is exactly where most seam failures happen.
How long does a properly repaired seam actually last?
A repair done with bonded nylon thread, the correct needle, and proper sealing frequently outlasts the remaining life of the glove itself, since you’re not fighting against a factory-installed weak point anymore. A rushed repair with cotton thread and no sealant can fail again within days of use.
Should I repair both gloves if only one has a torn seam?
Only if the other glove shows early signs of the same wear pattern. Repairing a glove that isn’t actually failing yet doesn’t add protection and just adds unnecessary stitch holes, which are themselves stress concentration points as covered earlier.
Is it worth repairing a seam on a glove with a broken heating element?
No — if you have a battery-powered heated glove, avoid sewing near the wiring entirely. Piercing a heating wire with a needle risks a short circuit, and that repair should go back to the manufacturer rather than being attempted by hand.