Quick answer: A torn glove isn’t automatically a dead glove — where the tear sits and what caused it tells you exactly what fix it needs. Clean punctures on the back of the hand hold up fine with a simple patch. Palm tears need more reinforcement because that zone takes constant grip stress. Seam failures need re-stitching, not just adhesive, or they keep opening under the patch. Leather needs a completely different approach than synthetic fabric. Get the diagnosis right and most tears are a twenty- to forty-minute fix, not a reason to buy new gloves. If a repair turns out not to be worth it, ski glove finder can help you figure out what to replace it with.
- Why Ski Gloves Tear Where They Do
- Diagnose Before You Touch Anything
- Small Tears on the Back of the Hand and Cuff
- Palm Tears: The High-Stress Repair
- Seam Failures: Why You Have to Stitch Before You Seal
- Leather Tears Need a Different Approach Entirely
- Why Thread Choice Actually Matters
- Why Surface Prep Decides Whether Any of This Holds
- Sealing and Waterproofing the Repair
- Field Fixes When You're Not Near a Repair Kit
- Testing a Repair Before You Trust It on Snow
- Mistakes That Make Repairs Fail Fast
- When Repair Makes Sense and When It Doesn't
- FAQ
Why Ski Gloves Tear Where They Do
Tears don’t happen randomly across a glove — they cluster in specific, predictable locations because those locations take specific, predictable stress. The palm and the base of the fingers absorb constant grip load from poles, bindings, and chairlift bars. Seams, especially at the thumb crotch, flex thousands of times per ski day at the exact point where two fabric panels are joined, which is inherently a weaker point than the fabric itself.
The back of the hand, by contrast, sees comparatively little direct stress, which is why tears there are both less common and easier to repair permanently.
Cold makes all of this worse. Most glove shell fabrics and the adhesives used to repair them are polymers, and polymers have a real physical property called a glass transition point — the temperature below which they shift from flexible to genuinely brittle, the same physical mechanism that makes plastic snowshoe straps snap in a cold snap when they’d bend fine at room temperature.
A glove fabric that flexes without issue in a warm shop can crack or tear more easily at the exact temperatures it’s actually used in. This is also why a repair that holds when tested indoors can still fail on the mountain — the test conditions weren’t cold enough to reveal the weakness.
This matters practically for timing repairs, not just understanding them. Attempting adhesive-based repairs in a cold garage or unheated mudroom means the adhesive itself is curing below its optimal temperature range, which slows curing and can weaken the final bond. Doing repair work in a warm room, even if the gloves themselves were cold when the tear happened, gives the adhesive a real chance to bond properly before it faces genuinely cold conditions again.
Diagnose Before You Touch Anything
Four questions determine which repair method actually works, and skipping this step is the single most common reason DIY repairs fail.
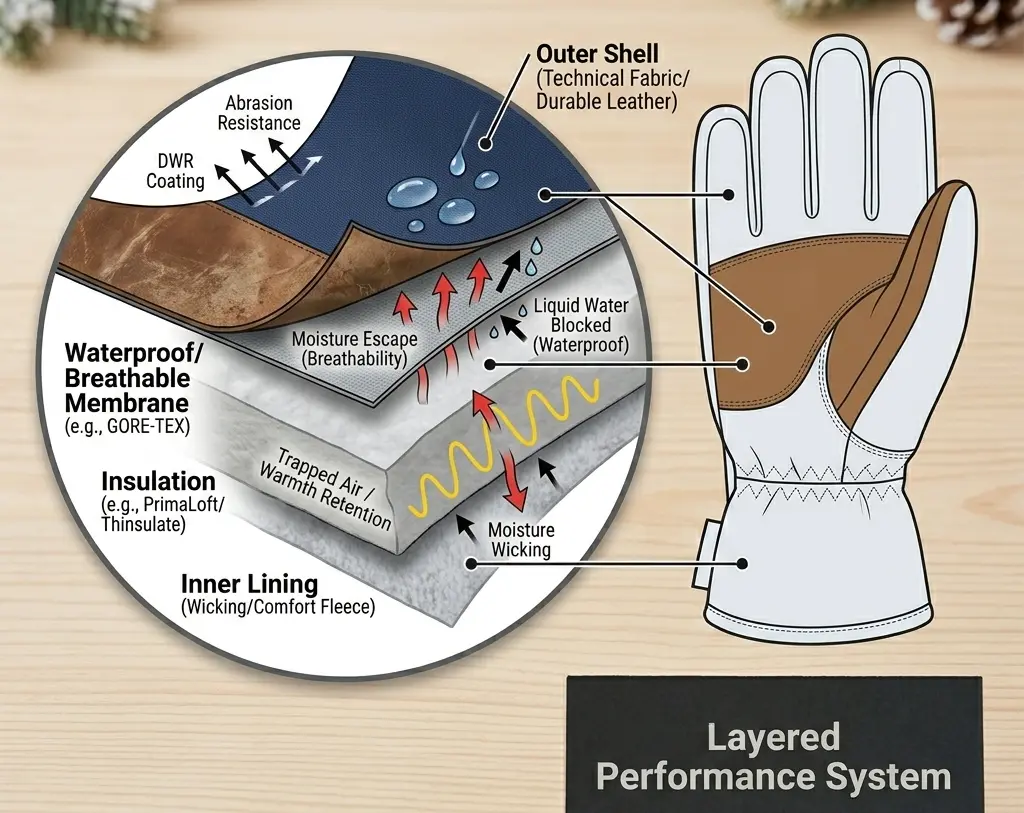
Where is the tear — palm, seam, back of hand, or finger? Each location takes different stress and needs a different repair strength. How deep does it go — outer shell only, or through to the insulation or waterproof membrane? Press the tear open gently and look; a shiny, film-like layer is the membrane, and a fibrous material is insulation. Is it a clean tear with intact edges, or has the fabric thinned and worn through around it?
Thinned fabric won’t hold a stitch no matter how careful the technique. And how large is it — under 15mm generally allows a simpler repair, while anything larger in a high-stress zone needs stitching before patching, not patching alone.
These four answers together point to one of a small number of real repair paths, rather than a guessing game. A small, clean tear on the back of the hand and a large seam failure at the thumb crotch are different enough problems that using the same fix on both explains most of the repair failures people run into — not bad materials, just the wrong method for that specific situation.
Small Tears on the Back of the Hand and Cuff
This is the most forgiving repair zone on the glove, since it takes the least ongoing stress. Clean the area and the surrounding two centimeters with a dry cloth or isopropyl alcohol — any residue from ski wax, sunscreen, or dirt prevents proper bonding. For tears under 15mm here, a nylon patch or ripstop repair tape, cut at least 15mm larger than the tear on every side with the corners rounded rather than square, applied directly to the clean surface, is usually sufficient without stitching. Square corners are the most common failure point on any patch — they catch and peel first, so rounding them isn’t cosmetic, it changes how stress distributes around the patch edge.
For tears over 15mm even in this low-stress zone, sew the tear closed first with a simple backstitch before applying the patch over the top. The stitch does the structural work; the patch and its sealed edges do the waterproofing work. Skipping the stitch on a larger tear means the patch alone is bridging a gap it wasn’t designed to structurally hold.
Palm Tears: The High-Stress Repair
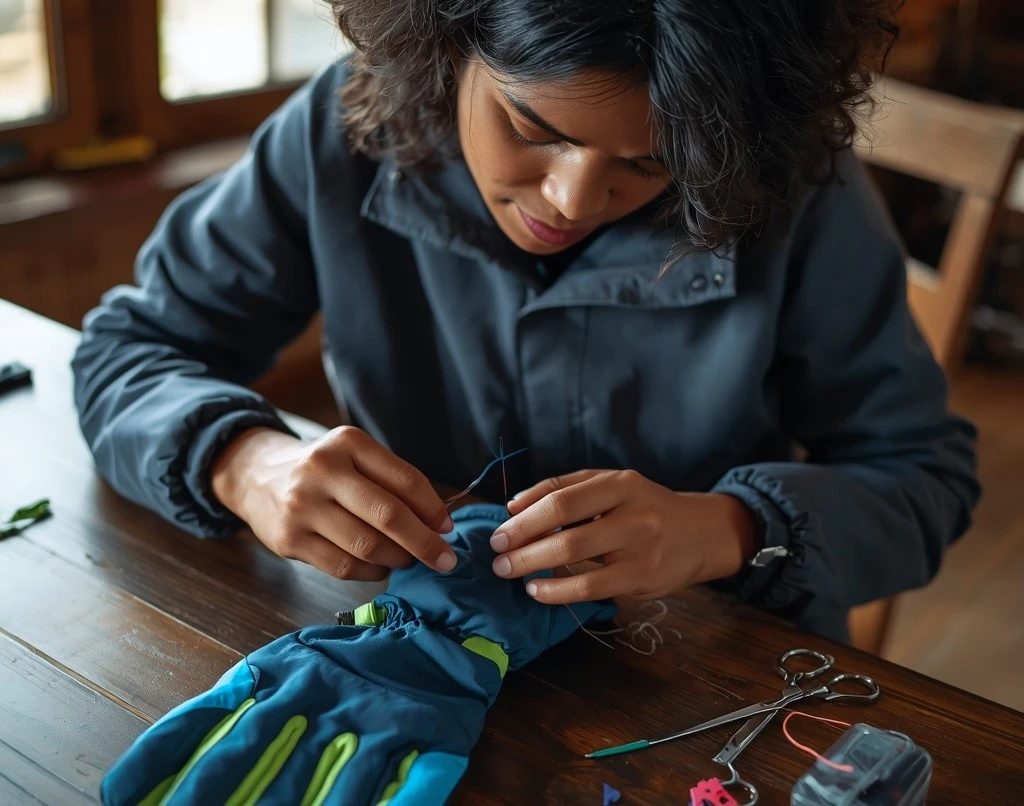
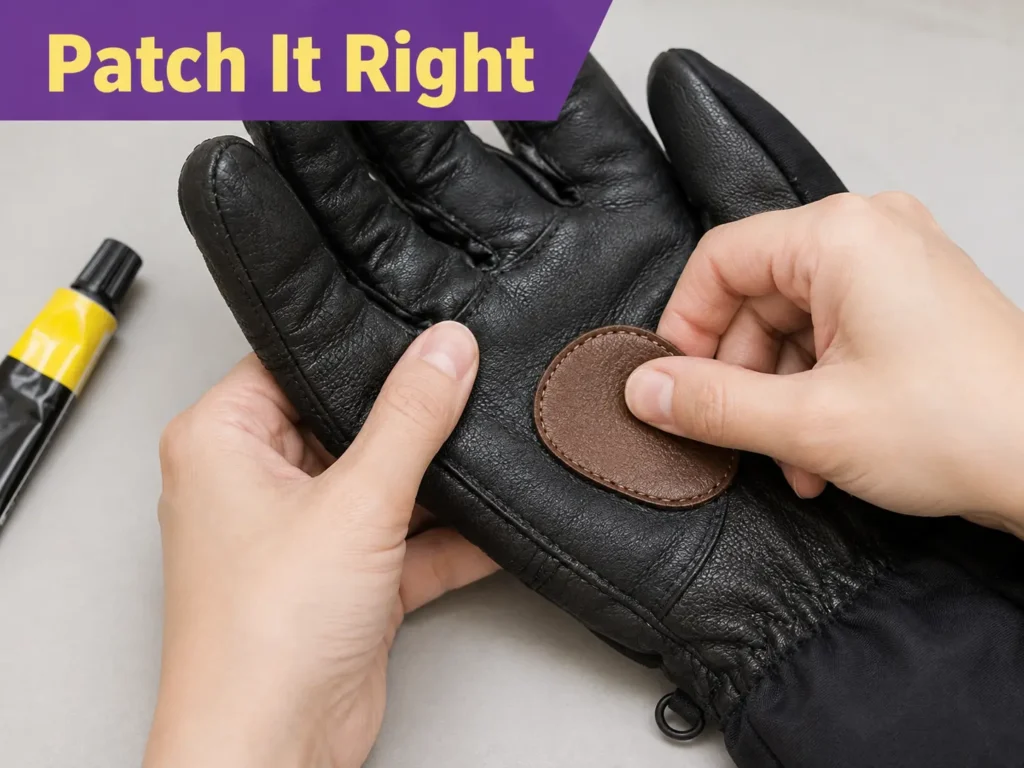
The palm takes constant grip load, which means any repair here needs a genuine mechanical connection, not just surface adhesion. For tears under 15mm, a leather patch works best — leather resists the shear stress of pole grip far better than synthetic patches, which tend to stretch and eventually separate under the same load. For anything larger, or any tear where the surrounding fabric shows separate wear, stitch first with a backstitch, then apply the patch over the reinforced area.
Placing a backing patch on the interior of the glove, behind the tear, before stitching gives the repair something stronger than thin damaged fabric to actually anchor into. The stitching passes through both the patch and the glove fabric together, spreading the repair’s load across a wider area instead of concentrating it at the original tear’s weakened edges.
It’s worth checking reinforcement placement specifically once the patch is in, not just assuming it’s positioned correctly. The interior patch should extend well past the tear on every side, particularly toward the base of the fingers, since that’s where grip pressure concentrates hardest during a normal pole plant. A patch that only barely covers the original tear leaves its own edges sitting in the same high-stress zone that caused the original failure.
Seam Failures: Why You Have to Stitch Before You Seal
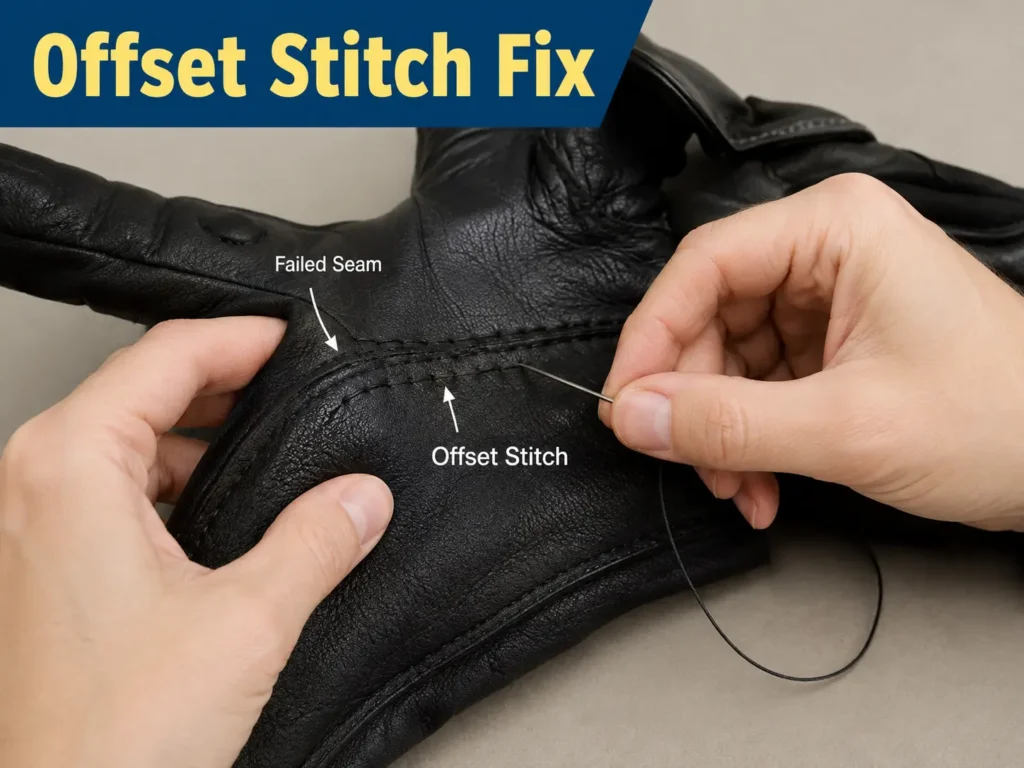
A seam failure isn’t a surface tear — it’s the original factory stitching that has broken, letting two fabric panels separate. Applying adhesive or a patch directly over a failing seam without re-stitching first doesn’t fix anything structurally; it just covers the gap temporarily while the panels keep separating underneath, and the seam typically continues opening within days.
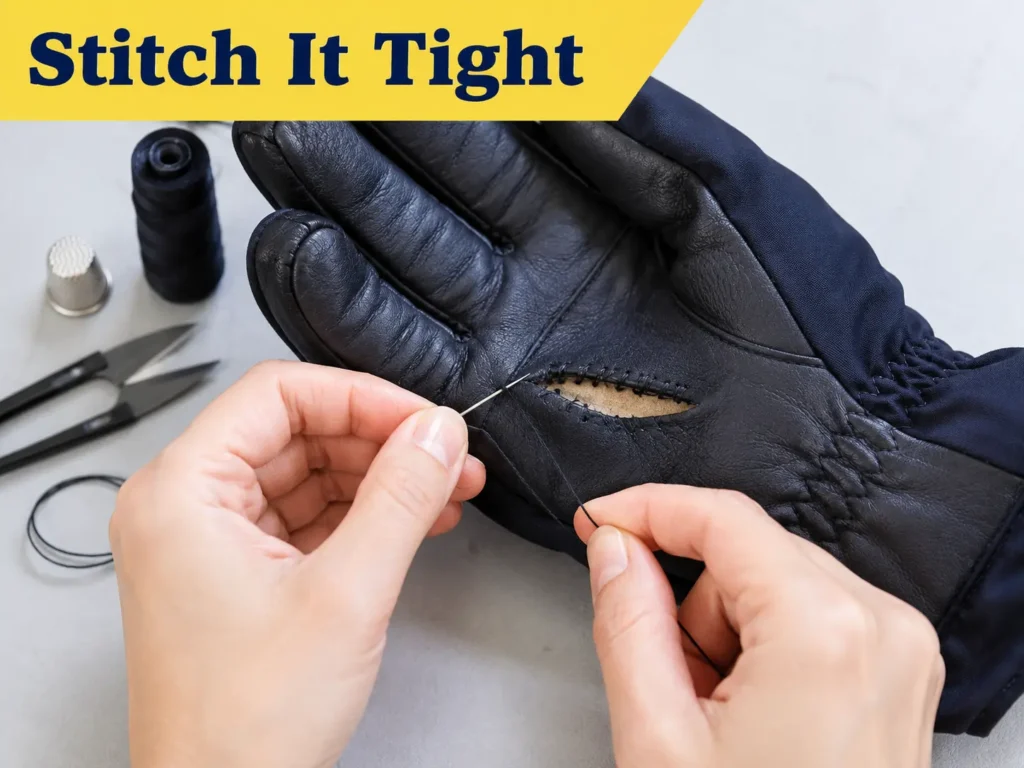
Don’t stitch back into the original needle holes. That line of small perforations is already a weakened point in the fabric, and restitching through it anchors the repair in material that’s already compromised. Instead, start the new stitching about two millimeters to the side of the original seam line, into fabric that hasn’t been perforated yet, and work along the seam direction pulling the panels back together. The repair sits alongside the original seam rather than on top of it, which gives it a genuinely stronger anchor.
Leather Tears Need a Different Approach Entirely
Leather doesn’t respond to needle repair the way synthetic fabric does. Each needle hole in leather becomes a concentrated stress point rather than a flexible thread path, and a line of stitching across a leather palm can create a perforation line the leather eventually tears along under normal flexion — sometimes worse than the original damage.
The correct method for leather is adhesive and a leather patch, not stitching. Clean the area, apply leather-specific flexible adhesive to both the tear edges and the back of a leather patch, press together with firm, even pressure, and clamp or weight the repair for at least twelve hours while it cures. If you don’t have a specialized leather needle — a triangular cross-section needle built specifically to cut through leather cleanly rather than deflect off it — don’t attempt stitching on leather at all.
Why Thread Choice Actually Matters
Cotton thread seems like a reasonable default, but it’s the wrong choice for ski gear specifically because of how it behaves with moisture. Cotton is a natural fiber that absorbs water readily — technical testing on sewing thread moisture behavior puts cotton’s moisture regain around 7-8.5% under standard conditions, compared to under 0.4% for polyester. That absorbed moisture causes the thread to swell, which progressively loosens its grip in the surrounding fabric — exactly the wrong behavior for a repair that’s going to spend a day in wet snow. Waxed polyester or waxed nylon thread stays dimensionally stable regardless of moisture exposure, which is why it’s the right default for any glove repair.
Why Surface Prep Decides Whether Any of This Holds
More repairs fail from skipped surface preparation than from wrong material choice. Adhesive bonds by forming a genuine connection with the surface it’s applied to, and that connection depends heavily on the surface being clean and appropriately prepared — a principle covered in detail in adhesion science resources on how bonding actually works at a material level. Any residual moisture, skin oil, or wax residue sits between the adhesive and the fabric, weakening the bond before it’s even had a chance to cure.
If the glove fabric has a factory DWR water-repellent coating, that coating actively resists adhesive bonding by design — it’s meant to repel liquids. Lightly scuffing the area with fine sandpaper before cleaning breaks through that resistance and gives the adhesive something to actually grip. Skipping this step on a DWR-coated shell is one of the most common reasons a seemingly correct repair peels within days.
Sealing and Waterproofing the Repair
A structurally closed tear and a waterproof one aren’t automatically the same thing. Stitching closes the fabric, but the needle holes themselves are new potential entry points for moisture unless they’re sealed. After any stitched repair, run a thin bead of flexible seam sealer along the stitch line, and around the full perimeter of any patch, once the primary adhesive has cured. This is what actually prevents slow moisture wicking along the thread — a failure mode that’s easy to miss because it doesn’t look like a leak, it just shows up as a gradually damp glove interior.
If a tear has reached the waterproof membrane itself, that layer needs its own sealing step before the outer patch goes on. A membrane-specific flexible sealant applied directly to the membrane surface, allowed to begin curing before the outer shell patch is applied, addresses the actual leak point rather than just covering it cosmetically from the outside.
Field Fixes When You’re Not Near a Repair Kit
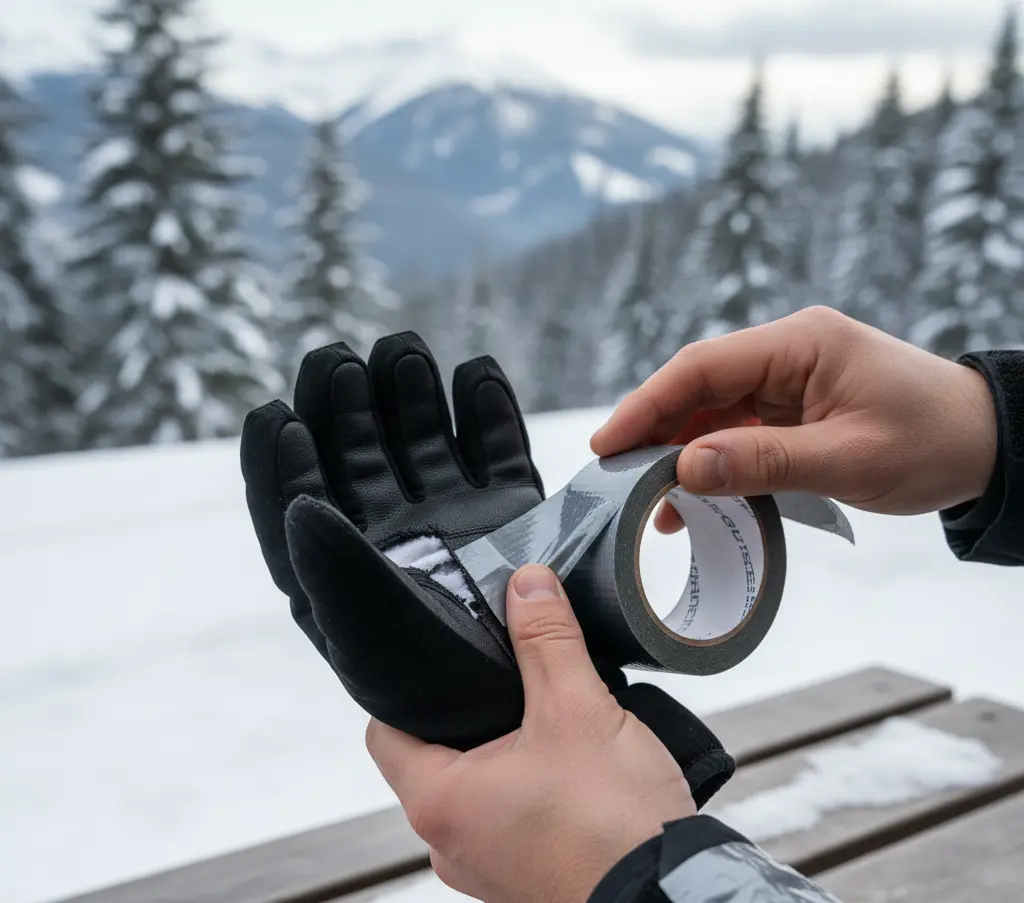
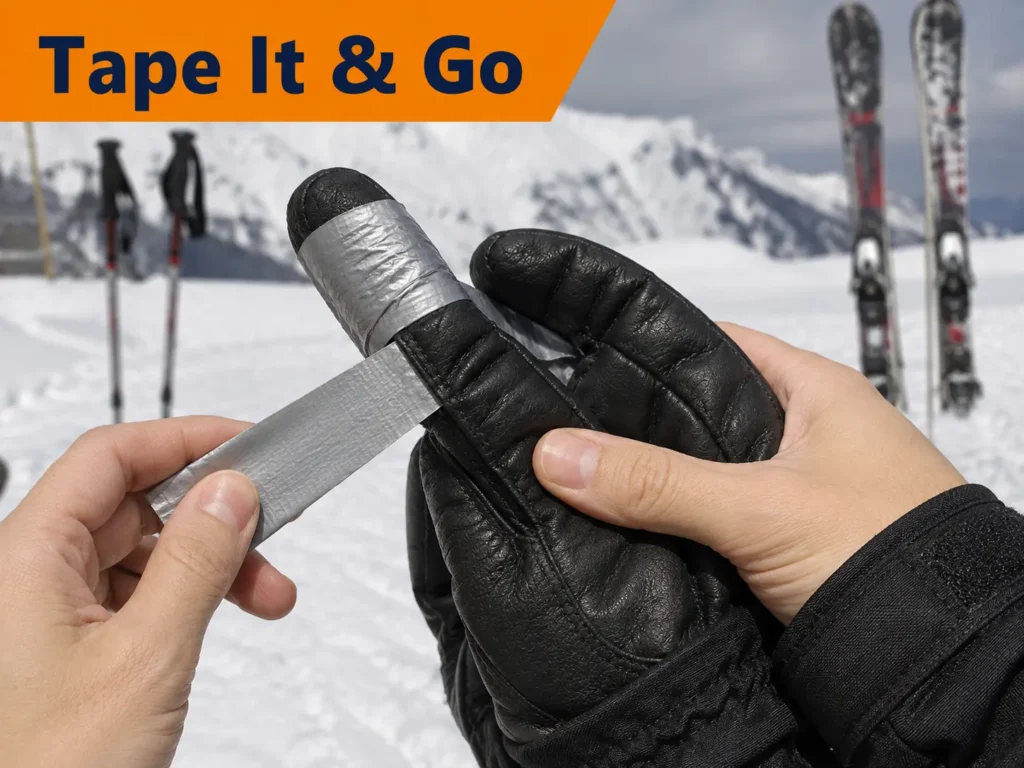
Sometimes a tear happens mid-mountain with no repair materials available, and the goal shifts from a permanent fix to getting through the rest of the day. Duct tape wrapped with firm, even tension — under slight stretch rather than loose — works for most tear locations for a single day, though it will have absorbed moisture by the end of the session and shouldn’t be relied on for a second day without a proper repair.
Kinesiology tape is worth keeping in a jacket pocket if you ski often. It’s water-resistant rather than fully waterproof, stays flexible in cold temperatures better than standard tape, and generally holds through a full day and sometimes two. Whatever field fix you use, treat it as temporary — skiing multiple additional days on a field patch usually lets the underlying tear keep growing underneath it, turning a repair that would have been simple into a larger one later.
Athletic tape from a first-aid kit is a distant third option — not waterproof, and it saturates and loses its grip quickly in wet snow, but it’s better than nothing for keeping a small tear from spreading further until you can see the damage properly at the end of the day.
Testing a Repair Before You Trust It on Snow
Two quick checks catch a repair that looks fine but won’t actually hold. Hold the repaired area under running water for about a minute, then press the interior lining at that spot with a dry cloth — any moisture picked up means the seal isn’t complete. Then, with the glove on, make a full fist and release it several times in quick succession at the repair site, followed by pressing the area firmly against a hard surface the way you would gripping a pole. Any thread loosening, adhesive lifting, or reopening at this stage means the repair needs more work before it’s trusted on the mountain.
It’s also worth checking the fabric itself before assuming a repair will hold at all. Holding the glove up to bright light and looking at the area around the tear — not just the tear itself — shows whether the surrounding fabric is still structurally sound or has thinned from abrasion. Fabric thin enough to see light through has no integrity left for a stitch to anchor into, regardless of technique.
Mistakes That Make Repairs Fail Fast
Using adhesive alone on a seam failure, without stitching first, is the most common mistake — it covers the gap temporarily while the underlying panels keep separating, and the repair typically reopens within days. Stitching into the original factory needle holes rather than offsetting the new stitch line is a close second, since it anchors the repair in fabric that’s already perforated and weakened.
Applying any adhesive to a surface that isn’t fully dry is another reliable way to guarantee failure — a glove that feels dry on the outside can still hold moisture in the insulation layer underneath, and residual moisture at the bond surface prevents the adhesive from curing properly no matter how long it sits.
When Repair Makes Sense and When It Doesn’t
| Situation | Recommendation |
| Clean tear under 15mm, back of hand | Patch alone, no stitching needed |
| Clean tear over 15mm, any zone | Stitch first, then patch |
| Palm tear, any size | Leather patch or stitch-plus-patch, not adhesive alone |
| Seam separating | Offset stitch required — adhesive alone won’t hold |
| Leather tear | Adhesive and patch only, never stitching |
| Fabric thinned/worn rather than torn cleanly | No repair method holds — replace |
| Multiple tears across the glove | Glove is likely at end of life |
| Insulation falling out or membrane shredded in several spots | Replace rather than repair |
If you’re weighing repair against replacement and the glove is otherwise sound, it’s worth checking what’s left in it before investing repair time — a glove already showing multiple unrelated failure points isn’t a good repair candidate even if this particular tear is fixable.
FAQ
Can duct tape be a permanent fix instead of a real repair?
No. It works for a single day, sometimes two, but the adhesive degrades with moisture exposure and it doesn’t address the underlying fabric or seam damage. Treat it as a bridge to a proper repair, not a replacement for one.
How do I know if a tear has reached the waterproof membrane?
Gently press the tear open and look. A shiny, thin, film-like layer between the outer shell and the insulation is the membrane. If you see it, that layer needs its own sealing step before the outer patch is applied, or the glove will leak at that spot regardless of how good the outer repair looks.
Is it ever worth paying for professional repair instead of DIY?
For large leather tears, or when leather is already cracking around the damage, yes. A DIY attempt on significant leather damage often leaves a stiff repair zone that cracks at its own boundary under normal flexing, where a professional repair uses matched materials and techniques that keep the leather’s flexibility intact.