Quick answer: Leather ski gloves feel stiff out of the box because the tanning process leaves the fibers tight and un-flexed. The safe way to break them in is to wear them through normal use — cold, dry sessions first — while conditioning the leather every few wears so it softens instead of cracking. Skip the oven, skip soaking them and wearing them wet, and give it three to five ski days before judging the fit.
If you’d rather match a glove to your hands before dealing with any of this, the Ski Glove Finder matches you to a glove based on your temperature range and hand sensitivity in under a minute.
- Why New Leather Gloves Feel So Stiff
- The Leather Grade Changes the Timeline
- Three Real Break-In Methods (And What Each One Actually Does)
- The Actual Step-by-Step Process
- Common Mistakes That Ruin the Break-In Process
- What You Actually Need (And What's Overkill)
- A Simple Self-Check Test
- Warning Signs Something's Actually Wrong
- Who Should Skip the Conditioner-Assisted Method
- Decision Checklist
- Dry Cold vs. Wet Coastal Snow Changes the Process
- How Break-In Time Compares to Other Leather Gear
- FAQs — Breaking In Leather Ski Gloves
- Quick Reference: Break-In Timeline
- The Short Version
Why New Leather Gloves Feel So Stiff
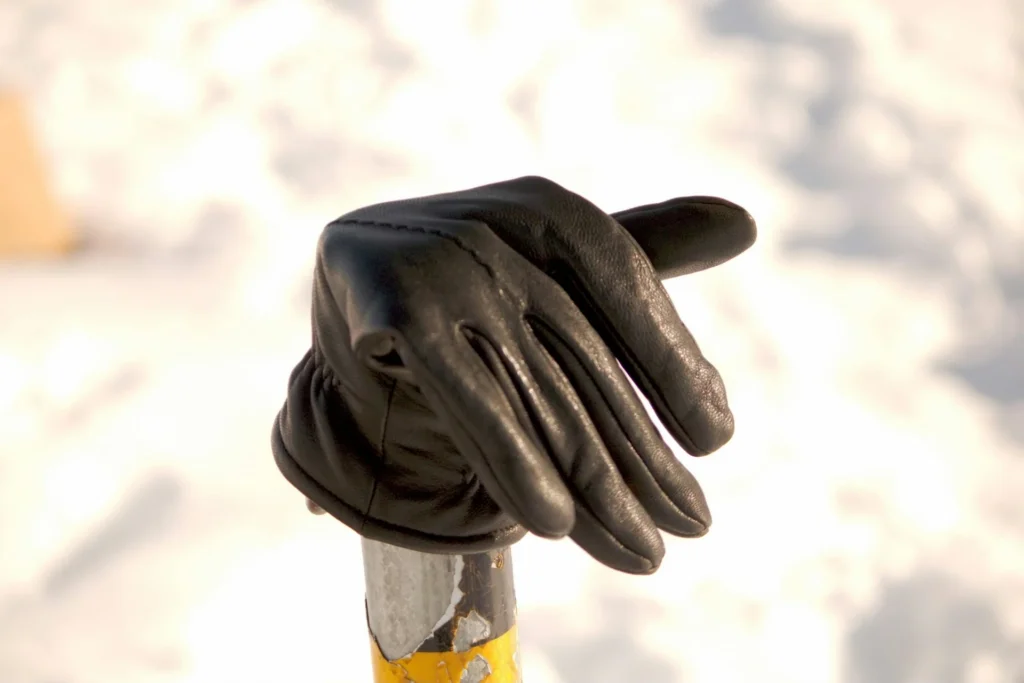
A brand-new leather ski glove can feel closer to cardboard than fabric.
That’s not a defect — it’s how the leather got there.
Tanning is a chemical process that stabilizes animal hide so it doesn’t rot.
Most ski gloves use chrome tanning, where chromium salts bond with the hide’s fibers to harden and preserve them.
That process is what makes leather durable enough to survive chairlift rails and ski poles for years.
It’s also exactly why the fibers start out tight and resistant to bending.
Wearing and conditioning the glove is what loosens those fibers back up.
Until that happens, the leather just doesn’t move the way your hand wants it to.
The Leather Grade Changes the Timeline
Not all leather softens at the same speed, and this is where a lot of buyers get frustrated waiting for a glove that was never going to break in fast.
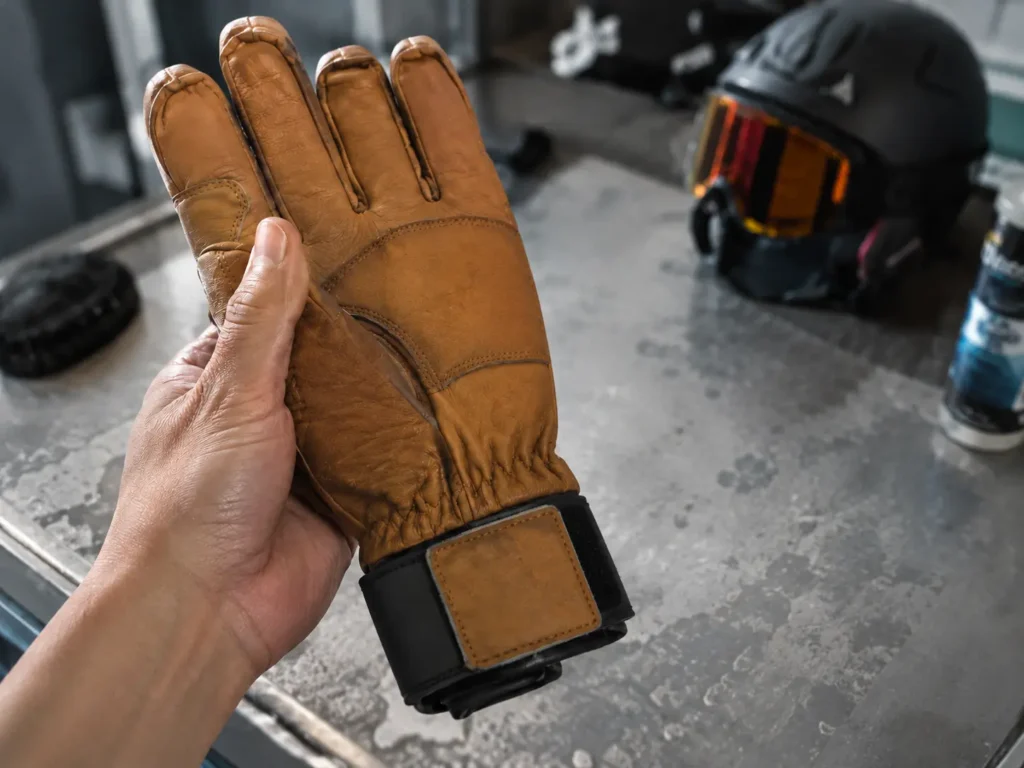
Full-grain leather is the toughest and most durable option, and also the slowest to soften.
It’s the top layer of the hide with the natural grain intact, so it takes real wear over multiple weeks to relax.
Top-grain leather is sanded down slightly for a more uniform surface.
It softens faster than full-grain but doesn’t quite match its long-term durability.
Genuine leather — despite the name sounding premium, it’s actually a lower grade, made from leftover layers of the hide.
It softens the fastest, often within days, but wears out sooner too.
If your gloves feel like they’re taking forever to soften, check which grade you bought before assuming something’s wrong. A full-grain glove that hasn’t budged after two runs is behaving normally.
Three Real Break-In Methods (And What Each One Actually Does)
There isn’t one single “correct” method — there are three approaches people actually use, and each comes with real tradeoffs.
| Method | How it works | Time to soften | Risk if done wrong |
| Wear-in only | Normal skiing use, no product | Slowest (2-4+ ski days) | Low — safest option |
| Conditioner-assisted | Leather conditioner or mink oil applied before/between wears | Moderate (1-3 ski days) | Low, if product is leather-safe |
| Damp-and-wear | Lightly dampen the outside, then wear until dry | Fastest (same day) | Moderate — overdoing it stretches or stains leather |
Wear-in only is the lowest-risk option. You just use the gloves normally and let repeated flexing do the work. It’s slower, but there’s nothing to get wrong.
Conditioner-assisted speeds things up because the oils in the conditioner physically loosen the fiber structure, not just your hand movement. This is the method most leather-care guides actually recommend, and it protects against cracking at the same time.
Damp-and-wear works fastest but has the narrowest margin for error. Too much water, or drying near heat afterward, can stiffen the leather worse than before or cause it to dry unevenly.
For most skiers, conditioner-assisted is the best balance of speed and safety. Save damp-and-wear for gloves you’re not worried about babying.
The Actual Step-by-Step Process
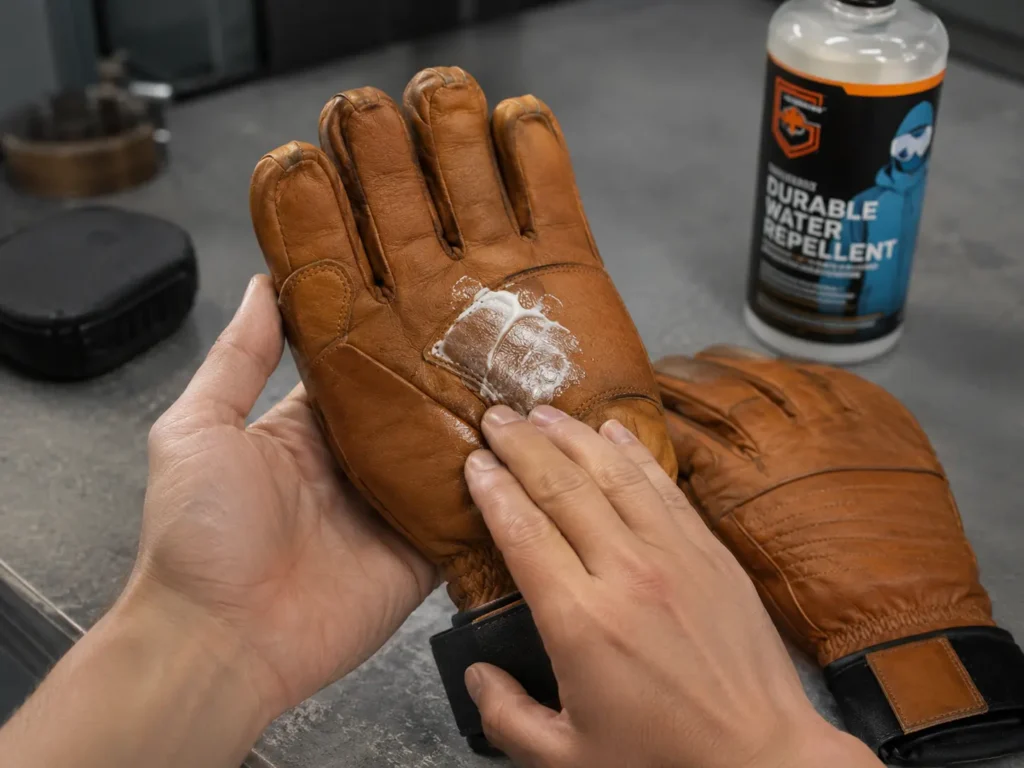
Step 1 — Apply a leather-safe conditioner before the first wear
Rub a small amount into the palm, fingers, and knuckle creases — the spots that flex the most and crack first if left dry.
Step 2 — Wear them on a normal ski day, not just around the house
Real flexing under real conditions (gripping poles, buckling boots, working zippers) breaks in the fibers faster than casual wear indoors.
Step 3 — Let them dry naturally after every use
Air-dry away from direct heat. A vent, a warm room, or a boot dryer on a low setting all work. Radiators and heaters don’t.
Step 4 — Reapply conditioner every 3-5 wears during the break-in period
This keeps the fibers pliable while they’re adjusting instead of letting them dry out between sessions.
Step 5 — Reassess fit after 3-5 ski days
This is roughly when full-grain leather starts to feel noticeably different. If it still feels like day one after five full days of use, something’s off — check the sizing, not just the leather.
If you’re deciding between a leather shell and a synthetic one before you even buy, the differences in break-in time, durability, and feel are covered in more depth in our leather vs. synthetic ski glove comparison.
Common Mistakes That Ruin the Break-In Process
Baking the gloves to speed things up
This shows up in gear forums as a “hack,” but direct heat can scorch leather, warp its shape permanently, or dry out the natural oils that keep it flexible. It’s not worth the risk for a few days saved.
Soaking them and wearing them wet
Some people fully submerge gloves to soften them fast. It works in the short term, but repeated soaking strips the leather’s natural oils and speeds up cracking down the line.
Drying near a heater or radiator
Fast drying near direct heat pulls moisture out too quickly, which stiffens leather instead of softening it. This is one of the most common ways people accidentally undo their own break-in progress.
Skipping conditioner entirely
Wear-in alone works, but without conditioner the leather dries out faster between uses, which means more cracking risk over the season, not less.
Judging fit on day one
A stiff glove on the first wear isn’t a sizing failure. Give the leather time before deciding it’s the wrong size.
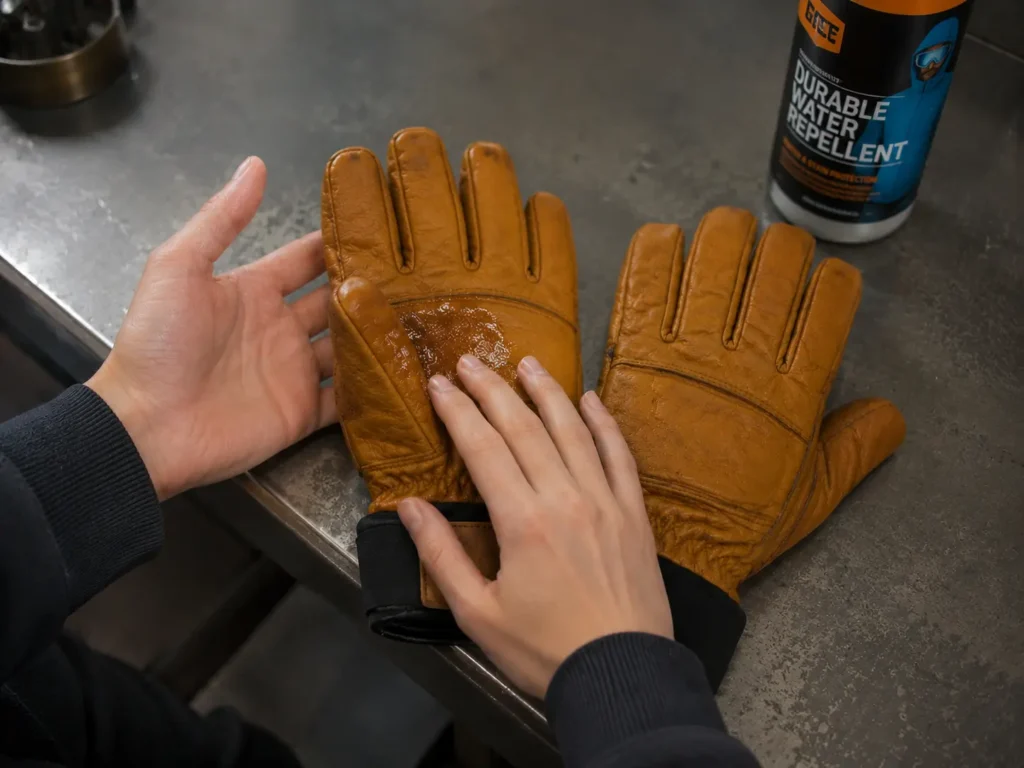
Using the wrong conditioning product
Generic hand lotion, cooking oils, or non-leather-specific products can clog the leather’s pores or leave residue that attracts dirt. Stick to products actually made for leather care.
What You Actually Need (And What’s Overkill)
Break-in doesn’t require a shopping list. A few things matter, and most of what’s marketed as “essential” doesn’t move the needle.
A leather-specific conditioner or mink oil
This is the one product worth having. It replaces the natural oils that chrome tanning strips out, which is what actually lets the fibers flex without cracking. Cost is usually under $15-20 for a container that lasts most of a season.
A soft cloth for application
Nothing specialized — an old t-shirt or a dedicated leather-care cloth works. Avoid anything abrasive that could scuff the surface while you’re rubbing product in.
A boot dryer or well-ventilated space
Not strictly required, but it solves the drying-near-heat problem before it becomes one. If you already dry your boots this way, your gloves can go on the same setup.
What you don’t need: specialty “break-in sprays,” leather stretchers, or anything claiming to soften gloves in one application. Leather softens through flexing and oil replenishment — there’s no product that skips that process entirely, and most of what’s marketed that way is a repackaged conditioner with a bigger price tag.

A Simple Self-Check Test
Before assuming your gloves are broken in — or assuming they’re stuck stiff for good — run this quick check.
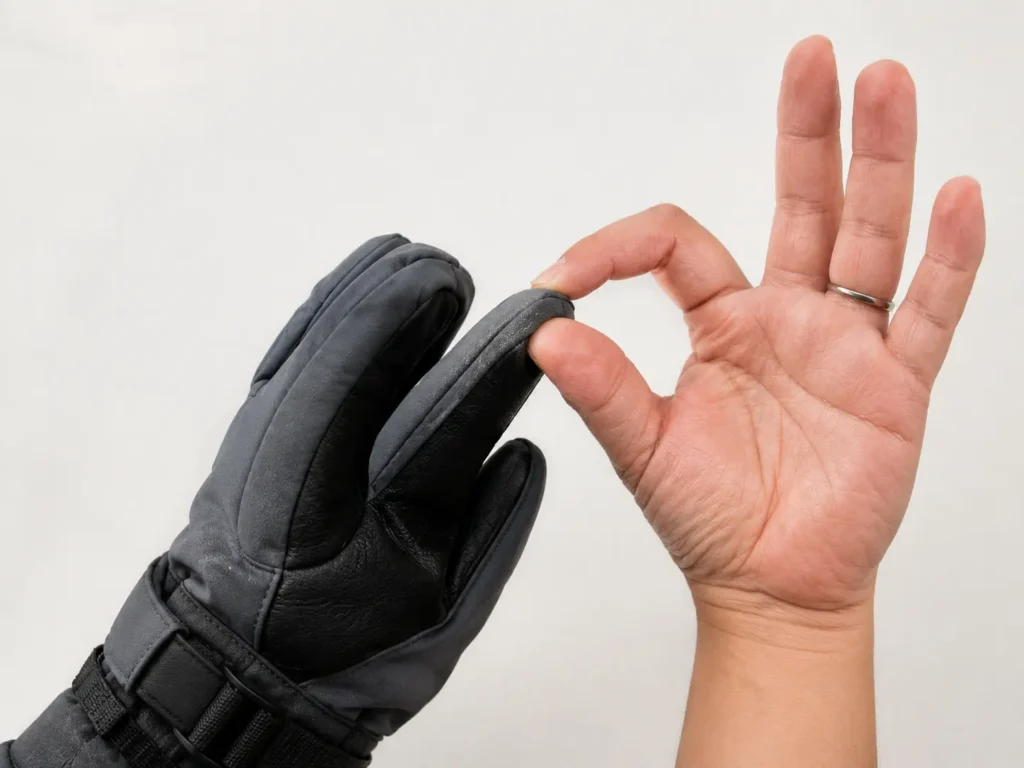
Make a full fist with the glove on, then release and spread your fingers wide. Repeat five times.
If the leather flexes with minimal resistance and no sharp creasing sound, you’re mostly through the break-in period.
If it still resists and feels like it’s fighting your hand, you’re not there yet — that’s normal for full-grain leather under four or five wears, not a sign anything’s wrong.
If you hear or feel a cracking sensation at the knuckles during this test, stop and check the leather for actual surface damage before continuing to wear them. That’s a different problem than normal stiffness.
This test takes ten seconds and tells you more than guessing based on how the gloves felt the first time you tried them on in a store.
Warning Signs Something’s Actually Wrong
Most stiffness is normal and temporary. A few signs mean it’s not just a break-in issue:
- Cracking or visible splitting at the knuckles, even after conditioning
- Leather that stays rock-hard after 5+ full ski days of normal use
- Discoloration or a chalky texture after drying (usually over-drying or heat damage)
- Seams pulling apart at stress points, which is a construction issue, not a leather-stiffness issue
If any of those show up, that’s a defect or damage question, not a break-in timeline question — worth checking with the retailer or manufacturer directly.
Who Should Skip the Conditioner-Assisted Method
Not everyone needs to bother with a conditioner right away.
If your gloves came pre-treated from the factory (some premium brands apply a factory conditioning layer), adding more product early can oversaturate the leather. Check the product page or tag before applying anything.
If you’re only skiing a handful of days this season, plain wear-in is probably enough — the extra step of conditioner-assisted care mostly pays off for people putting real mileage on their gloves.
If your gloves are genuine leather (not full-grain or top-grain), they already soften quickly on their own, and heavy conditioning can speed up wear instead of helping.
Decision Checklist
Use this before picking a method:
- Skiing 10+ days this season? → Conditioner-assisted method, reapply every 3-5 wears
- Skiing a handful of days total? → Wear-in only is enough
- Gloves feel painfully stiff and you need them ready fast? → Damp-and-wear, but dry away from heat afterward
- Full-grain leather? → Expect 2-4+ ski days minimum, don’t rush it
- Genuine leather? → Should soften within days; heavy conditioning isn’t necessary
- Gloves came pre-treated? → Skip added conditioner for the first few wears
For deeper guidance on keeping leather gloves in good shape once they’re broken in — drying, storage, and seasonal conditioning — Outside Magazine’s glove care guide covers the ongoing maintenance side well, based on input from gear-care professionals in the industry.
Dry Cold vs. Wet Coastal Snow Changes the Process
Where you ski changes how break-in actually plays out, not just how long it takes.
In dry, cold climates — think interior mountain ranges with powder that stays powdery — leather dries out faster between wears. The break-in process works, but the conditioning step matters more, because dry air pulls moisture out of the leather on top of what the tanning process already removed.
In wet, coastal climates — spring slush, rain-on-snow days, maritime resorts — leather takes on more moisture during actual use, which can accelerate softening but also increases the risk of over-saturation if you’re not drying properly between sessions.
Skiers in dry climates should lean harder into the conditioner-assisted method and reapply more often than the 3-5 wear guideline. Skiers in wet climates can often get away with wear-in alone, since the moisture from actual snow exposure does some of the softening work, but drying technique becomes the part that can’t be skipped.
Neither climate changes the core process — wear, dry properly, condition — but knowing which one you’re dealing with tells you where to focus.
How Break-In Time Compares to Other Leather Gear
If you’ve broken in leather boots or work gloves before, ski gloves follow the same basic logic, just with colder, wetter conditions working against you.
The chromium-tanning process that makes leather stiff at first is the same across most leather goods, not just ski gear — which is part of why leather-care specialists outside the ski industry (not just glove brands) have solid, transferable advice here. International Leather Club’s breakdown of the tanning process explains this mechanism in more technical detail if you want the full picture.
The main difference with ski gloves specifically is exposure to snow and cold, which makes proper drying between wears more important than it would be for, say, a leather jacket sitting in a closet.
FAQs — Breaking In Leather Ski Gloves
Do all leather ski gloves need to be broken in?
Yes, to some degree — chrome-tanned leather starts stiff regardless of brand. The amount of break-in time varies by leather grade, not whether it’s needed at all.
How many ski days does it actually take?
Full-grain leather typically takes 2-4+ full days of real use. Top-grain is a bit faster. Genuine leather often softens within a single day or two.
Can I speed up the process safely?
Conditioner-assisted break-in is the safest way to speed things up. Damp-and-wear works faster but carries more risk if you overdo the water or dry the gloves near heat afterward.
Will conditioner change the color of my gloves?
Some products can darken leather slightly, especially oil-based ones. Spot-testing on a small inside seam first avoids surprises on visible areas.
My gloves still feel stiff after a week of skiing — is that normal?
For full-grain leather, yes, that’s within normal range. If they’re genuine leather and still stiff after that long, something else may be going on — check for over-drying or a product mismatch.
Does break-in time affect warmth or waterproofing?
Not directly. A stiff glove and a broken-in glove insulate about the same, since warmth mostly comes from the insulation layer underneath the leather shell, not the leather’s flexibility. What break-in does change is dexterity — grip on poles, buckle adjustments, and general hand comfort.
Should I break in leather gloves before the season starts, or is it fine to do it on the mountain?
Either works, but starting before the season means you’re not fighting stiff gloves on days that actually matter. A few short wear sessions at home — doing normal hand movements, not just trying them on — get a head start before your first real ski day.
Quick Reference: Break-In Timeline
| Leather Grade | Wear-In Only | Conditioner-Assisted |
| Full-grain | 4+ ski days | 2-3 ski days |
| Top-grain | 3-4 ski days | 1-2 ski days |
| Genuine leather | 1-2 ski days | Same day to 1 ski day |
These are rough ranges, not guarantees — hand size, how tightly the gloves fit to begin with, and how often you’re actually flexing them (versus just wearing them loosely) all shift the numbers slightly. Use this as a general expectation, not a countdown.
The Short Version
Stiff leather isn’t a flaw — it’s a starting point. Real use, paired with the right conditioning routine and proper drying, gets you there without damaging the gloves along the way. Skip the shortcuts that involve heat or soaking, and give the leather the few ski days it actually needs.
If you want a broader look at care beyond just the break-in window — washing, storage, and extending the life of the leather once it’s softened — our ski glove care guide picks up where this one leaves off.
For general sizing and fit guidance before you even get to break-in, REI’s snow glove buying guide is a solid outside reference that covers leather palm care as part of the broader fit picture.