QUICK ANSWER: Reproofing restores the DWR coating on the outer shell — it doesn’t fix a failed membrane, soaked insulation, or a torn seam. Clean the gloves first, apply a treatment matched to the shell material (spray-on DWR for synthetic, wax or oil for leather), then heat-activate if the product calls for it. Skip any of those three steps and the treatment underperforms or doesn’t bond at all.
Not sure if reproofing will actually fix your specific problem, or if you need something else entirely? The Ski Glove Finder helps you figure out whether it’s time to treat what you have or replace it.
- What Reproofing Actually Restores — and What It Doesn't
- Step One: Clean Before You Treat
- Step Two: Match the Treatment to the Shell Material
- Step Three: Heat Activation, When the Product Calls For It
- How to Tell When It's Actually Time to Reproof
- Common Mistakes That Undo a Reproofing Job
- Decision Checklist
- Frequently Asked Questions
- Final Thoughts
What Reproofing Actually Restores — and What It Doesn’t
Reproofing rebuilds the water-repellent finish on the outer shell fabric. That’s the entire scope of what it does.
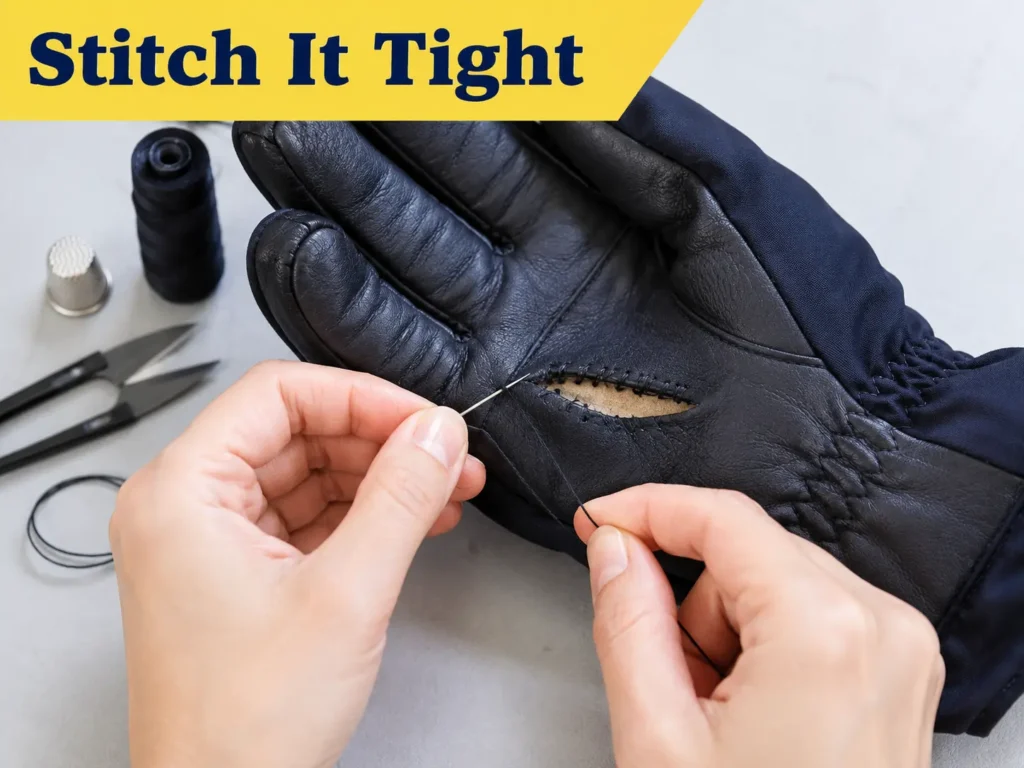
It does nothing for a waterproof membrane that’s failed from age or flexing, nothing for insulation that’s already soaked and compressed, and nothing for a torn seam or hole letting water in directly. Those are different problems with different fixes.
Knowing that upfront saves wasted effort — reproofing a glove with a genuinely failed membrane treats the wrong layer entirely.
Step One: Clean Before You Treat
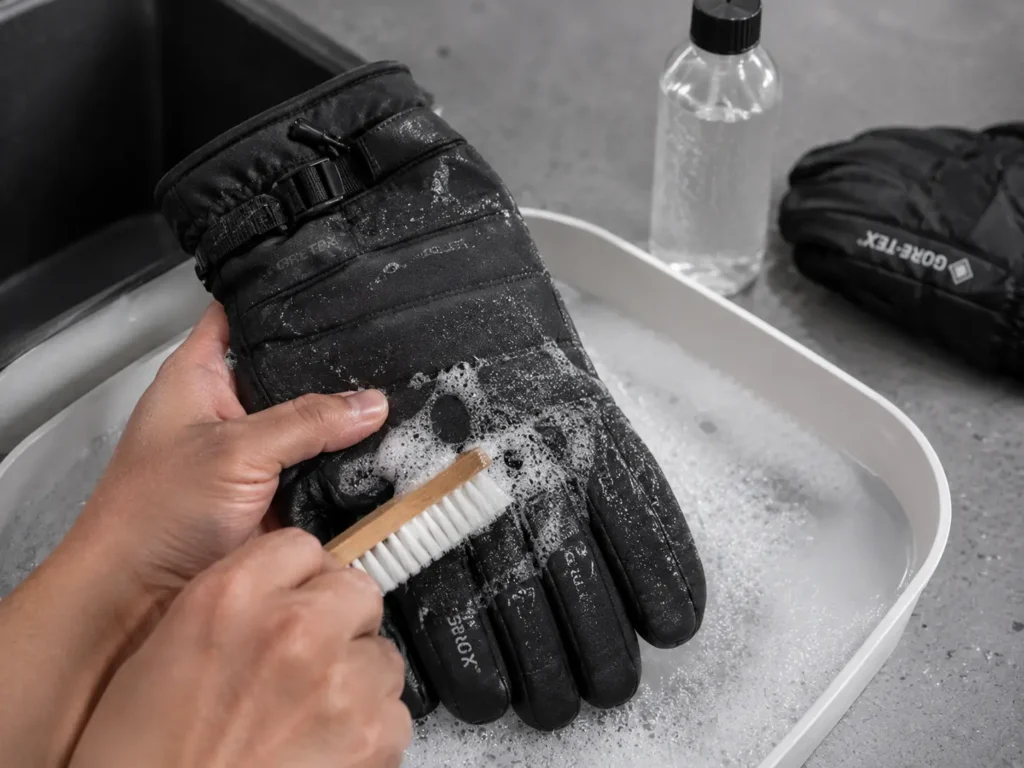
Dirt, oils, and residue sitting on the fabric block a new treatment from bonding evenly, regardless of how good the product itself is.
For synthetic shells, a gentle wash with a technical cleaner — not regular laundry detergent, which leaves residue that interferes with water repellency — gets the surface ready. For leather, wiping down with a clean, slightly damp cloth removes surface grime without stripping natural oils the way a full wash would.
Skipping this step is the single most common reason a fresh reproofing treatment underperforms — the product goes on over dirt instead of onto clean fiber.
Step Two: Match the Treatment to the Shell Material
Synthetic and leather shells need fundamentally different treatment types, and using the wrong one actively makes things worse rather than just failing to help.
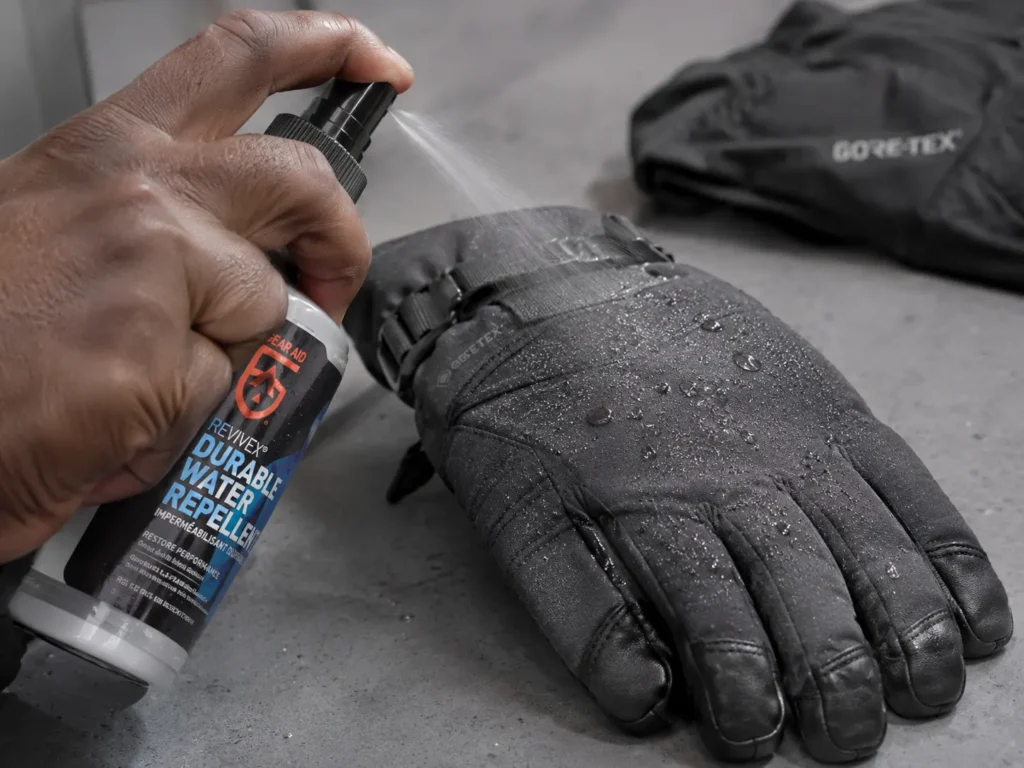
Synthetic shells need a spray-on or wash-in DWR product. This coats the outer fibers without clogging the weave, which matters because the fabric still needs to let sweat vapor pass through even after treatment.
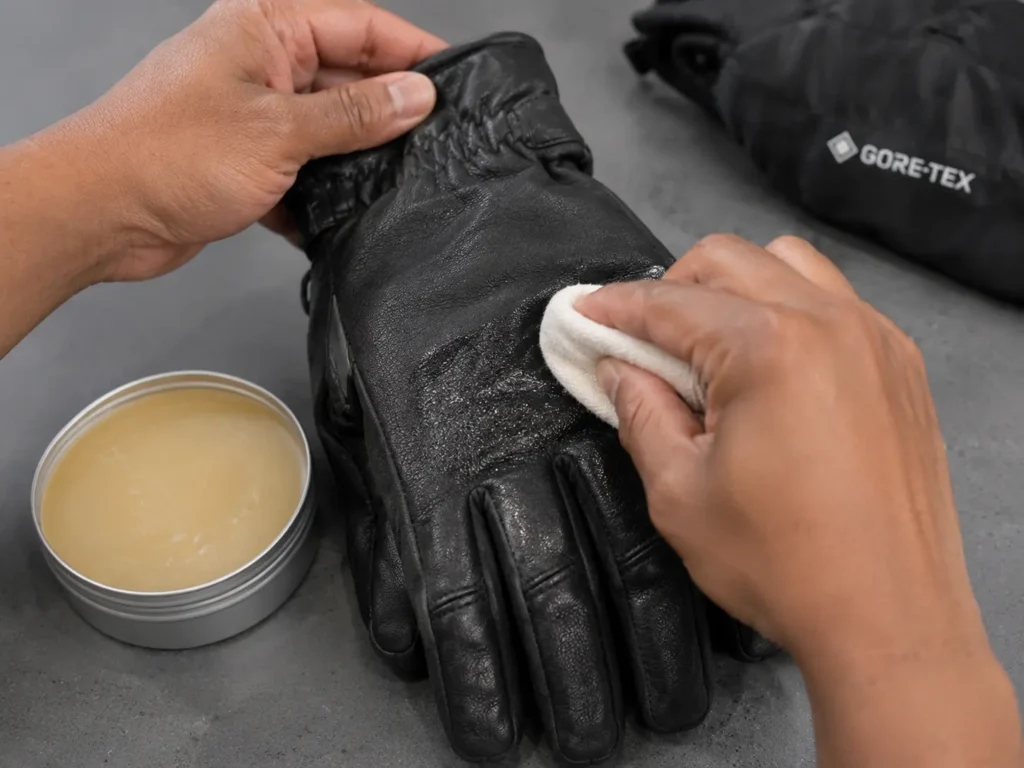
Leather shells need a wax or oil-based conditioner instead, applied by working it into the leather rather than spraying it onto the surface. Leather stays water-resistant by absorbing treatment into its fiber structure, not by wearing a surface coating the way synthetic fabric does.
Using DWR spray on leather leaves a surface film that flakes off with flexing, since leather wasn’t built to hold a coating that way. Using oil or wax on synthetic fabric clogs the weave and kills the breathability the fabric depends on — the mistake works in both directions.
| Treatment Type | Best For | Dry/Cure Time | Reapply Every |
| Spray-on DWR | Synthetic shells and quick top-ups | 1–2 hours; faster with heat activation | Every 8–12 ski days |
| Wash-in DWR | Synthetic shells and a full pre-season refresh | Full wash and dry cycle | Once per season |
| Wax (leather) | Leather shells and surface protection | Buff in; wears fastest | Every 10–15 ski days |
| Oil (leather) | Leather shells and deeper conditioning | Absorbs overnight | Every 15–20 ski days |
Step Three: Heat Activation, When the Product Calls For It
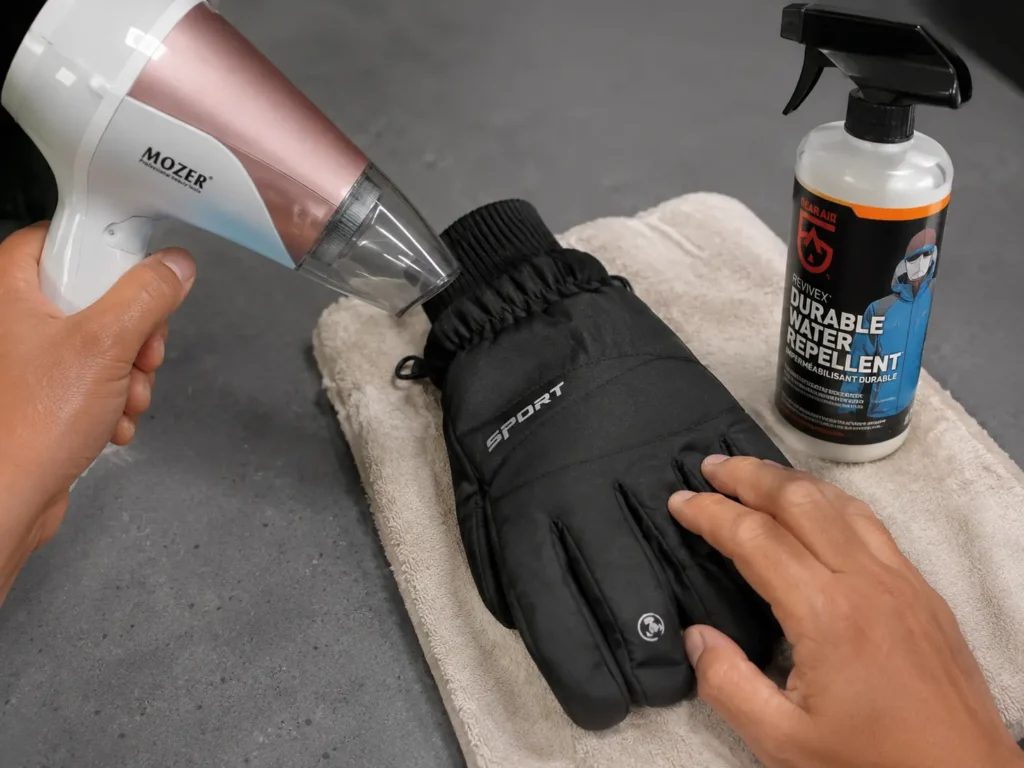
Many spray-on synthetic treatments need gentle heat to fully bond to the fabric — a low-heat hair dryer pass or a low tumble-dry cycle, following the specific product’s instructions rather than guessing at temperature.
Skipping heat activation when a product requires it means the treatment sits on the surface without properly bonding, and it washes or wears off far faster than it should.
Leather treatments generally don’t need this step — working the wax or oil in by hand and letting it absorb is the actual mechanism, not heat.
How to Tell When It’s Actually Time to Reproof
Water beading is the clearest, most reliable signal. Fresh DWR or leather treatment makes water form beads that roll off; a treatment that’s worn down lets water spread and soak into the fabric instead.
Textile care research on durable water repellent finishes confirms this beading behavior is a genuine, testable indicator of coating condition, not just a rule of thumb — running water across a small area of the shell and watching how it behaves is a real, quick diagnostic.
If water still soaks in after a fresh treatment and a full cure time, that usually means the membrane underneath has failed, not that the reproofing job was done wrong — reproofing can’t fix that layer.
Waiting until gloves feel consistently damp and heavy is waiting too long. By that point, the fabric has likely been absorbing water for multiple sessions already, which puts more strain on the insulation and membrane underneath than necessary.
Common Mistakes That Undo a Reproofing Job
Applying treatment over dirty fabric
Covered above, but worth repeating — it’s the most common reason a treatment underperforms despite being applied correctly otherwise.
Using the wrong treatment type for the shell material
DWR on leather and oil on synthetic both actively work against the material rather than just failing to help.
Skipping heat activation on products that require it
A treatment that never bonds properly wears off within days instead of lasting a full season.
Drying gloves on direct heat afterward
Manufacturer care guidance for synthetic shell fabrics consistently recommends air drying over direct heat — high heat can degrade both fresh treatment and the membrane underneath it, undoing the work you just did.
Assuming reproofing fixes everything
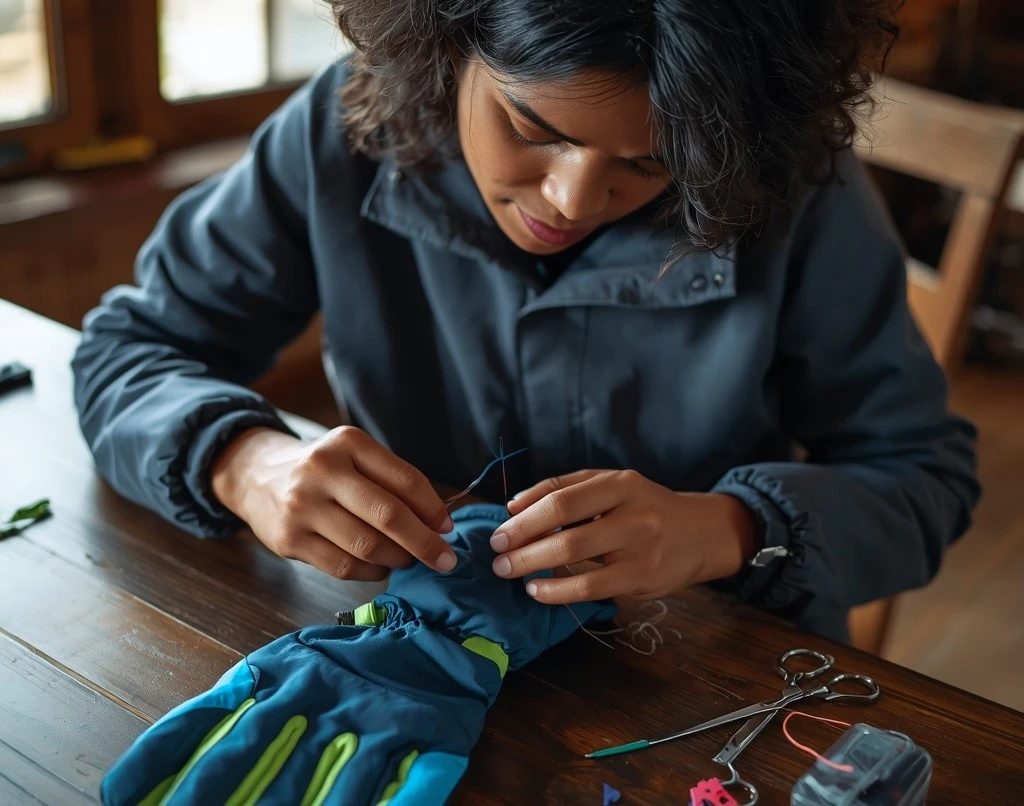
If water is getting in through a seam or hole rather than soaking through the fabric surface, no amount of reproofing addresses that — that’s a repair problem, not a treatment problem.
Decision Checklist
- Water still beads but not as reliably as it used to: reproof now, before it fully wets out
- Fabric soaks water instead of beading it: overdue for reproofing — treat as soon as possible
- Water is entering at a specific seam or hole, not through the fabric surface: that’s a repair issue, not a reproofing one
- Insulation stays cold and heavy even after the outer shell dries: the membrane or insulation itself may have failed — reproofing won’t reach that layer
- Leather feels dry, stiff, or chalky: condition with oil or wax now rather than waiting for cracking to start
- Reproofing pre-season vs. mid-trip: pre-season allows a full wash-in treatment and cure time; mid-trip, a spray-on with heat activation is the faster option that still works
Frequently Asked Questions
How often should ski gloves actually be reproofed?
Synthetic shells typically need it once a season for moderate use, sometimes twice for heavy wet-condition use. Leather needs more frequent attention — roughly every 10 to 20 ski days, more often in consistently wet climates — since it relies on oils that deplete faster than a synthetic coating wears down.
Can I use the same product on leather and synthetic gloves?
No. They need different treatment types entirely, and using the wrong one causes real problems rather than just being less effective — DWR flakes off leather, and oil clogs synthetic fabric’s breathability.
Will reproofing help if my gloves feel cold even though the outside looks dry?
Not necessarily. If the outer shell isn’t visibly wet but hands still feel cold, the issue is more likely insulation performance or fit than shell waterproofing, since reproofing only addresses the outer fabric layer.
Is it possible to over-apply a reproofing treatment?
Yes. Excess wax or oil on leather can leave it feeling greasy and reduce grip temporarily. Excess spray-on treatment on synthetic fabric can clog pores and reduce breathability. A thin, even application is enough for both.
Does reproofing restore a damaged waterproof membrane?
No — a membrane like Gore-Tex is a separate internal layer, and reproofing only treats the outer shell fabric. If water is getting through the membrane itself rather than just soaking the outer fabric, that’s a sign of membrane failure, which reproofing can’t fix.
Final Thoughts
Reproofing is a genuinely effective fix for exactly one problem: an outer shell that’s lost its water-repellent finish. It’s not a fix for a failed membrane, soaked insulation, or physical damage, and treating it as a universal solution leads to disappointment when the real problem lives somewhere reproofing can’t reach. Clean first, match the treatment to the material, activate with heat if the product calls for it, and watch for beading as your real signal that it’s working — that’s the entire process, done right.
If you’re finding yourself reproofing the same pair every few weeks no matter how carefully you follow these steps, that’s usually a sign the glove’s membrane or shell has reached the end of what treatment can fix, and it’s worth looking at genuinely waterproof gloves built around a real membrane rather than continuing to chase a losing battle on a worn-out shell.