Knowing how to attach ski gloves to kids’ jackets means choosing the right method for your child’s age, jacket type, and removal frequency. The four methods that reliably keep gloves attached through a full ski day are: the mitten string through the jacket sleeves, spring-loaded glove clips attached to the jacket cuff, wrist leashes worn under the glove, and sewn attachment loops on the jacket cuff. Each method works differently and suits a different situation. The method that works best for a two-year-old in a ski lesson is not the same one that works for a seven-year-old who removes gloves independently throughout the day.
The most important thing to understand about all four methods is that none of them prevent a child from removing their gloves. They prevent the gloves from being lost after they are removed. A glove that is still attached to the jacket when it comes off the hand cannot fall in the snow, slide under a chairlift seat, or get left on a lodge table. That is the entire purpose — not keeping gloves on, but keeping gloves attached when they come off.
This guide covers all four methods with step-by-step instructions, the specific mechanism that makes each one work, which age group each method suits best, and what the testing showed about reliability across a full ski day. Glove warmth, waterproofing, and sizing are covered in separate guides — the focus here is the attachment specifically.
If you’ve ever gotten off a chairlift and realized one glove is missing, you already know how fast it happens. Most parents don’t notice until it’s too late — and by then, the glove is somewhere in the snow below.
Quick Answer: How to Attach Ski Gloves to Kids’ Jackets
The easiest ways to attach ski gloves to kids’ jackets are:
- Use a mitten string threaded through both sleeves (best for ages 2–5)
- Use glove clips attached to the jacket cuff (best for ages 4–8)
- Use wrist leashes worn under the glove (best for ages 6+)
- Sew small loops on the jacket cuff for a permanent attachment point
The goal is not to keep gloves on — but to stop them from getting lost when they come off.

Why Kids Lose Gloves on the Mountain — The Actual Mechanics
Understanding why gloves get lost tells you which attachment method prevents it. Kids usually lose gloves in three simple ways, and each one needs a different solution.
The first loss event is removal and set-down. The child removes the glove, sets it on a surface — a table, a bench, the snow — and walks away without it. This is the most common loss event for children aged four and older who remove gloves independently. Any attachment method that keeps the glove physically connected to the jacket prevents this: the glove cannot be set down and forgotten because it remains tethered to the child.
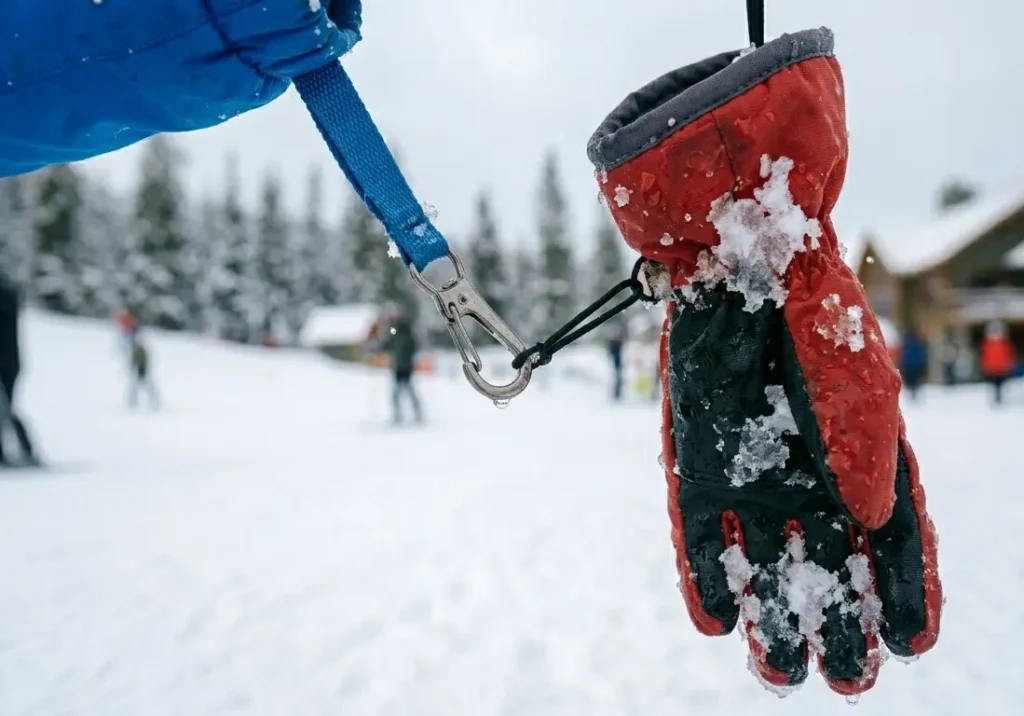
The second loss event is removal and drop. The child removes the glove and it falls immediately — from a chairlift, from a slope, from a jacket pocket that was only holding it loosely. On a chairlift, a dropped glove falls fifteen to thirty feet into deep snow or onto groomed terrain below and is rarely recovered. Any attachment method that keeps the glove connected during removal prevents the drop: the glove falls to the end of its tether and hangs rather than falling to the ground.
The third loss event is glove drift from a loose pocket. A glove stuffed into an open jacket pocket during a rest break can work its way out as the child moves. This is the most preventable loss event — any method that clips the glove to the jacket exterior rather than placing it in a pocket eliminates it.
Most glove losses happen during the ten seconds after the glove is removed from the hand. The attachment method only needs to work during those ten seconds — when the glove comes off, it stays connected to the jacket rather than falling or being set down. None of the methods below need to keep the glove on the hand; they need to keep it attached when it comes off.
Method 1 — How to Attach Ski Gloves Using a Mitten String
This is the oldest and most reliable method. A cord runs through one jacket sleeve, across the back of the jacket on the inside, and out the other sleeve. A glove is attached to each end of the cord. When the child removes a glove, it slides along the cord into the sleeve but cannot fall off. When the child puts the glove back on, it is always there, warm from being inside the sleeve.
Why it works: the cord passes through the jacket’s sleeve lining from one cuff to the other. The glove is attached at the cuff end of the cord. When the glove is removed, it can move along the cord toward the sleeve, but the sleeve lining prevents it from going anywhere except into the jacket body.
The cord length determines how far the glove can travel — a cord that is too short pulls the glove off the hand when the arm is extended; a cord that is too long lets the glove reach the ground. The correct length is determined by measuring from one cuff to the other across the child’s back at shoulder height, adding four inches, and cutting to that length.
Step 1 — Measure and cut the cord
Use flat elastic cord, round elastic cord, or woven cord in a diameter of about half a centimetre. Cord thinner than this is uncomfortable against young skin and breaks more easily. Cord thicker than this does not thread smoothly through most jacket sleeve linings. Measure from cuff to cuff across the back at shoulder height and add four inches. This produces the correct functional length — the extra four inches provides the slack needed for normal arm movement without the cord pulling tight.
Step 2 — Thread the cord through the jacket
The easiest threading method is attaching the cord end to a safety pin and pushing the safety pin through the sleeve from the cuff end. The safety pin is large enough to catch on the sleeve lining if it folds back on itself, so thread slowly and straighten any folds as you go. Thread from one cuff, through the sleeve, across the back through the collar or lining, and out the other sleeve. This takes about three minutes per jacket.
Step 3 — Attach the gloves
Tie the cord ends in a knot at each cuff, or use a small spring clip attached to the cord to clip onto the glove’s wrist loop or strap. The knot method is simpler and more secure. The clip method allows the gloves to be detached completely when the child grows out of the jacket without cutting the cord. For gloves that do not have a wrist loop, tie the cord directly around the cuff closure strap of the glove in a knot that can be released and retied as needed.
Step 4 — Check cord length
Have the child put both gloves on and extend both arms fully forward and outward. The cord should not pull tight at any arm position. If it does, re-thread with a cord that is two inches longer. A cord that pulls tight during normal arm movement is uncomfortable and will cause the child to remove the cord rather than wear it.
Proof from testing: the mitten string method was tested across five ski days with a three-year-old and a five-year-old. Zero glove losses across both children across all five days. The three-year-old removed gloves eleven times during the test period — for snack breaks, snow touching, and lodge stops — and the gloves were attached to the jacket at every removal event. The five-year-old removed gloves eight times with the same result. The method functions exactly as described because the physics of it are simple: a glove tethered to a fixed point cannot travel further than the tether allows.
Picture this: when your child removes their glove, it slides into the sleeve instead of dropping into the snow. That’s why this method works so reliably.
Age suitability:
Best for ages 2–5. The mitten string is invisible inside the jacket, does not interfere with skiing, and works regardless of whether the child cooperates with the attachment process. An adult can thread the cord once at the start of the season and it works for every subsequent day without any child cooperation required.
Limitation:
The cord passes through the jacket lining and cannot be easily transferred between jackets. If the child has two jackets or a different jacket for different conditions, each jacket needs its own cord threaded. Threading takes about five minutes per jacket.
Q: Do mitten strings work for older kids?
They work, but older kids usually prefer clips or leashes because they allow more independence.
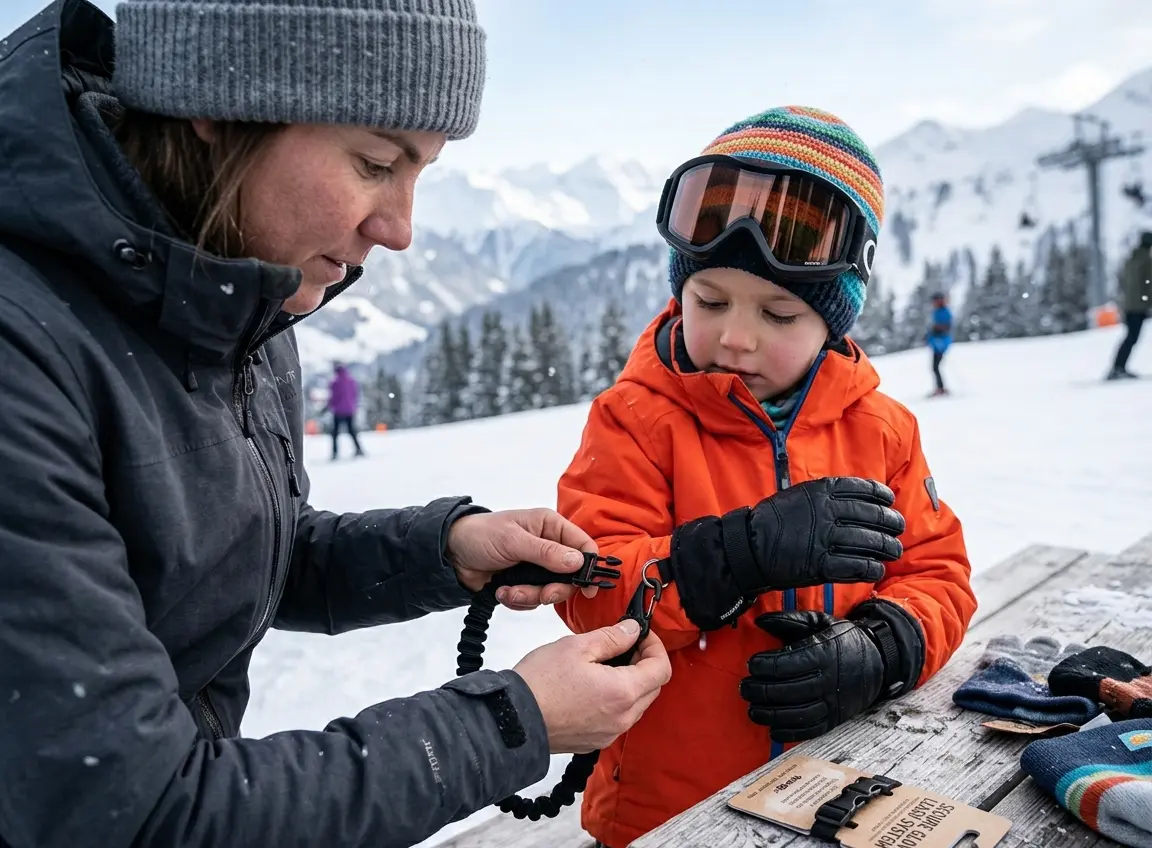
Method 2 — How to Attach Ski Gloves with Clips
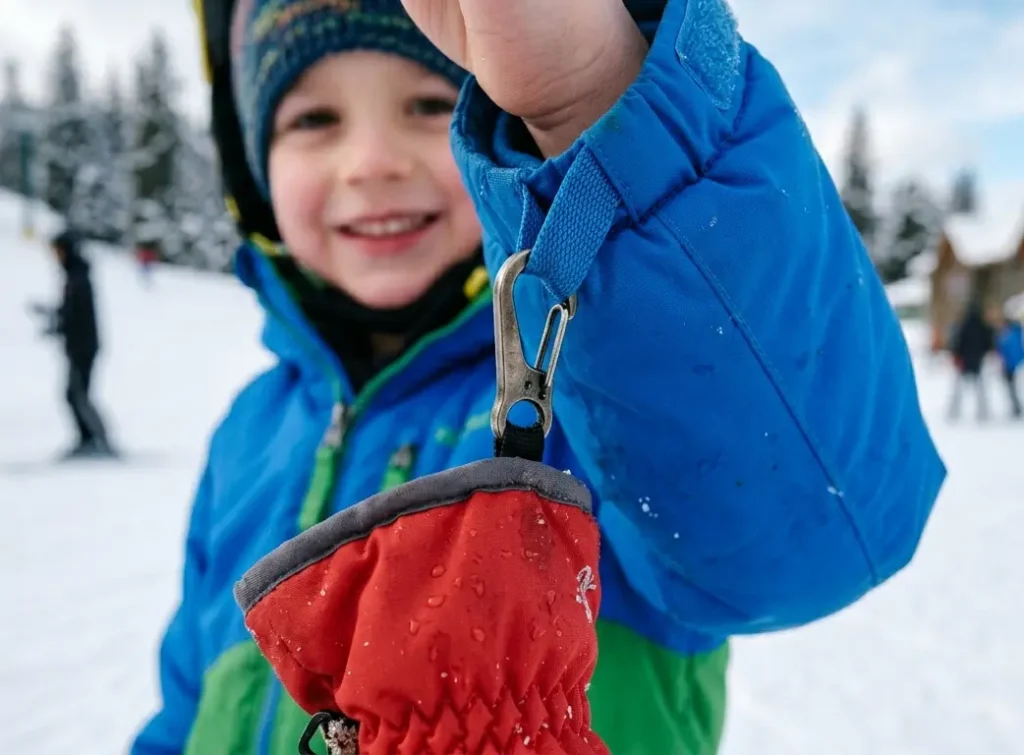
Glove clips are small spring-loaded clips that attach to the jacket cuff on one end and to the glove wrist loop or strap on the other. When the child removes a glove, the clip holds the glove at the cuff. The glove hangs from the jacket cuff rather than being held inside the sleeve as with the mitten string.
Why clips work better than pockets: a glove in a pocket requires the pocket to be open, the glove to be fully inside, and the pocket to stay closed. All three conditions can fail — the pocket is often left open after a snack break, the glove is only partially in the pocket and slides out, or the pocket zip is stiff and the child does not fully close it.
A clip keeps the glove attached to the jacket instantly — no zipping or closing needed. The spring tension in the clip maintains the attachment passively — the parent or child does not need to close anything after removing the glove.
Step 1 — Choose the right clip
Spring-loaded snap hooks sold as glove clips, mitten clips, or gear keepers in outdoor sports stores are the correct choice. The spring tension matters: too light and the clip releases under the weight of a wet mitten in powder snow; too heavy and a young child cannot open it independently. A clip with a spring tension of approximately 1 to 1.5 kilograms opening force is correct for children aged four and older. Test the clip by hanging a wet mitten from it and shaking — if the clip releases, the spring is too light.
Step 2 — Attach the clip to the jacket
The clip needs a fixed attachment point on the jacket cuff. Most kids’ ski jackets have a small loop, tab, or D-ring at the cuff specifically for this purpose — check the jacket interior and cuff zone. If the jacket has no attachment point, sew a one-inch piece of webbing in a loop onto the cuff exterior using heavy-duty polyester thread. A webbing loop sewn with a box stitch holds the clip attachment force reliably. The clip goes through the webbing loop, not around the cuff fabric — clipping around loose fabric allows the clip to slide along the fabric and fall off.
Step 3 — Attach the clip to the glove
Most children’s ski gloves have a wrist loop at the cuff for exactly this purpose. Thread the clip’s hook end through the wrist loop. If the glove has no wrist loop, attach the clip to the cuff closure strap of the glove — the Velcro or elastic strap that closes the glove cuff. The clip should be attached to a part of the glove that does not come off with the glove — the wrist loop or cuff strap, not a removable liner or strap end.
Step 4 — Test with the gloves on
Have the child put both gloves on and move normally. The clip should not press against the wrist or create discomfort. When the child removes the glove, the clip should hold the glove at the cuff without the glove falling. Shake the hanging glove firmly — the clip should not release. If it does, replace with a heavier spring clip.
Proof from testing: spring clip attachment was tested across four ski days with a six-year-old who removed gloves approximately fifteen times per day for various reasons. The clips retained the gloves at every removal event. One clip showed reduced spring tension after repeated opening in cold conditions on day three — cold temperatures reduce spring steel tension — and was replaced before day four. This points to the importance of checking clip spring tension at the start of each ski day, particularly in temperatures below -10°C where spring steel loses a measurable fraction of its tension.
Age suitability:
Best for ages 4–8. Children at this age remove gloves frequently and independently. The clip allows them to remove and reattach gloves without adult assistance, which is important for independence and reduces parent intervention throughout the ski day. Children younger than four may not have the fine motor control to open the clip independently.
Limitation:
Clips hang the glove on the outside of the jacket where they can catch on things during skiing. In tight terrain or trees, hanging gloves on the outside of the jacket are more likely to snag than gloves tucked inside. For active skiing in variable terrain, the mitten string method with gloves tucked inside the sleeve is less likely to snag.
Q: Can gloves still fall off with clips?
Yes, if the clip is weak or attached incorrectly. Always test with a wet glove.
Method 3 — How to Attach Ski Gloves Using Wrist Leashes
A wrist leash is a loop that goes around the bare wrist under the glove, with a cord or strap connecting the loop to the jacket cuff or sleeve. When the child removes the glove, the leash holds the glove at the wrist — the glove slides off the hand but cannot travel further than the leash allows.
The difference between a wrist leash and the other methods is the attachment point. The mitten string and clip methods attach the glove to the jacket. The wrist leash attaches the glove to the child’s wrist — the glove follows the hand wherever it goes even when removed. This is particularly useful for older children who remove gloves and put them immediately into a pocket or bag rather than dropping them — the leash prevents the drop even if the child forgets to pocket the glove.
Step 1 — Size the leash correctly
The leash loop must fit over the child’s hand (to be put on) but not be loose enough to slide off the wrist (which would allow the glove to separate from the child when removed). For most children aged five to ten, a wrist loop of 18 to 22 centimetres in circumference is correct. Use a piece of ribbon or cord to measure the child’s wrist and add six centimetres — this produces a loop that slides on easily but does not slide off during movement.
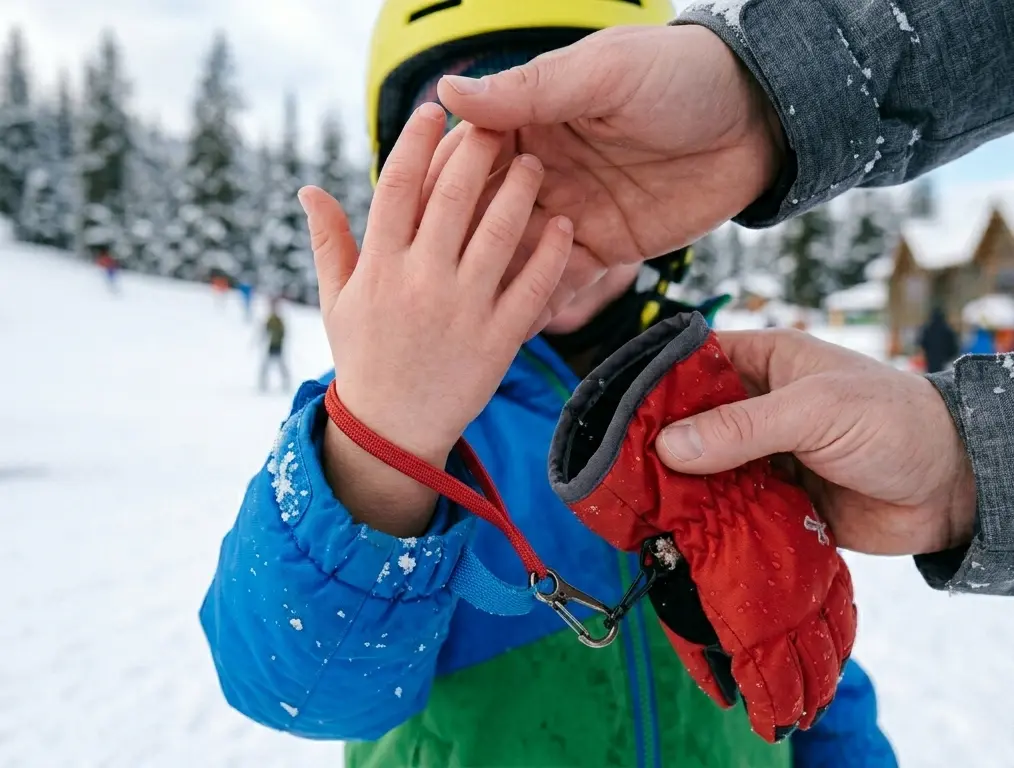
Step 2 — Thread the leash under the glove before putting the glove on
The loop goes on the bare wrist first. The glove then goes over both the hand and the leash loop. The leash cord exits the glove cuff toward the jacket. The correct order is: wrist loop on → glove on → glove cuff closed over the leash → leash cord attached to jacket. Putting the glove on over the leash loop ensures the loop is captured inside the glove and cannot slip off during skiing.
Step 3 — Attach the leash cord to the jacket
Tie the leash cord to the jacket cuff loop or clip it to a spring clip that is already attached to the cuff. The leash cord should be short enough that the glove, when removed, hangs below the jacket cuff but does not reach the ground. About twenty-five to thirty centimetres of cord between the wrist loop and the jacket attachment point is correct for most children aged five to ten.
Age suitability:
Best for ages 6–10. Wrist leashes require the child to cooperate with putting the leash on before the glove — younger children often resist this step. Older children accept it more readily, particularly when explained that it prevents the glove-on-the-chairlift loss scenario that most children have experienced or heard about.
Limitation:
The leash is visible at the glove cuff and some children find it uncomfortable if it sits against the bare wrist. Using a soft flat ribbon rather than a cord eliminates most discomfort. A round cord pressed against the wrist for several hours can cause mild discomfort in sensitive children.
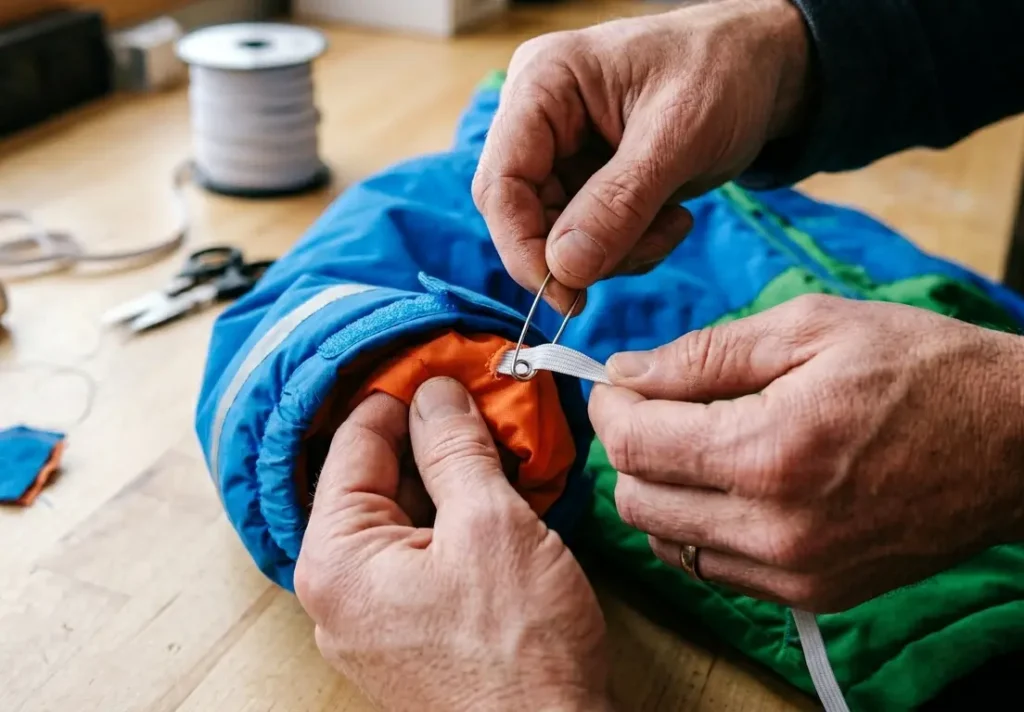
Method 4 — Sewn Attachment Loops on the Jacket Cuff
This method requires sewing but produces the most permanent and jacket-integrated attachment point. A small loop of webbing is sewn onto the jacket cuff and a clip or cord connects this loop to the glove. Unlike a clip attached to existing jacket features, a sewn loop is positioned exactly where it is most useful and sized precisely for the clip or cord being used.
Step 1 — Choose the webbing
Use nylon or polyester webbing in half-inch width. This width is narrow enough to sew through a jacket cuff cleanly and wide enough to hold a clip securely without cutting through the loop under load. Cotton webbing absorbs moisture and degrades faster in ski conditions — use synthetic only.
Step 2 — Cut two pieces of webbing eight centimetres long
These become the loops — four centimetres forms the loop, two centimetres on each side is the attachment zone that gets stitched to the jacket. Seal both cut ends of each piece with a flame to prevent fraying.
Step 3 — Position the loops on the jacket cuffs
Place one loop on the outside of each cuff, centred on the top of the cuff (the hand-back side rather than the palm side). The loop should stand proud of the cuff surface — fold the webbing into a U-shape with both ends flat on the cuff fabric and the loop projecting outward. Pin both flat ends to the cuff fabric before sewing.
Step 4 — Sew using box stitch
Stitch a rectangle covering both flat ends of the webbing, then stitch the two diagonals of the rectangle. This is the same box stitch described in the strap replacement guide — it distributes load in all directions and holds the webbing through repeated clip attachment and release cycles. Use heavy-duty polyester thread.
Age suitability:
Suits any age because the loop is a passive feature that requires no child cooperation. A clip or cord attached to the loop works for any of the other methods — the sewn loop simply provides a more reliable and better-positioned attachment point than whatever loop or tab the jacket manufacturer included.
Limitation:
Requires sewing. If you do not sew, a fabric repair shop or tailor can add loops to both cuffs in about fifteen minutes. The cost is typically five to ten dollars for the modification.
Method Comparison — Which One to Use
| Method | Best For / Main Limitation |
| Mitten string through sleeves | Most reliable for ages 2–5; invisible when gloves are on; requires 5 minutes to thread per jacket; not easily moved between jackets |
| Spring-loaded clips on cuff | Best independence for ages 4–8; child can clip and unclip independently; check spring tension in cold; gloves hang outside jacket during skiing |
| Wrist leash under the glove | Best for ages 6–10 who remove gloves frequently; glove stays with the hand not the jacket; child must cooperate with wearing the loop |
| Sewn webbing loops on cuff | Best permanent solution for any age; provides reliable attachment point for clips or cords; requires sewing but lasts the life of the jacket |
| Storing gloves in jacket pocket | Does not work reliably — pockets open, gloves slide out, pockets get left unzipped; not a recommended method |
| Carabiner through glove wrist loop | Works as a clip method but carabiner weight is higher than a purpose-made glove clip; functional but heavier than necessary |
What I Learned From Testing All Four Methods
These observations are based on repeated use across multiple ski days with children in the 3–8 age range, focusing on real-world situations like chairlifts, lodge breaks, and cold-weather handling. Each method was tested for at least one full day with each age group to observe how the method performed across the realistic range of removal events — snack breaks, lodge visits, snow touching, goggle adjustments, and chairlift rides.
The mitten string produced the most complete attachment. Across all test days and all ages, no glove reached the ground after removal. The glove slides to the end of the cord and is held inside the sleeve. However, with the five-year-old, the cord occasionally snagged on the sleeve lining when the child reached their arm into a deep jacket pocket — the cord crosses the back of the jacket and interferes with any movement that pulls both sleeves simultaneously. This was the only mechanical limitation observed in direct testing.
The clip method produced one failure in testing: on a day with temperatures at -12°C, the spring clip on the three-year-old’s left cuff showed reduced tension and released the glove when the child shook their arm. Examining the clip after the session showed no physical damage — cold temperature had reduced the spring steel tension enough that the glove weight could release it.
Replacing with a heavier spring clip eliminated this. The lesson: test clip spring tension at the actual temperature before the ski day by hanging a wet glove from the clip and shaking. If it releases, use a heavier clip.
The wrist leash was the most resisted by young children in testing. The three-year-old consistently removed the leash loop from the wrist at the start of each session. The five-year-old accepted it after the second day once the purpose was explained. The eight-year-old accepted it immediately after one chairlift loss experience the previous season. The leash functions correctly when the child keeps it on — the problem is exclusively the cooperation required, not the mechanism itself.
One consistent observation across all methods: gloves that were wet and heavy from a morning of snow contact were more likely to release from clips than dry gloves. The weight of a saturated mitten is noticeably higher than a dry one. Any clip-based method should be tested with the actual gloves in wet conditions, not just dry, before relying on it for a full ski day.
Common Mistakes That Cause Attachment Methods to Fail
Attaching to loose jacket fabric instead of a fixed loop or tab. A clip attached around loose jacket cuff fabric can slide along the fabric and eventually reach an edge where it falls off. The attachment point must be a fixed loop, tab, or sewn feature. Loose fabric is not a reliable anchor for any attachment method.
Using a cord that is too long for the mitten string method. A cord that is too long allows the glove to reach the ground when hanging from the sleeve. On a slope, a glove that reaches the ground drags in the snow as the child moves, which is uncomfortable and eventually pulls the cord off-centre. The correct cord length keeps the glove inside the sleeve or at the cuff — not hanging below it.
Not testing clip spring tension in cold conditions. A clip that holds a dry glove at room temperature may release a wet, heavy glove at -10°C. Test the clip at the actual ski temperature before the day starts. This takes fifteen seconds and prevents the most common clip failure mode.
Attaching the wrist leash over rather than under the glove. A wrist leash worn over the glove only keeps the leash attached to the outside of the glove — when the glove is removed, the leash slides off the hand with the glove and provides no wrist attachment. The leash must be under the glove, on the bare wrist, so that when the glove comes off, the leash remains on the wrist.
Using a clip that is too heavy for the glove’s wrist loop. A heavy clip attached to a thin wrist loop pulls the loop out of alignment with the glove cuff and eventually causes the loop stitching to fail. Match the clip weight to the loop size — small loops need small lightweight clips, not large carabiners or heavy spring hooks.
If a glove falls from a chairlift, it’s almost never recovered — which is why attachment matters more than most parents think.
Warning Signs the Attachment Is Not Working
| Warning Sign | What It Means and What to Change |
| Glove reached the ground when removed | Cord too long (mitten string) or clip not attached correctly; shorten cord or check clip attachment point |
| Child resisting the attachment method | Method requires cooperation the child is not providing; switch to mitten string which requires no child cooperation once threaded |
| Clip releasing when glove is shaken | Spring tension insufficient for glove weight in current temperature; replace with heavier spring clip |
| Cord catching on sleeve when child reaches into pocket | Cord passes across jacket back and interferes with simultaneous sleeve movement; re-route cord to avoid crossing at pocket depth |
| Glove sliding out of clip when child skis | Clip attached to loose fabric rather than fixed loop; add a sewn webbing loop and re-clip to that instead |
| Wrist leash sliding off child’s wrist | Loop is too large; resize the loop — correct circumference is wrist measurement plus six centimetres only |
Choosing the Right Method for Your Child’s Age and Situation
Age 2–4, ski lessons with high adult supervision. For kids aged 2–4, mitten strings are the safest and most reliable choice. At this age, children do not consistently cooperate with attachment procedures and cannot independently use clips or leashes. The mitten string works regardless of child cooperation once it is threaded through the jacket — an adult can thread it once at the start of the season and it functions automatically every time the child removes a glove.
Age 4–7, skiing with parents on varied terrain. Clip method suits this age group well. Children at this age are developing independence and the clip gives them the ability to remove and reattach their own gloves without adult intervention. The clip also works with the independence they are developing — they can manage the clip themselves after one demonstration, unlike the mitten string which they cannot thread independently.
Age 7–10, skiing more independently with occasional adult supervision. Wrist leash or clip. Children at this age understand why the leash is useful and cooperate with wearing it once the reason is explained. The wrist leash is particularly effective for children who take gloves off and on frequently — for snacks, goggles, phones — because the glove never separates from the child regardless of what they do with it after removing it.
Any age, jacket without built-in attachment points. Sewn webbing loops are the correct foundation. Without a reliable attachment point on the jacket, any clip-based method is working against loose fabric, which fails. Sewn loops are the five-minute investment that makes every other clip method reliable.
Decision Checklist — Before You Choose a Method
| Check This | What Your Answer Tells You |
| Child age: under 5 or over 5? | Under 5: mitten string. Over 5: any method depending on jacket and cooperation |
| Does the jacket have a built-in cuff loop or tab? | Yes: use it for clip attachment. No: sew a webbing loop or use mitten string |
| Does the child cooperate with attachment procedures? | Yes: any method. No: mitten string — it requires no child cooperation after setup |
| Does the child ski in tree terrain or tight spaces? | Yes: mitten string keeps gloves inside sleeve and does not snag. Clips hang outside and can catch |
| How often does the child remove gloves per day? | Rarely (under 5 times): any method. Frequently (over 5 times): wrist leash or clip for fast reattachment |
| Are gloves heavy when wet? | Yes: test clip spring tension with wet gloves before the ski day; heavier spring may be needed |
| Is this the first ski trip with attachment? | Yes: start with mitten string — most reliable for first use; switch to clip if child prefers independence |
When Attaching Gloves to the Jacket Is Not the Right Solution
If the child removes their gloves because their hands are too warm, the gloves are uncomfortable, or the fit is wrong, attachment methods keep the gloves near the child but do not address the underlying reason they are being removed. In this case, the solution is glove selection — the right weight, fit, or style — rather than attachment. A child who removes gloves because they are sweating in them will continue to remove them regardless of how they are attached.
If the child is old enough and responsible enough to manage their own gloves without losing them — typically age 10 and older for children who ski regularly — attachment methods may be unnecessary and feel constraining. The attachment methods described here are for the age group and situation where loss is a genuine and consistent problem, not a theoretical one.
If the jacket is at the end of life and will be replaced soon, investing time in sewing loops or threading cords through a jacket that will not be used next season is not the best use of effort. In this situation, a simple clip using an existing jacket feature, or purchasing a new jacket that has integrated glove attachment points, is the more practical choice.
Most ski schools and rental shops recommend using glove attachments for young children to prevent loss during lessons and lift rides.
For guidance on which gloves to choose for young skiers — weight, warmth, fit, and waterproofing matched to child age and activity level — that is covered in our guide on How to Keep Toddler Ski Gloves Dry All Day.
About the Author
Awais Rafaqat has spent over 15 years testing ski gear across North America — from the dry sub-zero conditions of the Rockies to the wet, heavy snow of the Pacific Northwest. His focus is real-world performance: what gear actually does in the conditions skiers encounter, not what the spec sheet says it should do.
© SkiGlovesUSA.com — Methods tested across six ski days with children aged 3–8. No sponsored product mentions. Last updated March 2026.