Quick answer: A broken strap or clip is one of the easiest ski glove repairs there is, once you know which of three things actually failed. A strap pulled loose at the stitching gets re-sewn, no new material needed. Snapped elastic or matted Velcro means replacing the strap material itself. A cracked buckle or missing clip is a hardware swap. Diagnose which one you’re dealing with first, and the rest is a twenty-minute fix rather than a reason to shop for new gloves. If the glove itself is the real problem rather than just the strap, ski glove finder can help you figure out what’s actually worth replacing.
Diagnose the Failure Before You Buy Anything
Buying the wrong replacement material is the single most common mistake in this repair, and it happens almost entirely because people skip diagnosis and go straight to a hardware store. Elastic bought for a stitching problem, or a new buckle bought when the webbing itself is the actual failure point, both solve nothing.
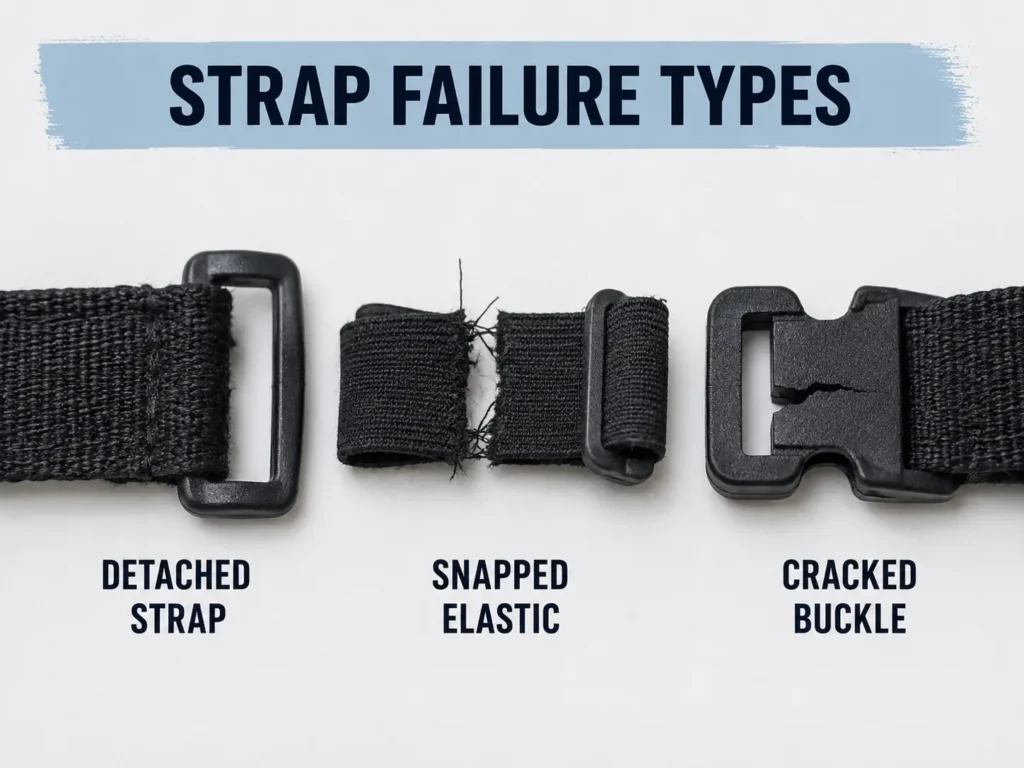
Look at the strap closely for about five minutes before buying anything. If the strap is intact but has pulled away from the glove body, you’ll see broken thread, thread pulled clean through the fabric, or torn fabric right at the original stitch line — that’s purely a re-stitching job. If the strap is still attached at both ends but the material itself feels different — snapped elastic, or Velcro that no longer grips — the strap material needs replacing. If the strap and its attachment are both fine but a buckle, D-ring, or clip has cracked, bent, or gone missing, that’s a hardware swap and nothing else needs to change.
These three failure types aren’t equally common, and knowing the rough pattern helps set expectations before you even look closely. Detached stitching tends to happen earliest in a glove’s life, often within the first season or two, because factory stitching at a high-stress attachment point is naturally one of the first things to give under repeated flexing. Material fatigue — snapped elastic, matted Velcro — shows up later, usually two to four seasons in, since it’s a function of accumulated stretch cycles rather than a single weak point.
Hardware failure is the least predictable of the three, since it often comes down to one cold-weather stress event rather than gradual wear.
Re-Stitching a Detached Strap
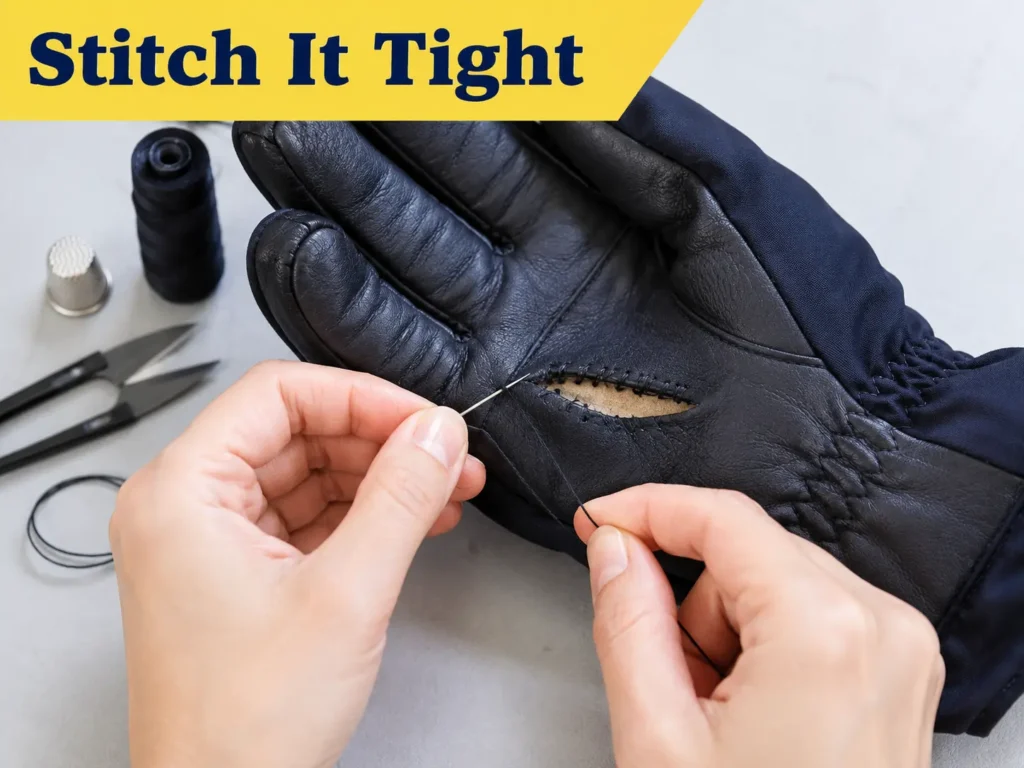
Start by removing every trace of the old thread with a seam ripper or small scissors, cutting flush so no fragments sit under the new stitching. Old thread left in place creates an uneven base that stops the new stitch from sitting flat against the fabric.
Before moving the strap at all, take a photo of its original position from a couple of angles. This is the step almost every guide skips, and it’s the one that prevents the strap from ending up re-attached at a slightly wrong angle or the wrong overlap distance. Pin the strap back into that exact position, overlapping the glove body by at least half an inch on each side — less than that doesn’t give the stitching enough fabric to actually hold under load.
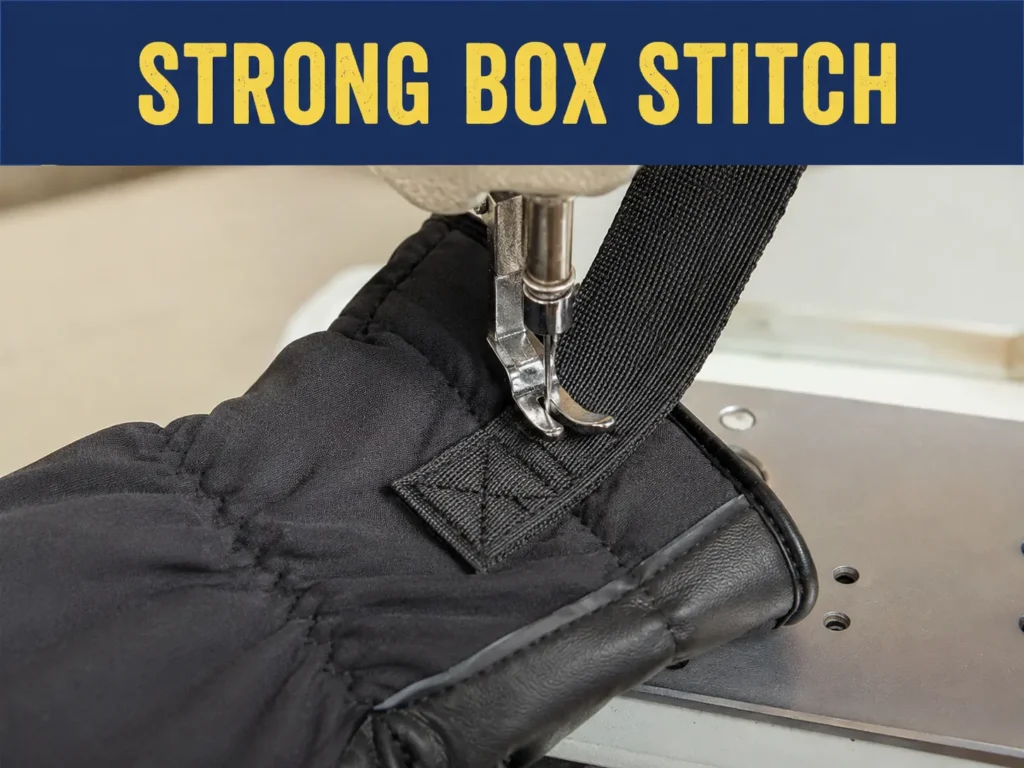
Sew a box stitch rather than a straight line: a small rectangle of stitching around the attachment zone, then both diagonals across it. A straight line only resists pull in one direction, and a strap gets pulled from multiple directions during normal use — tightening, sliding during removal, and flexing while skiing. The box pattern spreads all of that across the stitching instead of concentrating it along one line. Eight to ten passes through each side, pulling firm after each pass, gives the stitch real grip in the fabric.
Once it’s sewn, seal the stitching with a thin layer of flexible seam sealer on both the inside and outside of the glove, and let it cure a full twelve hours before wearing the glove. This keeps individual stitches from working loose and stops moisture from wicking along the thread into the insulation. Finish with a real pull test — grip the strap and pull firmly along its length, perpendicular to the stitch line, and diagonally. Any shifting or gap opening means it needs a few more passes before it’s trusted on the mountain.
One detail worth adding: if the original attachment point shows any sign of the surrounding fabric being thin or worn, rather than just the thread having broken, stitch through a small backing patch placed on the interior of the glove at that spot before doing the box stitch. This gives the new stitching something stronger than worn fabric to anchor into, and it’s a five-minute addition that meaningfully extends how long the repair holds.
Replacing Elastic Strap Material
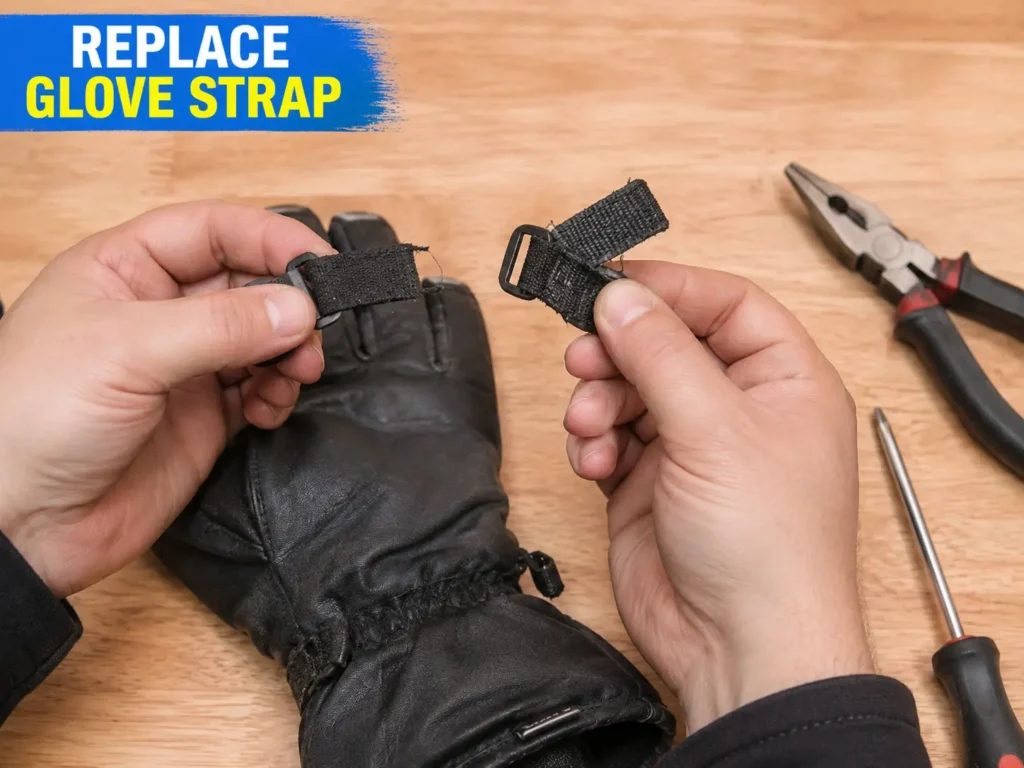
Cut the failed elastic out completely, attachment stitching and all, rather than tying new material onto whatever’s left. Elastic that’s already partially failed tends to keep failing, and anchoring new material to it just carries the same problem forward.
Cut the new elastic slightly shorter than the piece you removed — roughly ten percent shorter is a reasonable starting point. This matters because factory elastic straps are stitched in with some built-in tension from the manufacturing process itself, and a new piece cut to the exact same relaxed length won’t hold nearly as snugly as the original did. If you don’t know the original length because it snapped before you could measure it, use wrist circumference at the cuff position minus about fifteen percent as a starting point instead.
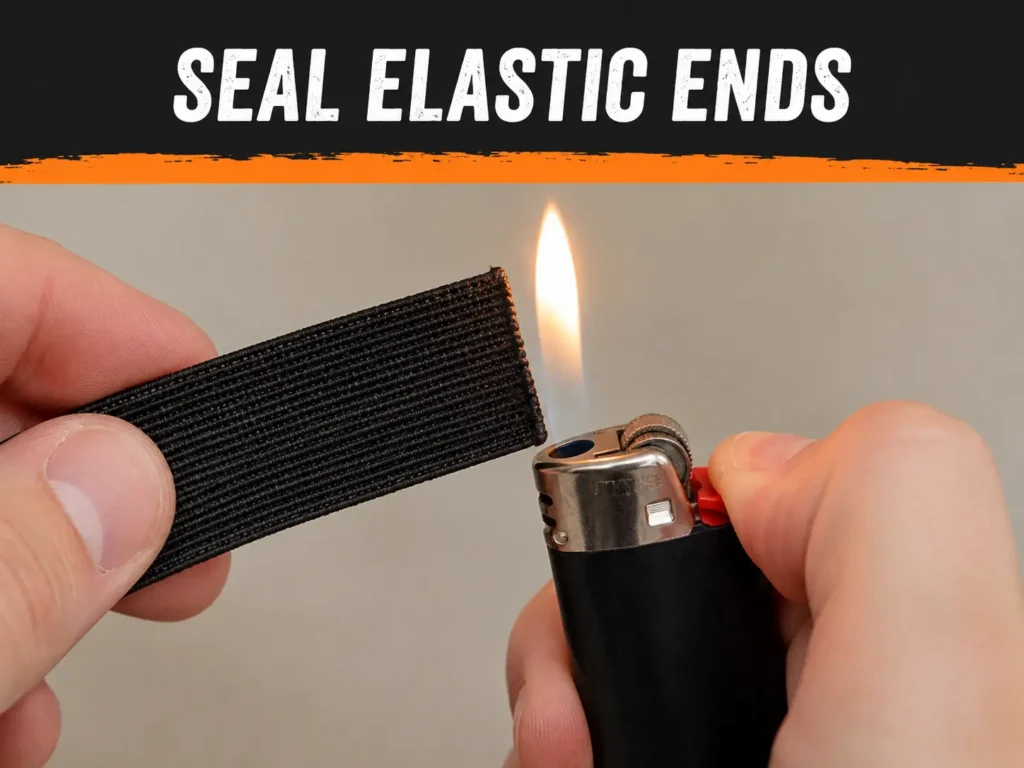
Seal both cut ends near a flame for a second or two before stitching — this fuses the fibers together so the weave doesn’t unravel under the stitching needle. An unsealed end frays as soon as a needle goes through it, and the stitch ends up gripping loose fibers instead of intact material. Stitch one end with the same box pattern described above, thread the elastic through any loops it passes through, then stitch the second end. Doing both ends before threading means un-stitching one of them later, so keep the order in mind.
Elastomers genuinely do fatigue with repeated stretching, which is worth understanding if you’re wondering why the original strap failed in the first place. Materials engineering research on elastomer fatigue shows that repeated cyclic loading — exactly what a strap goes through every time a glove is put on and taken off — progressively damages the material over time, independent of any single dramatic failure event. A strap that’s been stretched and released thousands of times over two or three seasons is failing from accumulated wear, not from anything done wrong.
Nylon webbing is worth knowing about as an alternative to elastic if the original strap style allows for it. It has essentially none of elastic’s give, but it doesn’t fatigue the same way either — a nylon replacement strap on a glove originally built with elastic changes how the cuff feels slightly firmer and less forgiving on the wrist, but it also means the replacement is unlikely to be the thing that fails again next season.
Replacing a Cracked Buckle
Cut the old buckle free as close to the break as possible, leaving as much of the original strap length as you can — every centimeter trimmed away reduces how much adjustment range the replacement has.
Thread the new strap end through the replacement buckle following the same path the original followed. Most side-release buckles use an internal bar that the strap has to double back around to create a friction lock — thread straight through without that doubling-back loop and the strap will pull free under load the first time it’s tightened. Look at the buckle’s internal structure before threading so you can see which slot the strap needs to pass under or over.
Test the friction lock by pulling firmly on both sides before sewing anything down. Only once you’ve confirmed the threading actually holds should you fold the excess strap tail back and stitch across it a couple of times to keep it from working loose through repeated adjustment.
Velcro replacement follows a similar diagnostic logic but with its own detail worth getting right: which side goes where. The hook side (the rough, scratchy half) belongs on the strap itself, and the loop side (the soft half) belongs on the glove body. Placing them the other way around, which some factory constructions actually do, means the rough hook side rubs against the glove’s outer shell fabric every time the strap is fastened, and over a season or two that abrasion visibly scuffs and damages the shell finish at the contact point.
Reversing the placement during a repair — hook on the strap, loop on the body — avoids that damage going forward even if the original construction didn’t.
Why Cold Cracks Plastic Buckles
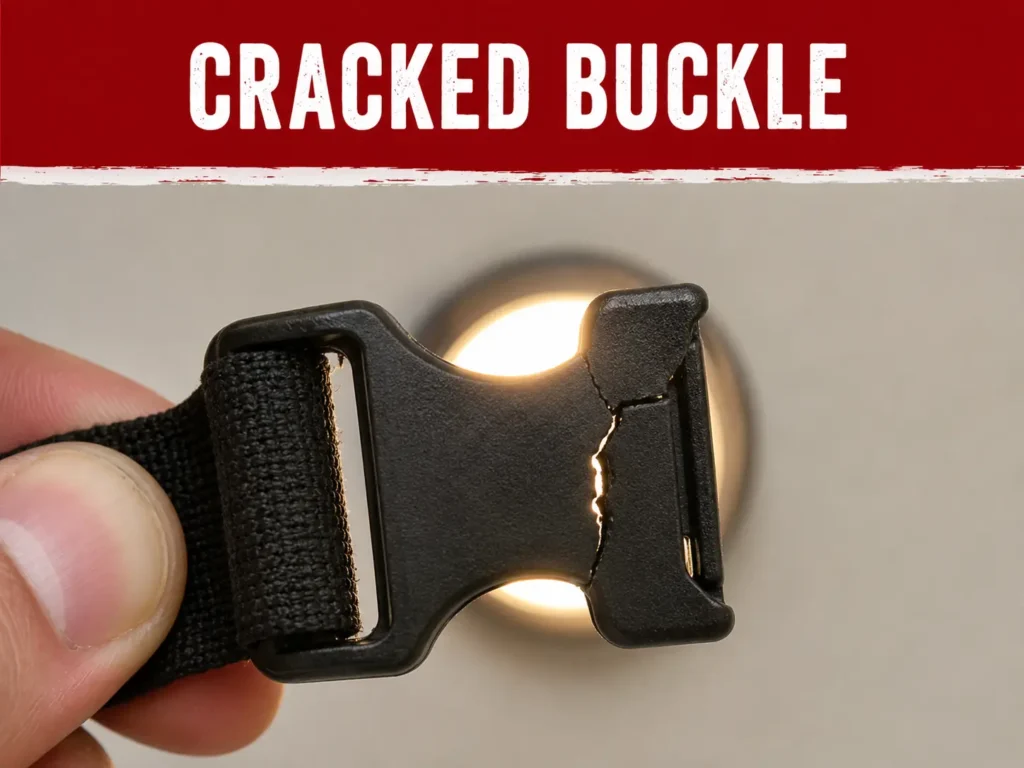
Most consumer-grade glove buckles are molded from ABS or a similar rigid plastic, and that material behaves noticeably differently in the cold than it does at room temperature. Materials data on ABS plastic properties confirms it becomes measurably more brittle as temperature drops — the same plastic that flexes fine indoors can crack under stress it would easily handle at room temperature.
This is exactly why buckles seem to fail disproportionately on genuinely cold days rather than evenly across a season — the plastic isn’t weaker overall, it’s specifically less able to absorb the stress of a firm tightening pull once temperatures drop. If you’re buying a replacement buckle, there’s no easy way to check its cold-temperature rating at a hardware store, but avoiding forceful, sudden tightening on the coldest days reduces the stress that tends to crack a buckle in the first place.
It’s also worth handling a cold buckle gently for the first few minutes of a ski day rather than immediately cranking a strap tight. Plastic that’s been sitting in sub-freezing air overnight is at its most brittle right at the start of the day, before body heat and general handling warm it slightly. A firm, sudden pull on a strap in that first cold state is exactly the scenario most likely to crack a buckle that would have handled the same force fine an hour later.
Choosing Replacement Hardware That Lasts
For D-rings and clips specifically, material choice affects how long the repair actually holds up. Stainless steel resists the corrosion that wet, salty ski conditions cause far better than aluminum does — a real comparison of corrosion resistance between the two metals shows stainless steel’s chromium content forms a self-renewing protective layer, while aluminum, though lighter, needs more upkeep to resist the same conditions over time.
For a ski glove clip specifically, weight doesn’t matter much since it’s not carrying real structural load — corrosion resistance matters more, since a clip that seizes from corrosion stops functioning even if it never physically breaks. Stainless steel is the more reliable long-term choice for this specific hardware, even though aluminum is the lighter option.
The trade-off does run the other way for anything actually carrying structural load, like a buckle frame rather than a small clip. Aluminum’s weight advantage matters more when the part is larger and weight adds up, and a well-anodized aluminum buckle holds up reasonably well as long as the anodized coating stays intact. The problem comes when that coating gets scratched — a scratch exposes bare aluminum to salt and moisture, and the corrosion that follows tends to seize the buckle’s moving parts specifically, which is a functional failure rather than just a cosmetic one.
Common Mistakes That Make Repairs Fail Early
Sewing with cotton thread instead of polyester or waxed nylon is a common one — cotton absorbs moisture, swells slightly when wet, and that swelling gradually loosens the stitch knots over repeated wet-dry cycles through a season.
Using a straight stitch instead of a box pattern is another — a straight line only resists force in one direction, and a strap genuinely experiences pull from multiple directions during normal use, so a straight stitch opens the first time it’s pulled the wrong way.
Buying a buckle that’s slightly the wrong width causes slow, gradual failure rather than immediate failure, which makes it easy to miss. A buckle even a couple millimeters too wide lets the strap drift sideways under load until it works free at the edge — measuring strap width before buying, rather than estimating, avoids this entirely.
Skipping the pull test before trusting a repair on the mountain rounds out the list, and it’s the easiest mistake to avoid entirely. A stitch that looks finished can still have a pass that didn’t seat fully, and an elastic end can be holding on by frayed fibers that look fine until real tension hits them. Thirty seconds of firm pulling at home catches nearly all of this, where the same weakness discovered mid-run has no good recovery option.
When the Strap Isn’t the Whole Story
If the strap pulled away because the surrounding fabric tore rather than the thread simply breaking, re-stitching into that same weakened fabric just sets up the same failure again. A patch behind the attachment point, reinforcing the fabric before re-stitching, is the correct approach in that case — and if the tear extends beyond the strap zone into the glove body itself, that’s worth handling as fabric repair rather than a strap-only fix.
If a glove is showing wear in multiple places at once — a failing strap alongside thinning fabric or a struggling zipper — a strap repair alone won’t extend the glove’s life much, since something else is likely to fail again soon after. Good general upkeep, covered in more depth in the site’s care guide, is what actually prevents straps and everything else from wearing out ahead of schedule in the first place.
It’s worth doing a quick strap-specific check as part of that broader routine rather than only noticing a problem once something fails outright. At the start of each season, pull gently on every strap and buckle, flex any elastic to see how quickly it rebounds, and check Velcro under bright light for flattened hooks. Catching a strap that’s starting to fatigue before it snaps mid-run means fixing it on your own schedule instead of dealing with it on the mountain.
FAQ
How long should a properly repaired strap last?
A repair done with the right thread, a box stitch, and a proper seal typically lasts as long as the surrounding glove fabric does — often a full season or more, depending on use.
Can I use fabric glue instead of stitching?
Glue alone holds under light load but tends to peel progressively under the repeated stress of a strap being tightened and released, so it works better as reinforcement alongside stitching than as a replacement for it.
Is a cracked buckle always a sign the glove is wearing out?
Not necessarily — a single cracked buckle on an otherwise sound glove is usually just cold-weather plastic fatigue, not a sign of broader glove failure. Repeated buckle failures at the same spot are more worth paying attention to than one isolated crack.
Does the repair void anything if the gloves are still under warranty?
Most manufacturer warranties don’t cover normal wear items like straps and buckles in the first place, but a DIY repair on a glove that’s still within a warranty period is worth checking against the manufacturer’s specific terms before doing any structural stitching, since some brands do offer free strap or hardware replacement directly.