Quick answer: A ski glove with a zipper that won’t budge mid-run almost always comes down to one of four causes: fabric caught between the slider and the teeth, ice locking the slider shut, a bent or misaligned tooth blocking the path, or a slider that’s spread apart and stopped gripping. Figure out which one you have before you touch it — pulling harder is what turns a thirty-second fix into a broken zipper. If the zipper turns out to be the least of your glove’s problems, ski glove finder can help you figure out whether it’s worth repairing or replacing outright.
- Why Ski Glove Zippers Get Stuck in the First Place
- Fabric Caught in the Teeth
- Ice Locking the Slider
- A Misaligned or Bent Tooth
- A Slider That's Lost Its Grip
- Why Lubricant Choice Matters in Cold
- How the Mechanism Actually Works
- Mistakes That Make a Stuck Zipper Worse
- Preventing the Problem Next Season
- When to Repair vs. When to Replace
- FAQ
Why Ski Glove Zippers Get Stuck in the First Place
Zippers are simple mechanisms with very tight tolerances, and ski gloves put them through conditions most zippers never face: repeated wet-to-frozen cycles, thin liner fabric right next to the track, and gloved hands operating a small slider without much fine control. Any one of those factors alone is manageable. Combined, over a season, they account for nearly every stuck zipper you’ll run into.
Diagnosing which specific cause you’re dealing with takes about thirty seconds of looking before you touch anything, and it determines which fix actually works. Applying the wrong fix — pulling harder, or lubricating a mechanical obstruction instead of clearing it — is what turns a fixable zipper into a genuinely broken one.
It also helps to know that these four causes aren’t equally common. Fabric obstruction accounts for the large majority of stuck ski glove zippers, since it can happen on a completely dry, undamaged glove just from normal use. Ice is the next most common, and it’s entirely conditional on storage rather than glove quality — even an expensive, well-made zipper will lock up if it’s packed away wet in freezing conditions. Tooth damage and slider wear are less frequent and usually trace back to a specific forceful event or genuine age, rather than everyday use.
Fabric Caught in the Teeth
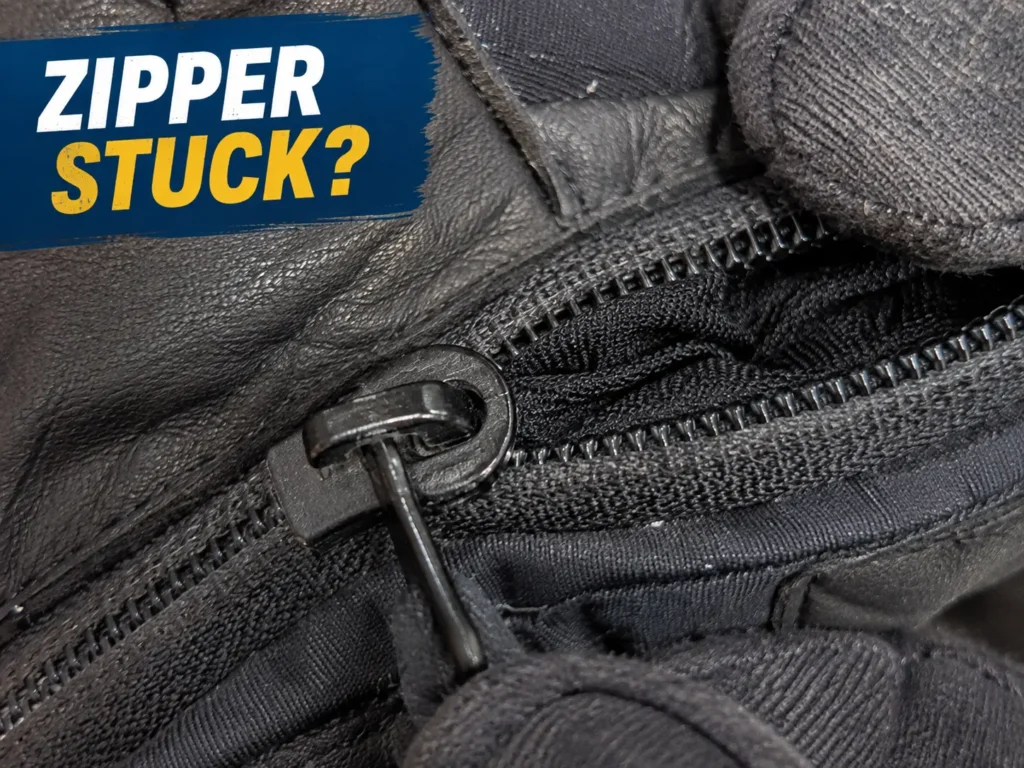
This is the most common cause by a wide margin. Ski glove liners and cuff fabric are thin, and when a slider is pulled at even a slight angle, its edge can catch the nearest loose fabric and drag it into the gap between the slider body and the teeth. Once a small amount enters, each subsequent pull draws in more, narrowing the gap until the slider seizes completely.
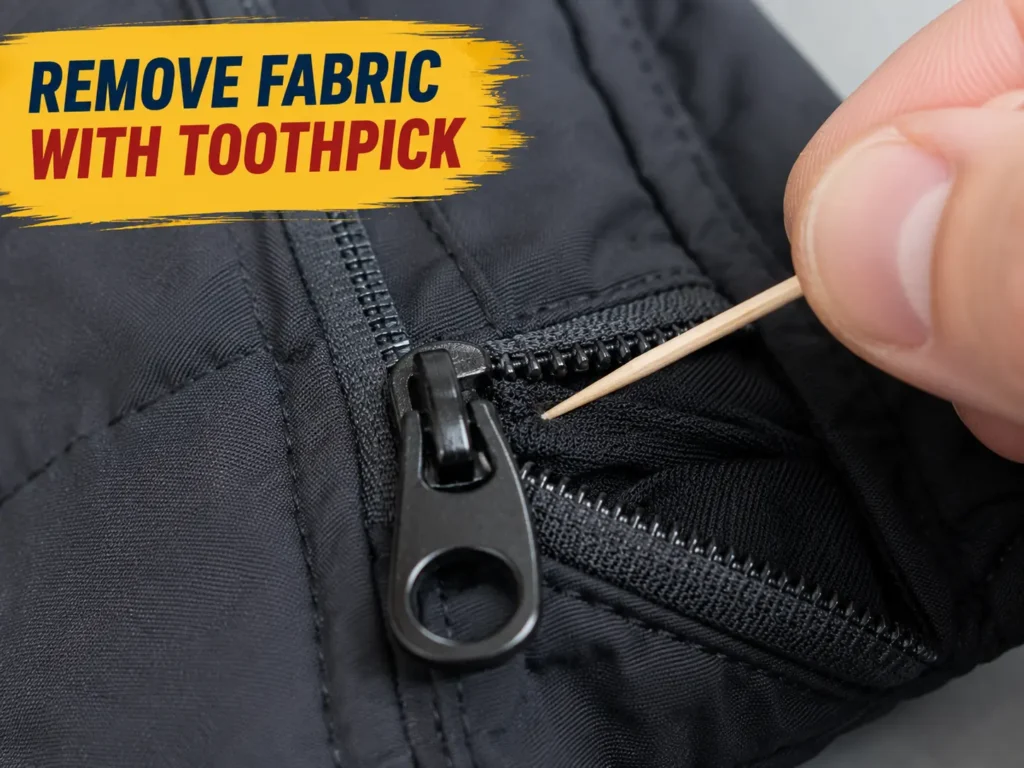
Look along both sides of the slider for any visible fabric between the slider body and the teeth — even a thin strip counts. If you see it, don’t pull the slider further in the direction it was moving. That tightens the fabric and increases the depth of the obstruction. Instead, move the slider back slightly to release tension, then use a toothpick or fingernail — never metal, which can catch the teeth and cause separate damage — to work the fabric back out from the point where it enters the track.
Once the fabric is clear, test the slider by moving it away from the cleared area first, then run it slowly through the full track while watching both sides to make sure fabric doesn’t re-enter. Lubricant does nothing for this specific problem — it reduces friction between moving parts, but caught fabric is a physical blockage that friction reduction can’t remove.
It’s worth paying attention to which fabric caused the problem, since it tells you something about prevention. If it’s the glove’s own inner lining, the fabric is likely working loose from a seam near the zipper opening, which is worth checking for on the next inspection. If it’s an external layer — a jacket cuff or a liner glove worn underneath — the fix is simpler: keep that layer clear of the zipper track when pulling, rather than assuming the glove itself is at fault.
Ice Locking the Slider
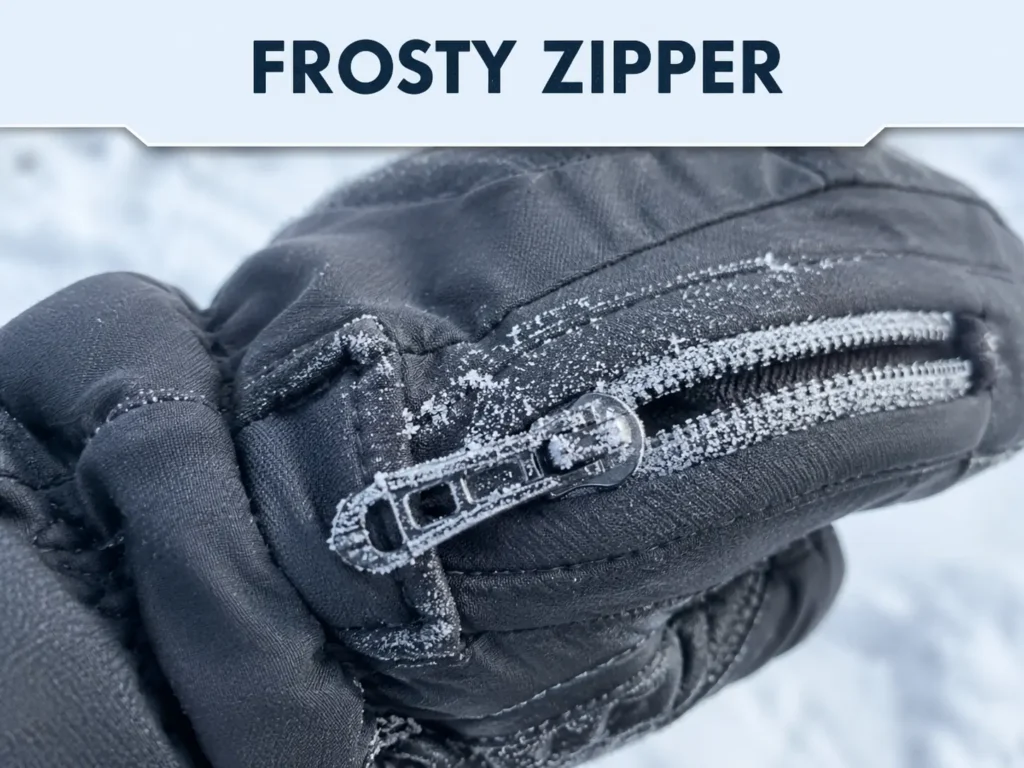
Wet gloves stored in cold conditions — a ski bag left in a cold car overnight, a locker at a mountain lodge, gear left outside — let water trapped in the small slider housing freeze solid. This matters more than it sounds like it should, because water doesn’t just freeze in place quietly. It expands by roughly 9% in volume as it turns to ice, and that expansion inside a tightly toleranced slider housing is enough to lock the mechanism against the teeth on both sides at once.
The fix is straightforward: wrap both hands around the slider and hold firm, steady contact. Skin temperature is warm enough to melt ice formed at typical overnight ski temperatures within a minute or so of sustained contact. Move the slider immediately after warming, while the water is still liquid — if you set the glove down and let it sit in cold air first, it can refreeze before you get back to it. For ice that’s formed more extensively through the track rather than just the slider, holding the glove against a warmer skin area like the inside of a forearm, or using a hair dryer on low heat held several inches away, works faster than hand contact alone.
Once the zipper moves freely, run it open and closed a few times while the glove is still warm to work residual water out of the housing through movement, rather than letting it sit and refreeze in the same spot.
There’s a reason this problem shows up overnight rather than during the day on the mountain: temperature swings between active skiing and cold storage are what drive the freeze-thaw cycle. A glove that stays damp but keeps moving rarely fully freezes, since friction and continued use generate enough warmth to keep water liquid. It’s the combination of wet plus fully static plus sub-freezing air, typically overnight, that lets ice actually form and lock the mechanism.
A Misaligned or Bent Tooth
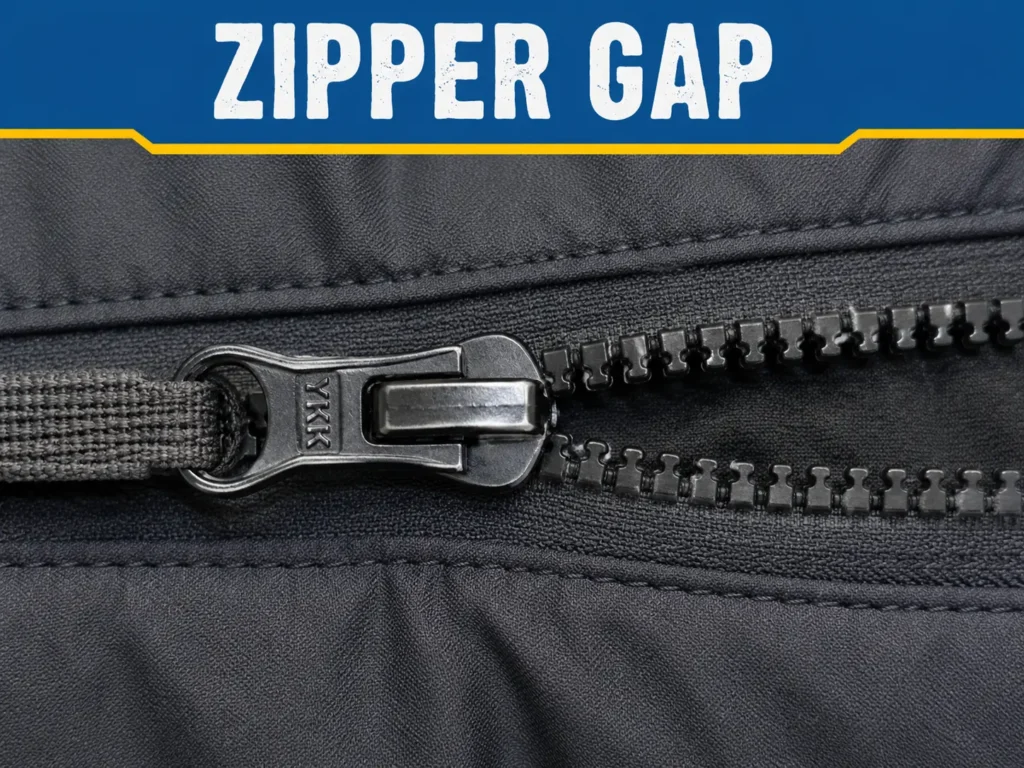
Zipper teeth are held in a fixed line by the tape they’re crimped onto, and the slider is manufactured to a tolerance tight enough to let aligned teeth pass through but not one sitting even slightly out of plane. A tooth bent by excessive force on the slider, or damaged by a sharp edge, creates a hard stop the slider simply can’t get past.
You’ll recognize this pattern because the slider moves freely everywhere else on the track and stops at one specific, repeatable point. Look closely at the teeth right at that stop point — a tooth sitting visibly higher, lower, or angled relative to its neighbors is the culprit. If the tooth is bent but still attached to the tape, flat-nose pliers (not needle-nose, which concentrate force at a single point and are more likely to snap the tooth) can gently press it back into alignment, working in small increments and testing the slider after each adjustment. If the tooth has actually broken off the tape rather than just bent, realignment isn’t possible, and the zipper needs replacement.
Bent teeth almost always trace back to a specific moment rather than gradual wear — a hard yank when the zipper was already partially obstructed, or the slider being forced past a piece of debris. That’s worth knowing because it means a bent tooth on an otherwise young, well-cared-for glove isn’t a sign the zipper is failing generally. It’s usually an isolated, fixable event rather than the start of a broader pattern.
A Slider That’s Lost Its Grip
A slider works by gripping the teeth on both sides of the track firmly enough to mesh them as it moves, while still flexing enough to pass over each tooth in sequence. Repeated pulling at an angle, or general wear over multiple seasons, can spread the slider’s internal walls apart. Once that happens, teeth pass through without actually meshing — the zipper appears to close, but the track stays open behind it.
You can confirm this by running the zipper closed and immediately checking whether the teeth have actually meshed behind the slider, or by holding the closed track and gently pulling the two sides apart — if they separate easily, the slider has widened. Flat-nose pliers can gently compress the slider’s top and bottom (not the sides, where the teeth pass through) to restore some of the original grip, applied in small increments with a test after each one. A slider compressed too much will grip too tightly and become hard to move, so patience matters more than force here.
Unlike a bent tooth, slider widening is genuinely a wear pattern rather than a single event — it develops gradually from repeated angled pulls over a season or more, which is why it tends to show up on gloves that have seen real use rather than appearing suddenly on newer ones. If compression doesn’t restore reliable grip after a couple of attempts, the slider itself has likely worn past the point where mechanical adjustment helps, and replacing just the slider — a small, inexpensive part — is more practical than continuing to compress a housing that’s lost its structural spring.
Why Lubricant Choice Matters in Cold
Once a zipper is mechanically freed, dry graphite — a pencil rubbed along both sides of the teeth — is the right lubricant, and oil-based products like WD-40 are the wrong one, for a reason rooted in basic material physics rather than brand preference. Lubricating oils and greases get measurably thicker as temperature drops, and industrial lubrication research on cold-weather performance shows viscosity can increase enough at low temperatures that the lubricant stops flowing properly altogether — the opposite of what you want from something meant to reduce friction.
Beyond the cold-weather thickening problem, oil-based lubricants soak into the zipper tape fabric over time and can degrade the waterproof coating most ski glove zippers rely on. The zipper might feel smoother for a few days before the tape starts to break down underneath. Dry graphite avoids both problems — it doesn’t thicken in the cold the way oil does, and it sits on the surface of the teeth rather than soaking into the tape.
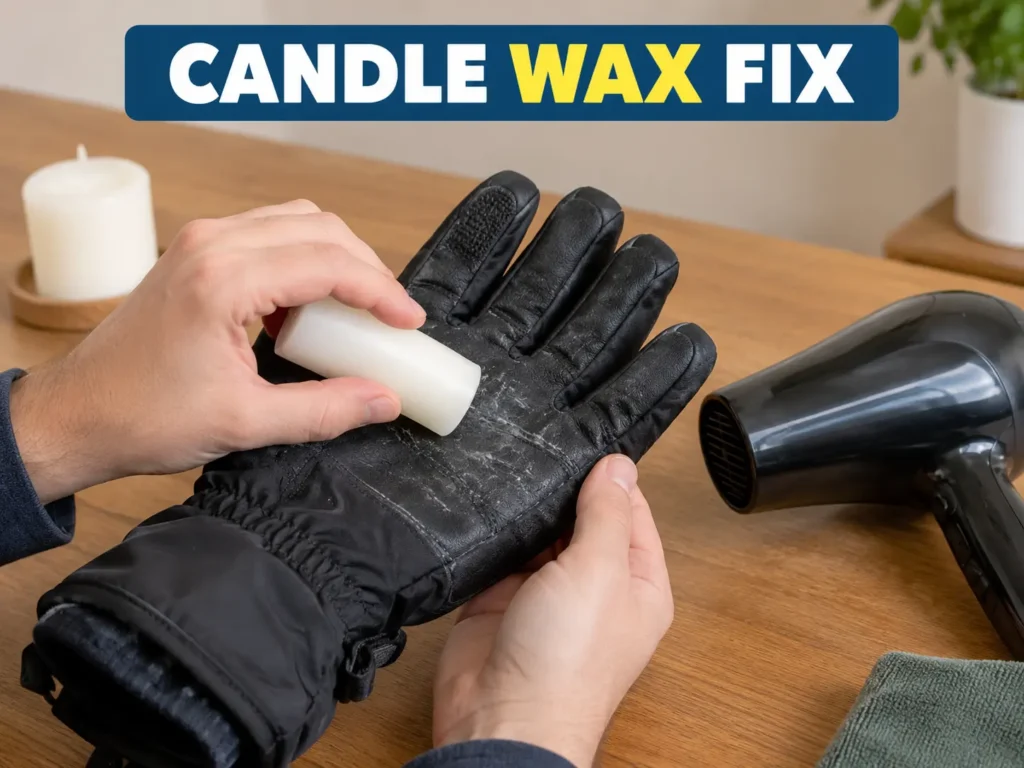
If you don’t have a graphite pencil on hand, a dry wax-based lubricant is a reasonable second choice, though it’s more prone to attracting dirt and lint over time, which can eventually create a different obstruction than the one you started with. What you want to avoid entirely is anything petroleum-based — not because it won’t work in the short term, but because the same thickening behavior that hurts performance in the cold also means it takes longer to fully penetrate the mechanism, so you often end up applying more of it than a dry lubricant would need, compounding the tape-degradation problem over a season.
How the Mechanism Actually Works
Understanding why these fixes work comes down to a simple piece of mechanical design. A zipper slider is essentially a Y-shaped channel: pulling it one direction pushes the two rows of teeth apart through the wide end of the Y, and pulling it the other direction draws them back together and meshes them, the way YKK’s explanation describes it. That channel only has room for teeth that are the correct shape, sitting in the correct plane, moving through a track that isn’t otherwise obstructed.
Every one of the four failure causes above is really just something interfering with that simple channel — fabric filling space that should be empty, ice physically blocking movement, a tooth that doesn’t match the channel’s expected shape, or a channel that’s been stretched wider than the tolerance it was built for. Once you see it this way, “stuck zipper” stops being one mysterious problem and becomes four specific, diagnosable ones.
This mechanical view also explains why forcing a stuck zipper so reliably makes things worse. The slider’s channel is built to a tolerance that assumes correctly shaped teeth moving through a clear path — force doesn’t create more room in that channel, it just increases the pressure against whatever’s actually blocking it, whether that’s fabric, ice, or a misshapen tooth. The channel loses, and something bends or tears instead.
Mistakes That Make a Stuck Zipper Worse
Applying force before diagnosing the cause is the single most damaging thing you can do. A zipper with fabric caught in it can usually be cleared in minutes without any lasting damage; the same zipper with force applied first often ends up with a bent tooth that blocks the slider even after the fabric is cleared.
Using needle-nose pliers instead of flat-nose for any tooth or slider adjustment concentrates force at a single point rather than spreading it across the tooth’s full face, which is a common way to snap a tooth that could otherwise have been realigned.
Applying high heat directly to a frozen zipper — a hair dryer held close on high heat, for instance — risks softening the waterproof coating on the zipper tape well before it melts enough ice to help. Low heat from a distance, or body heat, is slower but doesn’t risk that damage.
A less obvious mistake: switching straight to a graphite fix without checking for fabric first. Graphite makes a fabric obstruction slightly harder to spot and remove once it’s coated the area, so diagnosis should always come before any lubrication, not after.
Preventing the Problem Next Season
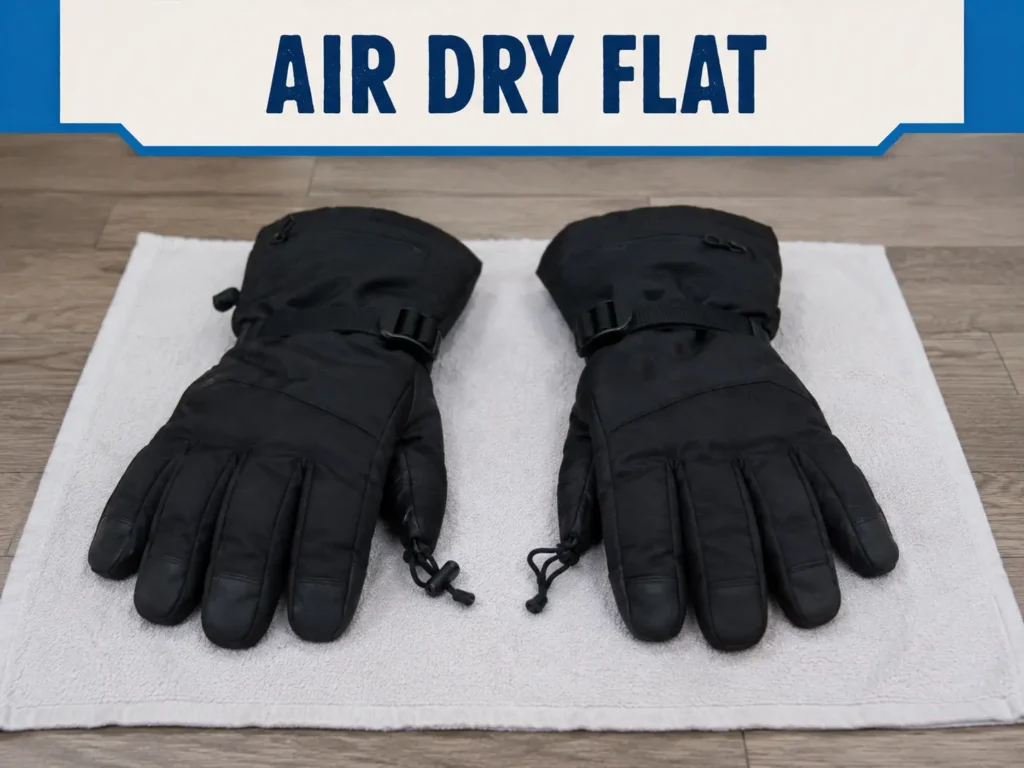
Most stuck-zipper problems trace back to moisture that never fully dried out between ski days. A wet glove packed away in a bag, rather than dried flat in open air, is exactly what leads to ice forming in the slider housing overnight. The full breakdown of proper drying technique, including why a heater vent does more harm than good, is covered in the drying guide on this site.
A quick visual check at the start of each season also catches problems early. Holding a glove up to bright light and looking along both sides of the zipper track for any fabric working its way in, or any tooth that looks slightly out of alignment with its neighbors, takes about fifteen seconds and can catch a developing problem well before it becomes a full seizure.
When to Repair vs. When to Replace
| Situation | Recommendation |
| Fabric caught, no force applied yet | Clear it yourself — quick, low-risk fix |
| Ice in the slider | Warm and clear — no lasting damage expected |
| Tooth bent but still attached to tape | Realign with flat-nose pliers |
| Tooth broken off the tape | Zipper replacement needed |
| Slider widened from wear | Compress with pliers, or replace slider |
| Slider body cracked or fractured | Replace the slider — don’t attempt compression |
| Zipper tape torn or delaminated from the glove | Beyond zipper-level repair |
Replacement sliders for standard zipper sizes are inexpensive and widely available at outdoor gear repair shops, and most shops can swap one in well under the cost of a new pair of gloves. If the damage goes beyond the zipper itself — torn shell fabric, a delaminated seam — that’s a broader repair-or-replace decision covered in more depth in the guide on fixing torn gloves on this site.
FAQ
Can I use Vaseline or soap instead of graphite on a ski glove zipper?
Both work as lubricants in general, but they attract dirt and grit over time in a way dry graphite doesn’t, and neither addresses the cold-weather thickening problem that affects oil-based products specifically. Graphite is the more reliable choice for a zipper that lives in genuinely cold, wet conditions.
How do I know if my zipper is beyond fixing at home?
If a tooth is fully broken off the tape rather than bent, if the slider body itself is cracked, or if the fabric tape has torn away from the glove, none of the fixes above will hold — that’s the point to take it to a gear repair shop or consider replacing the glove.
Will a stuck zipper get worse if I ignore it?
Usually, yes. Fabric caught in the teeth tends to work its way in further with each use rather than staying the same, and a tooth that’s slightly misaligned often gets worse under continued pressure from the slider passing over it repeatedly.