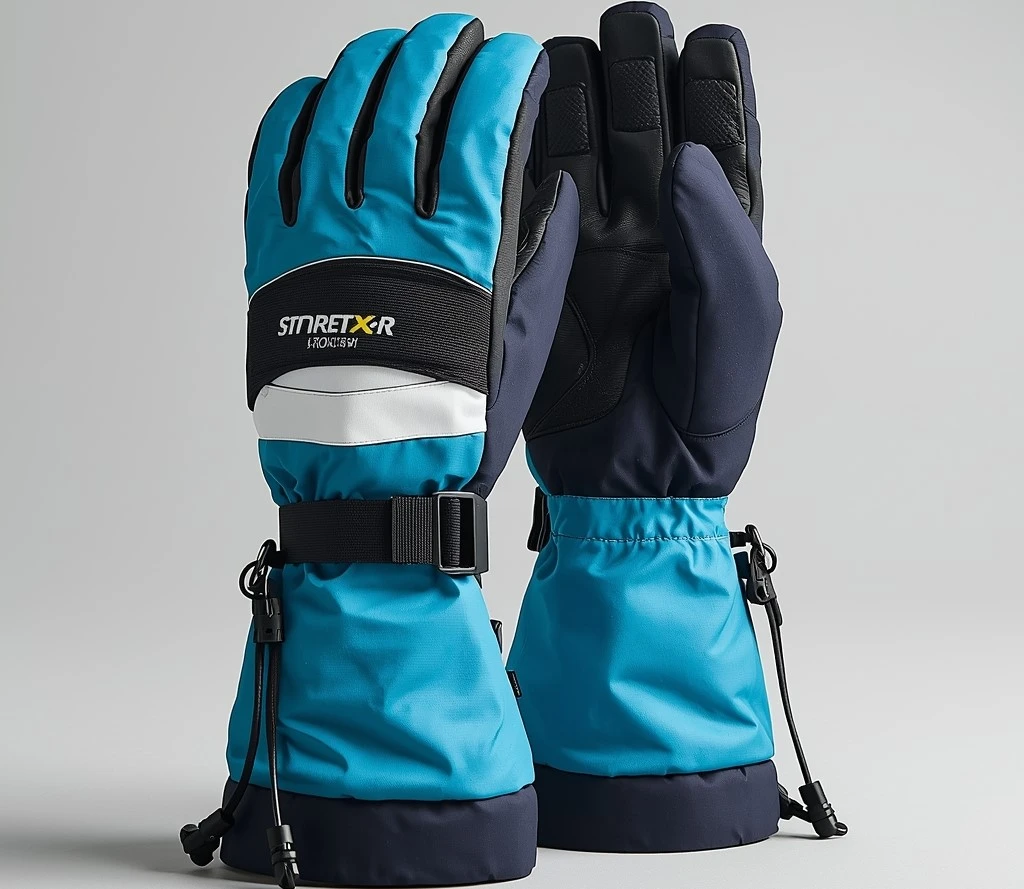
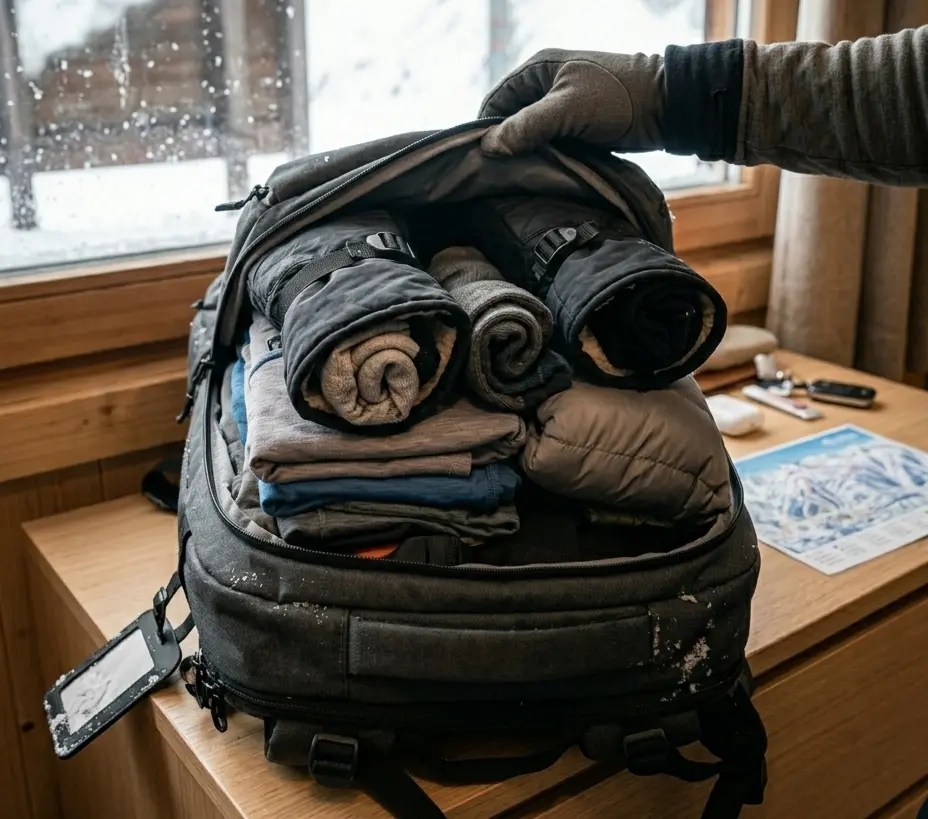
Quick answer: Get three things right and your gloves arrive in the same condition they left in: keep your primary pair in your carry-on rather than checked, confirm they’re completely dry before they go in a bag, and position them at the top of your luggage rather than under heavy items. A pair packed this way survives a twelve-hour flight without losing insulation loft, developing odor, or ending up in a bag that never shows up. If you’re also working out what insulation weight or glove style actually suits your trip, ski glove finder can help with that separately.
- Why Packing Ski Gloves Matters More Than It Seems
- Protecting Insulation From Long-Haul Compression
- Carry-On or Checked: The Real Decision
- Why Cabin Air Actually Helps a Damp Glove
- Pack Ski Gloves for Travel, Step by Step
- Carry-On vs. Checked, Side by Side
- Packing for Specific Trip Types
- Common Packing Mistakes
- Signs Your Packing Method Isn't Working
- Pre-Travel Packing Checklist
- When These Methods Don't Apply
- FAQ
Why Packing Ski Gloves Matters More Than It Seems
A pair of gloves that arrives flattened, damp-smelling, or simply missing turns a five-day ski trip into a trip where day one starts with a problem instead of a first run. None of the three failure modes require bad luck — they’re the predictable result of a few specific packing choices, and each one has a straightforward fix once you know what’s actually causing it.
Getting this right takes less than a minute of extra effort at pack time. The cost of getting it wrong shows up on the mountain instead — a cold first run, an unpleasant smell when you open the bag, or standing at baggage claim watching everyone else’s bags come out while yours doesn’t.
Protecting Insulation From Long-Haul Compression
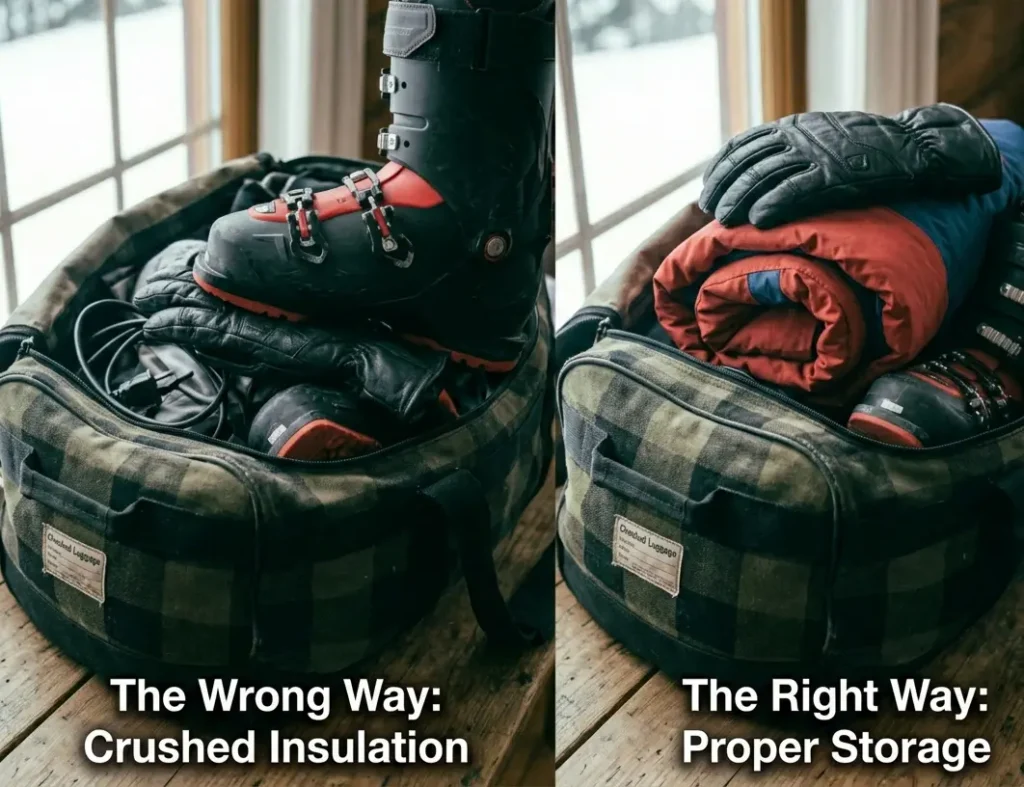
Ski glove insulation works by trapping small pockets of still air between the fibers, which is the same basic principle behind most insulation materials generally — it’s the trapped air doing the insulating, not the material itself. When that trapped-air structure gets compressed and held flat for eight to twelve hours under the weight of boots or other gear, the fibers can take a temporary set in the flattened position, and the gloves come out of the bag feeling thinner and less warm than when they went in.
Think of a down jacket pulled out of a compression sack after weeks of storage — it looks flat at first and takes a while to loft back up. Ski glove insulation behaves the same way, except a suitcase corner with a boot sitting on it for half a day isn’t designed for that kind of sustained pressure the way a proper compression sack is.
The fix is simply where the gloves sit relative to everything else in the bag. Gloves placed at the top of a bag, or along the side, take almost no compression across a flight. Gloves at the bottom of a packed ski duffel with boots and a helmet stacked on top spend the whole flight under real, sustained weight. If insulation weight and warmth are something you’re still dialing in for the trip generally, that’s worth comparing across a few insulation options separately from the packing question itself.
This matters more for a first-day powder run than a lot of packers realize. The insulation does recover — usually within an hour or two of normal wear — but that first hour on the mountain is exactly when a cold-feeling glove is most noticeable and least welcome, especially if conditions are already cold that morning.
Carry-On or Checked: The Real Decision
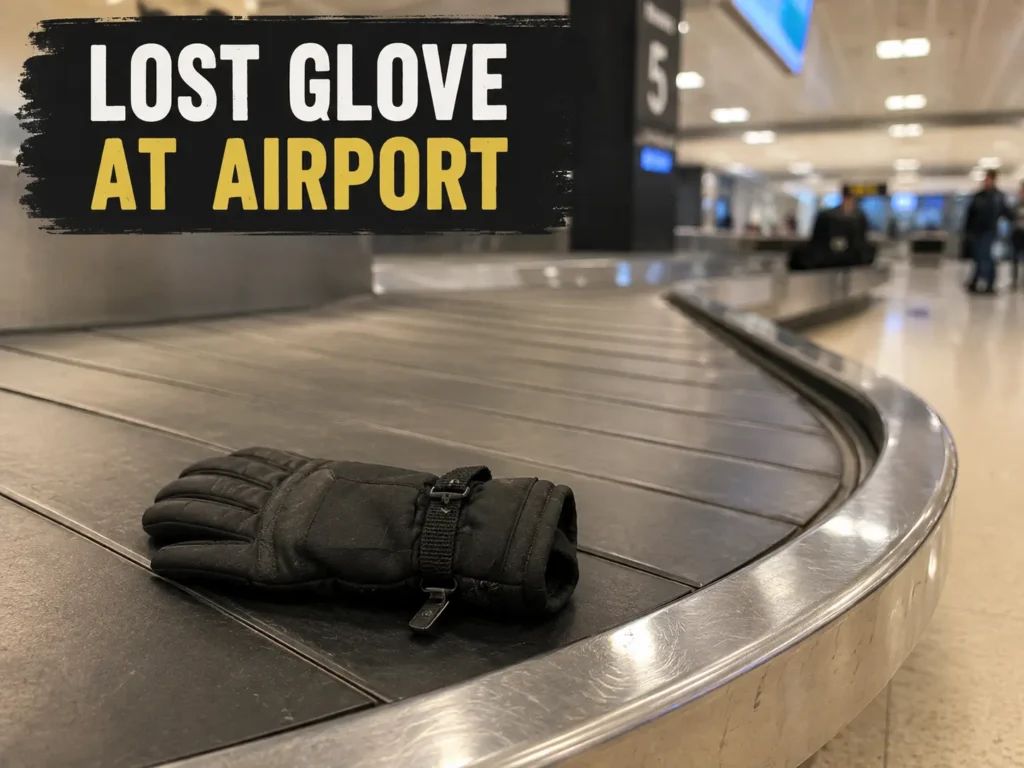
Ask one question to decide: if your checked bag didn’t show up at the destination, could you ski the first day without these gloves? If the honest answer is no, they belong in your carry-on. If you’ve got a backup pair or easy access to a replacement without real cost or hassle, checked is fine.
This isn’t a hypothetical risk. Federal air travel data tracks mishandled baggage rates across major airlines every month, and delays cluster heavily around tight connections specifically — exactly the itinerary pattern common on ski trips routing through a hub before a smaller regional airport. A delayed bag on day one of a five-day trip, at a resort that’s often a couple of hours from the nearest gear shop, means skiing without your gloves or paying resort prices for a replacement.
Space is the usual objection to carry-on packing, and it’s a smaller concern than it sounds. A pair of ski gloves takes up roughly the volume of two closed fists side by side, and stuffing the interior with soft items — covered in the steps below — means that volume does double duty rather than sitting empty.
It’s worth being honest about what carry-on packing actually costs you: slightly less flexibility in an already-full bag, and one more thing to keep track of through security. Weighed against a missed first day of a paid ski trip, that trade is rarely close for anyone whose gloves genuinely matter to the trip.
Why Cabin Air Actually Helps a Damp Glove
One detail that works in your favor for carry-on packing specifically: aircraft cabin air is genuinely, significantly drier than almost any indoor environment you’re used to. Industry data on cabin conditions shows relative humidity on most airliners typically runs in the 2 to 7 percent range, far below the 30 to 50 percent most people are used to at home.
That’s uncomfortable for sinuses on a long flight, but it’s genuinely useful for a glove that isn’t perfectly bone-dry. Any residual moisture a carry-on glove is holding continues evaporating slowly during the flight, in a way it simply can’t inside a sealed checked bag in cargo. This isn’t a reason to skip drying gloves properly before a flight — it’s a small additional margin of safety for carry-on packing that checked luggage doesn’t get.
There’s a limit to how much this dry-air advantage can compensate for, worth being clear about. A glove that’s genuinely wet, rather than just slightly damp, isn’t going to fully dry out in a sealed bag pocket over the course of a flight, dry cabin air or not — it just means a marginal case gets a bit of extra help, not that the drying step before packing becomes optional.
Pack Ski Gloves for Travel, Step by Step
Confirm the gloves are completely dry. Don’t skip this. A glove that’s still holding even slight dampness will develop odor inside a sealed bag environment well before a long flight ends, since a warm, enclosed, damp space is exactly what bacteria in glove lining need to multiply. Press the back-of-hand zone firmly — if it feels cool or dense rather than dry, it’s still holding moisture and needs more drying time first.
Fill the interior with something soft. Rolled socks, a beanie, or a folded thin base layer stuffed into the fingers and palm does two things at once: it stops the fingers from folding flat under any compression, and it uses interior space that would otherwise sit empty. A stuffed glove holds its shape far better than an empty one.
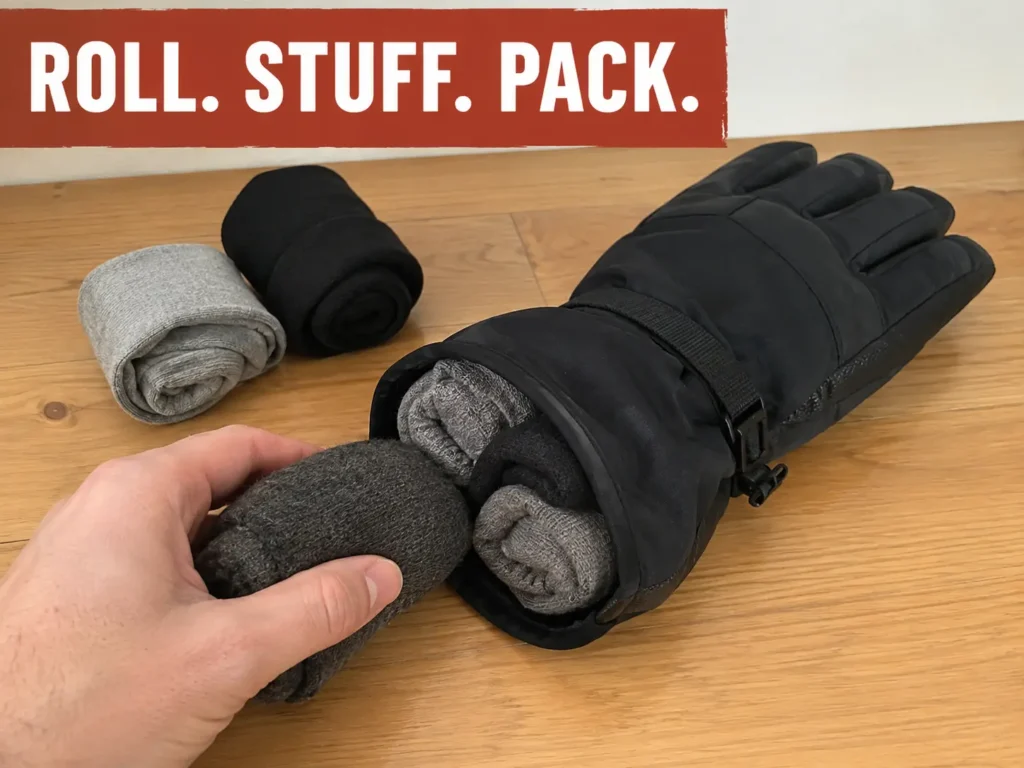
Place the gloves palm-to-palm. Laying the two gloves palm-to-palm with fingers aligned creates one compact unit instead of two separately bulky items, and it spreads any external pressure across both palms at once rather than concentrating it on one.
Choose a breathable container, not plastic. A mesh bag, pillowcase, or fabric stuff sack is the right call. A sealed plastic bag traps any remaining moisture inside instead of letting it escape, creating exactly the warm, enclosed environment that encourages odor. If a zip bag is genuinely all you have, leave one corner slightly open rather than sealing it fully.
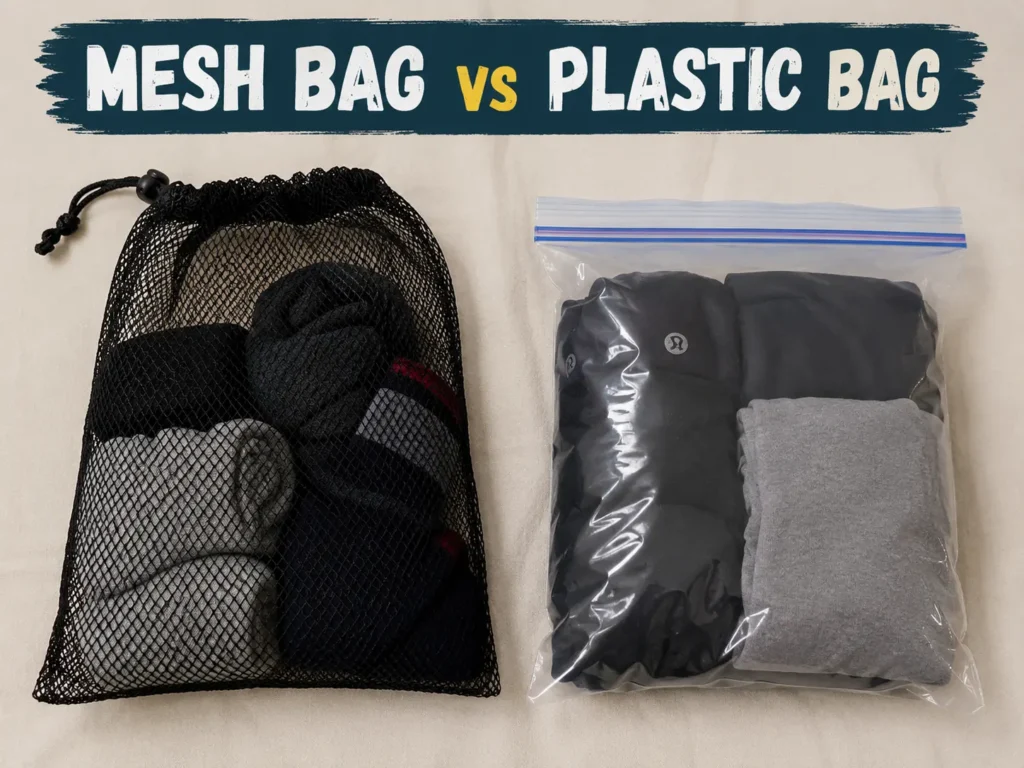
Position the contained gloves at the top or side of the bag. The top of the bag means maximum distance from boots and other heavy items at the bottom. For a checked ski duffel, this means packing the gloves in last, after everything else is positioned. For a rolling suitcase, they go in the top layer of clothing rather than underneath it.
Claim overhead bin space early if you can. A carry-on that ends up gate-checked, or stuck under the seat in front of you, gets compressed between that seat and the floor for the whole flight. If gate-checking looks likely on a full flight, moving the gloves into your personal item — the bag that stays with you under the seat you control — keeps them out of that specific compression risk.
Keep leather gloves separated from synthetic items. Leather can transfer color to items it sits against, especially if the bag gets warm in a cargo hold. A simple fabric layer between leather and synthetic gear prevents this and also stops natural leather oils from affecting a synthetic glove’s water-repellent coating.
Do a final one-handed access check before you leave for the airport. With the bag packed the way it’ll actually travel, reach for the gloves the way you would mid-trip — pulling them from a carry-on pocket, say. If it takes real effort or two hands to manage, the placement needs adjusting now rather than being discovered while juggling a boarding pass and a coffee at the gate.
Carry-On vs. Checked, Side by Side
| Factor | Carry-On | Checked |
| Risk of loss or delay | Essentially zero | Real, especially on tight connections |
| Insulation compression risk | Low if positioned at the top | Higher, especially under boots in a duffel |
| Moisture handling | Dry cabin air helps residual dampness | Cargo conditions vary, can trap moisture |
| Access on arrival | Immediate | Whenever the bag arrives |
| Cost if something goes wrong | Essentially zero | Resort-price replacement if delayed |
| Best for | Primary or only pair | Backup pairs, budget spares |
Packing for Specific Trip Types
One-bag travel puts everything, including gloves, into a single carry-on by necessity. Stuffing both gloves completely — every finger, not just the palm — turns them into functional storage for small items like rolled socks or a beanie, so the interior volume isn’t wasted space.
Tight connections are where checked bags most often go missing. On any connection under an hour, it’s worth treating the situation as if the checked bag might not make it, which means keeping both pairs of gloves, if you’re bringing two, in the carry-on rather than splitting them.
Long-haul flights over ten hours combine both advantages and risks: the dry cabin air helps residual glove moisture, but even carry-on bags get shifted and compressed by crew during a long flight. A mesh bag with gloves positioned palm-to-palm near the top of the carry-on handles this well.
Budget airlines with strict size limits make the interior-stuffing technique more valuable, not less — every small item packed inside the gloves is an item that doesn’t need its own separate space in an already-tight carry-on allowance.
Family ski trips add a coordination layer worth planning for separately. With multiple travelers each carrying their own pair, it’s worth deciding in advance whose gloves ride in which bag rather than assuming everyone handles their own — kids in particular often need a parent to actually check that their gloves made it into the right bag rather than getting left in a hotel room or car on travel day. A quick pre-departure count, gloves included, catches this before it becomes a mountain-side problem.
Common Packing Mistakes
| Mistake | What Happens |
| Packing gloves last, into whatever space is left | They get crammed against hard items with no protection |
| Sealing gloves in plastic while still slightly damp | Odor develops within hours in the sealed, warm environment |
| Packing gloves flat and empty | They compress more and lose shape faster than a stuffed glove |
| Letting gloves touch ski edges or boot buckles | Shell fabric can snag, cut, or abrade during transit |
| Assuming airport shops solve a delayed bag | Resort-town gear shops are expensive and have limited selection |
Signs Your Packing Method Isn’t Working
| Warning Sign | Likely Cause | Fix for Next Time |
| Gloves smell when the bag is opened | Packed with moisture in a sealed container | Confirm bone-dry with the press test, switch to a mesh bag |
| Gloves feel noticeably thinner on arrival | Insulation compressed under heavy items | Reposition at the top of the bag, away from boots |
| Small cuts or snags on the shell fabric | Contact with ski edges or boot hardware | Use a fabric container, separate from hard gear |
| One glove missing at the destination | Packed loose instead of contained together | Always use a bag that holds both gloves as one unit |
| Leather glove feels stiff after travel | Packed slightly damp or under sustained weight | Confirm dryness before packing; avoid stacking hard items on top |
Pre-Travel Packing Checklist
| Check This Before You Pack | Why It Matters |
| Both gloves pass the dry-press test | Packed moisture is the single biggest cause of odor |
| Interior of each glove is stuffed with something soft | Prevents finger compression, uses dead space |
| Gloves are in a mesh or fabric bag, not sealed plastic | Lets any remaining moisture keep escaping |
| Gloves sit at the top of the bag, not under boots | Protects insulation from sustained compression |
| Primary pair is confirmed in the carry-on | Insurance against a delayed or lost checked bag |
| Leather and synthetic gloves are kept separated | Prevents color transfer and coating cross-contamination |
When These Methods Don’t Apply
If you’re driving to the resort instead of flying, none of the carry-on-versus-checked reasoning applies. The relevant concerns shift to keeping gloves away from a car’s heater vents, which dry leather out aggressively, and not leaving them in a hot parked car at the destination, where heat can affect a waterproof membrane over time.
If you’re renting gloves at the destination, packing is a non-issue — you’re trading the packing problem for gear that wasn’t fitted specifically to you. And if your backup pair is genuinely disposable — cheap mittens that cost less than a checked-bag fee — the careful insulation-protection steps above matter far less. Put them wherever they fit and save the careful packing for the pair you actually care about.
One more edge case worth naming: multi-leg trips where you’re skiing at more than one resort. Repacking gloves between stops means repeating the dry-check and positioning steps each time, not just once at the start of the trip — a glove that was properly dry and well-positioned for the outbound flight can easily end up damp or poorly placed on a rushed repack between destinations if the same care isn’t applied twice.
Once your gloves make it to the destination in good shape, keeping them that way across a multi-day trip is a separate daily habit — carrying a spare on the mountain itself covers the part of the problem that happens after you’ve already landed.
FAQ
Does packing gloves in a plastic bag ever make sense?
Only if they’re already completely dry and you’re using the bag to protect them from other wet items nearby, not for general storage. For anything with even slight residual moisture, a breathable bag is the safer choice.
How early should I start drying gloves before a flight?
Ideally the night before, giving them a full overnight dry rather than a rushed pack right after your last run. A glove that feels dry an hour after skiing can still be holding moisture deeper in the insulation.
Is it worth buying a dedicated glove travel bag?
Not necessary for most trips — a simple mesh laundry bag or a pillowcase does the same job as a purpose-made product, since the actual requirement is just breathability and enough structure to keep both gloves together.