As an Amazon Associate, I earn from qualifying purchases.
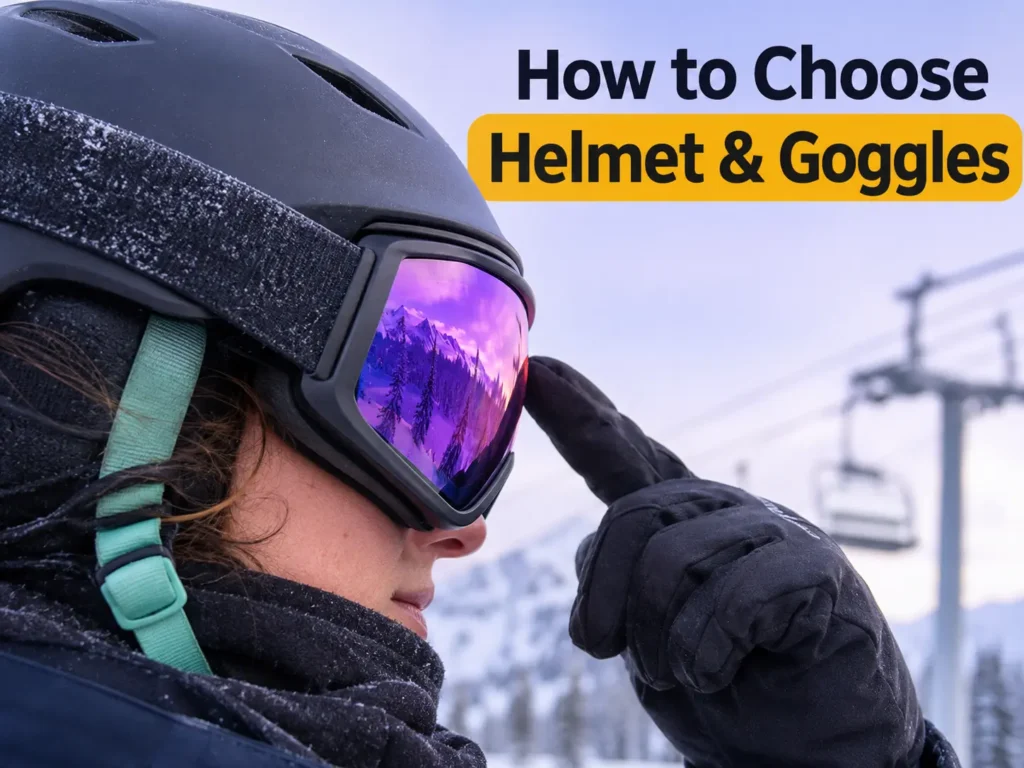
Buy the helmet first, then pick goggles that sit flush against it. That order matters more than any single feature, because a great helmet and a great goggle can still fail as a pair if they leave a gap at your brow or fight each other at the strap. Get the fit right at that meeting point and the rest, such as lenses, vents and price, is easy to sort out.
If gloves are also on your list, the Ski Glove Finder gives you a short list in about a minute. Now let’s build your head gear step by step.
- Why the Order Matters
- The Helmet: Start With Three Measurements
- Five Quick Fit Checks for a Helmet
- MIPS, Vents and Other Helmet Features
- The Goggles: Frame, Lens and Fit
- Nose Fit, Cheeks and Face Shape
- Lens Choices in Plain Words
- Where the Helmet and Goggles Meet
- If You Wear Glasses
- Kids, Teens and Growing Heads
- The Rest of the Face Stack
- What the Labels Promise
- Why Bother With a Helmet at All
- Budget: Pairs That Make Sense
- A Short Script for the Shop Floor
- Wet Days, Cold Days and Spare Lenses
- Keeping Both Working
- Your One-Page Cheat Sheet
Why the Order Matters
A helmet has a fixed shape. A goggle has a fixed shape. Your face and head are the only things that can move. When you shop for them separately without a plan, you can end up with a goggle that is too tall for the helmet’s brim, a strap that slides off the back or a lens that touches the helmet vents and fogs.
So start with the part that is hardest to change: the helmet. It protects your head, it needs a close fit and it sets the shape of the opening your goggle must match. Once you have a helmet that fits, test goggles against it, not against your face alone.
This way of buying also saves money. If you buy goggles first and then find no helmet that pairs well, you either live with a gap or buy again. One careful decision up front prevents that.
The Helmet: Start With Three Measurements
Grab a soft tape measure. Wrap it around your head about an inch above your eyebrows and just above your ears, keeping it level all the way around. Write down the number in both inches and centimeters. Do it twice and use the larger number if they differ.
Every brand has its own size chart, so compare your number to the chart for the exact helmet you like. A medium from one maker may feel like a small from another. If you land between two sizes, try both on, and pick the one that feels snug without pressure points.
| Measurement | How to take it | Why it matters |
| Head circumference | Tape level, one inch above the eyebrows | Sets your helmet size |
| Head shape | Look from above: round, oval or in between | Some helmets suit one shape better than another |
| Hat thickness | Try with the thin hat or buff you wear | Changes how snug the helmet feels |
Head shape is the part people forget. Some helmets run rounder and some run more oval. A helmet that is the right size but the wrong shape will press on the sides of your head and leave gaps at the front and back. Trying it on is the only reliable test.
Five Quick Fit Checks for a Helmet
Once a helmet is on your head, run through these checks. Each one takes seconds, and together they tell you more than a price tag.
| Check | What to do | Good sign |
| Level and low | Look in a mirror from the side | Sits level, front edge about one finger above the eyebrows |
| Shake test | Shake your head side to side and up and down | Helmet moves with your head, not on it |
| Roll-off test | Push up from the back edge of the helmet | Helmet does not roll forward off your head |
| Strap check | Fasten the chin strap | Snug, with room for one or two fingers |
| Ten-minute wear | Wear it around the shop for ten minutes | No pressure points or headache |
If a helmet fails the roll-off test, it is too big or the wrong shape. If it passes everything but pinches in one spot, ask for the next size or a different model. Do not decide a helmet will “break in”, since the foam inside does not stretch much.
MIPS, Vents and Other Helmet Features
MIPS is a slim liner that lets the shell slide a little around your head in an angled hit. Many falls on snow are angled, so makers add it as an extra layer of protection. It adds a small cost, and many mid-priced helmets include it.
Vents let heat and sweat out. Adjustable vents let you open or close them as the day changes. Fixed vents keep a steady flow. If you run hot or ski in spring, adjustable vents are handy. If you ski in deep cold, fewer or smaller vents help.
Ear pads keep your ears warm, and removable ones are easy to wash. Some helmets also fit audio gear or have a goggle clip at the back. These are extras. Fit comes first, and the rest is a bonus.
| Feature | What it does | Must-have or nice-to-have |
| Snug fit and roll-off pass | Keeps the helmet where it should be in a fall | Must-have |
| Snow-sport certification | Shows the helmet passed impact tests | Must-have |
| MIPS or similar liner | Adds protection in angled hits | Strong plus |
| Adjustable vents | Controls heat across weather | Nice-to-have |
| Removable ear pads | Easier washing and warmth control | Nice-to-have |
| Audio compatibility | Fits headphones | Bonus |
If you want to compare real helmets with listed prices, our ski helmet picks cover four options from about $60 to $125, with the MIPS details laid out.
The Goggles: Frame, Lens and Fit
A goggle has three jobs. It protects your eyes from wind, snow and UV light. It helps you see terrain in changing light. And it stays clear when you breathe and sweat. The frame, the lens and the vents each play a part.
Frame size comes first. Goggles come in small, medium and large, and some brands offer wide-fit and low-nose-bridge styles. A frame that is too big leaves gaps that let in wind. One that is too small presses on your cheeks and nose. Look for a seal that touches your face evenly all around without pinching.
Next, check the foam. Soft, multi-layer foam keeps the goggles comfortable and seals against wind. Press the goggles lightly against your face with the strap off. If you can feel hard plastic anywhere, try another model.
Strap width matters too. A wide, silicone-backed strap grips a helmet and stays put. A thin strap can slide on a smooth helmet. Pick a strap that fits over your helmet shape without a lot of stretch at the back.
Nose Fit, Cheeks and Face Shape
Goggles press on your nose and cheeks, so face shape matters as much as head size. If you have a low nose bridge, a standard frame may sit on your cheeks and let air in at the nose. Many brands now sell low-bridge or wide-fit versions for this reason.
Check the nose cutout. You should be able to breathe through your nose without the foam touching it, and you should be able to pinch a nose clip if you need to. A goggle that rests hard on your nose gets uncomfortable fast and can push your breath up into the lens.
Look at the cheeks too. Foam should rest on the bone, not on soft tissue. When you smile, the goggles should not lift away from your skin. If it does, the frame is the wrong width or curve for your face.
Lens Choices in Plain Words
Lenses vary in tint and in shape. Tint decides how much light gets through, which is called visible light transmission, or VLT. A low VLT is a dark lens for bright sun. A high VLT is a light or yellow lens for clouds, snow and dusk. GearJunkie’s testers say lenses for sunny days sit between 5% and 20% VLT.
| Conditions | Lens to look for | VLT range |
| Bright sun, bluebird day | Dark, mirrored or gold | About 5% to 20% |
| Mixed light, some cloud | Rose, copper or amber | About 20% to 40% |
| Flat light, snowfall, dusk | Yellow, clear or light rose | About 40% and up |
Lens shape comes down to look and view. Cylindrical lenses curve side to side and are often more affordable. Spherical lenses curve both ways, which can give a wider view with less distortion. Either works well when it fits.
If you ski in changing weather, think about a goggle with an easy lens swap. Magnetic lens systems let you change in seconds. If you want only one goggle, a mid-range lens is a good middle path. For help with cold-day features, read our guide on cold weather goggles.
Where the Helmet and Goggles Meet
This is the part that decides whether the pair works. Put your helmet on first. Then put the goggles on over it. Look in a mirror. The top edge of the goggle should sit right under the helmet brim, with no skin showing between them. That strip of exposed forehead is often called a gap, and it lets cold air in.
Now check the sides. The helmet should not push the goggle frame away from your temples. The goggle strap should sit on the outside of the helmet, centered around the back, and not ride up or down. A strap clip or retainer on the helmet helps hold it in place.
Finally, check the vents. A goggle that touches the front vents of the helmet can block airflow, and that can lead to fog. Many helmets have vents positioned to line up with goggles for this reason. When the two work together, warm damp air leaves instead of getting trapped.
| Problem at the meeting point | What causes it | Fix |
| Gap at the forehead | Goggle frame too tall or helmet brim too high | Try a lower-profile goggle or a different helmet |
| Goggle pushed off the face | Helmet brim too bulky | Pick a helmet with a lower brim |
| Strap slides down | Strap too thin or helmet too smooth | Use a silicone-backed strap or a retainer clip |
| Fogging at the top | Vents blocked by the helmet or a hat | Check vent alignment and remove bulky layers |
| Pressure at the temples | Frame too wide for the helmet | Try a narrower frame or a different shape |
If You Wear Glasses
Skiers who wear glasses have two good paths. The first is an over-the-glasses goggle, often marked OTG. It has extra depth and cutouts at the temples so your frames fit inside. The second is prescription contacts, which let you use any goggles.
If you choose OTG, bring your own glasses when you try on goggles. Thick frames can press against the lens or push the goggles off your face. Check that the goggle still seals around the edges, and that the helmet brim does not squeeze the frame against your temple.
Fog can be harder with glasses, because your lenses add another surface. Look for vents and an anti-fog coating, and keep your glasses clean and dry before you put the goggles on. If you ski in a deep cold, think about a double-lens goggle, since that air gap slows fogging.
Kids, Teens and Growing Heads
Young skiers need the same fit checks, with a few extras. A helmet must sit snug now, not “have room to grow”. A loose helmet moves in a fall and does not protect. Check the size every season, since heads grow fast.
Goggles for kids come in smaller frames with narrower straps. Ask for youth sizes, and test them with the child’s helmet on. A kid who hates the goggle will push it up on the forehead, and that lets fog and cold in.
Make fitting a game. Let kids pick the color, then run the shake test and strap check together. A gear set they like is gear they will keep on. Check the maker’s age range, since some goggles say they suit only older children and adults.
The Rest of the Face Stack
Helmet and goggles are only two layers on your head. A neck gaiter, a hood and a hat can each change how the pair sits. A bulky gaiter pulled over your nose can push breath up under the goggles. Our guide to ski neck gaiters shows thin options that keep fog down.
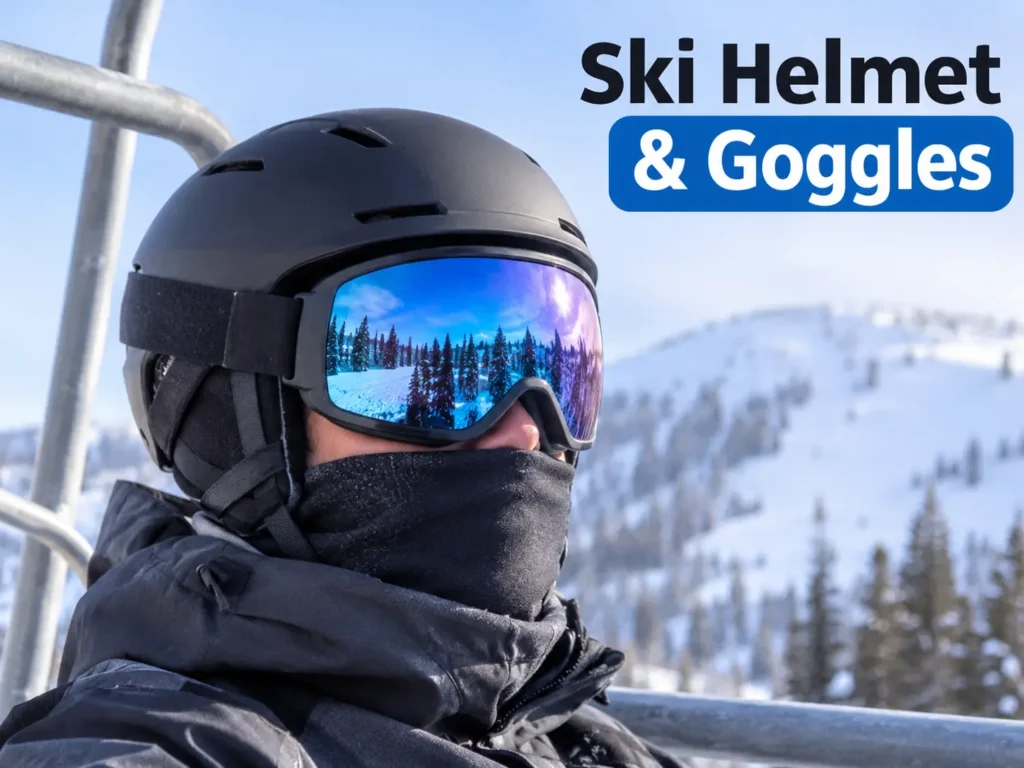
Hats are the other wildcard. A thick winter hat under a helmet changes the size, makes it feel loose when you take the hat off and can block vents. If it is cold, choose a thin, close-fitting beanie or a helmet liner made for skiing, and try the helmet with it.
A jacket hood also has to fit over the helmet. If it only fits over a bare head, you will not use it. When you try on a jacket, bring your helmet and goggles. Our ski jacket guide covers how to test the hood and collar.
It helps to shop with all your gear in a bag. A quick check of the helmet, goggle, gaiter and hood in one sitting shows problems that no product page can.
If this is your first season, you may also want a full gear plan. Start with our first-day gear list to see what to rent, wear and buy.
What the Labels Promise
Look inside the helmet for a certification. In the U.S., ASTM F2040 is the standard for helmets used in nonmotorized recreational snow sports such as skiing and snowboarding. ASTM lists it among its snow sports standards on its ASTM F2040 page.
A certification means the helmet passed set tests. It does not turn a poor fit into a good one. Think of it as the entry ticket, and fit as the part that decides how well it works for you.
Goggles do not have a single label, so rely on clear statements about UV protection. The consumer eye health site All About Vision advises looking for goggles that block 100 percent of UV rays, which bounce off snow even on cloudy days. It also points out that an anti-fog coating inside and vents around the frame help clear warm air. Read its goggle buyer’s guide before you shop.
Why Bother With a Helmet at All
A review led by researchers at Johns Hopkins looked at 16 studies and found that helmets decrease the risk and severity of head injuries in skiers and snowboarders. It also found no sign that helmets raise risk-taking or neck injuries. The Johns Hopkins Hub shares the helmet findings in plain language.
No helmet makes a skier invincible. It is one layer of safety, next to skill, control and good choices on the hill. But it is an easy layer to add, and a good fit makes it comfortable enough to forget about.
Budget: Pairs That Make Sense
You do not need to spend a lot to get a matched pair. Here are three ways to build one, using prices listed in our helmet and goggle guides. Prices change, so check them before you buy.
| Build | Helmet | Goggles | Rough total |
| Starter | OutdoorMaster Kelvin II MIPS, $59.99 | findway OTG, $28.49 | About $88 |
| Middle | Smith Rodeo MIPS, $105 | Odoland Magnetic, $44.99 | About $150 |
| Premium | Giro Ledge MIPS, $124.95 | Smith 4D MAG, $355 | About $480 |
There is also a one-box option. The Odoland helmet and goggle set costs $62.99 and is made to work together. If a matched set sounds good, check the sizes, since both parts share one fit.
Spend on fit before features. A $90 pair that fits well beats a $480 pair that leaves a gap.
A Short Script for the Shop Floor
Staff in a good shop can save you time, and a few clear questions help them help you. Bring your helmet if you already own one, and wear the hat you ski in.
| Ask this | Why |
| “Can I try this goggle with this helmet?” | Tests the meeting point, the most important fit |
| “Does this helmet have a goggle retainer?” | Helps the strap stay put |
| “Is a spare lens available?” | Lets you swap for weather |
| “What is the return policy?” | Protects you if the fit is off on snow |
| “What is the warranty?” | Covers coating and strap problems |
Buying online? Order two sizes if you can, or pick a store with free returns. Measure your head before you click, and check that your goggle and helmet are listed as compatible by the maker.
Wet Days, Cold Days and Spare Lenses
Some days test your head gear harder than others. In wet snow, a goggle fills with moisture faster, and a helmet liner soaks up water. Carry a dry spare buff or liner in a pocket and swap at lunch. A dry layer under the helmet is far more comfortable than a damp one.
For goggles, a second lens or even a spare goggle saves a day when weather changes fast. Keep the spare in an inner pocket where it stays warm and dry, and not in a cold bag. A cold lens fogs the moment you put it on a warm face.
Between runs, let your goggles breathe. Push them to your forehead only when you stop in the open air, and put them back as you start. Hanging them from your helmet in a lodge, with the lens down, keeps snow off the inside.
Keeping Both Working
Treat your helmet and goggles as safety gear. Store them in a cool, dry place, away from heat and sun. Let both dry fully after a wet day. Wipe the helmet shell with a damp cloth and let the goggle air dry in its pouch.
Never wipe the inside of a goggle with a glove or a rough cloth, since that can scratch the anti-fog coating. Replace your helmet after any hard impact, even if it looks fine, because the foam inside may be crushed. Check the foam on your goggles each season and replace it if it has gone flat or torn.
If your helmet or goggles are more than a few seasons old, check the straps and foam. Stretched straps and worn foam can leave a gap that was not there before.
Your One-Page Cheat Sheet
| Step | Do this | Done when |
| 1 | Measure your head and check the size charts | You know your size range |
| 2 | Try helmets with the five fit checks | One passes every check |
| 3 | Choose goggles that sit flush against that helmet | No gap at the brow |
| 4 | Check UV protection and lens tint for your weather | Lens matches the light you ski in |
| 5 | Test the pair with your gaiter and jacket hood | Everything works together |
| 6 | Confirm returns and warranty | You can swap if the fit is off |
Print or save this table before your next shop visit. Run through it in order, and you will land on a pair that fits, protects and lasts.